Of all the parts on the miniature planes, I was most excited to make the totes.
I started by tracing the full size tote on paper, making sure to mark the location of the through holes. Using a copy machine I scaled it down to 25 percent. I measured the printed copy to make sure it was spot on to match my castings. I decided to make a brass template to insure accurate layout of all the totes. I carefully cut out the paper tote and super glued it to a sheet of brass.
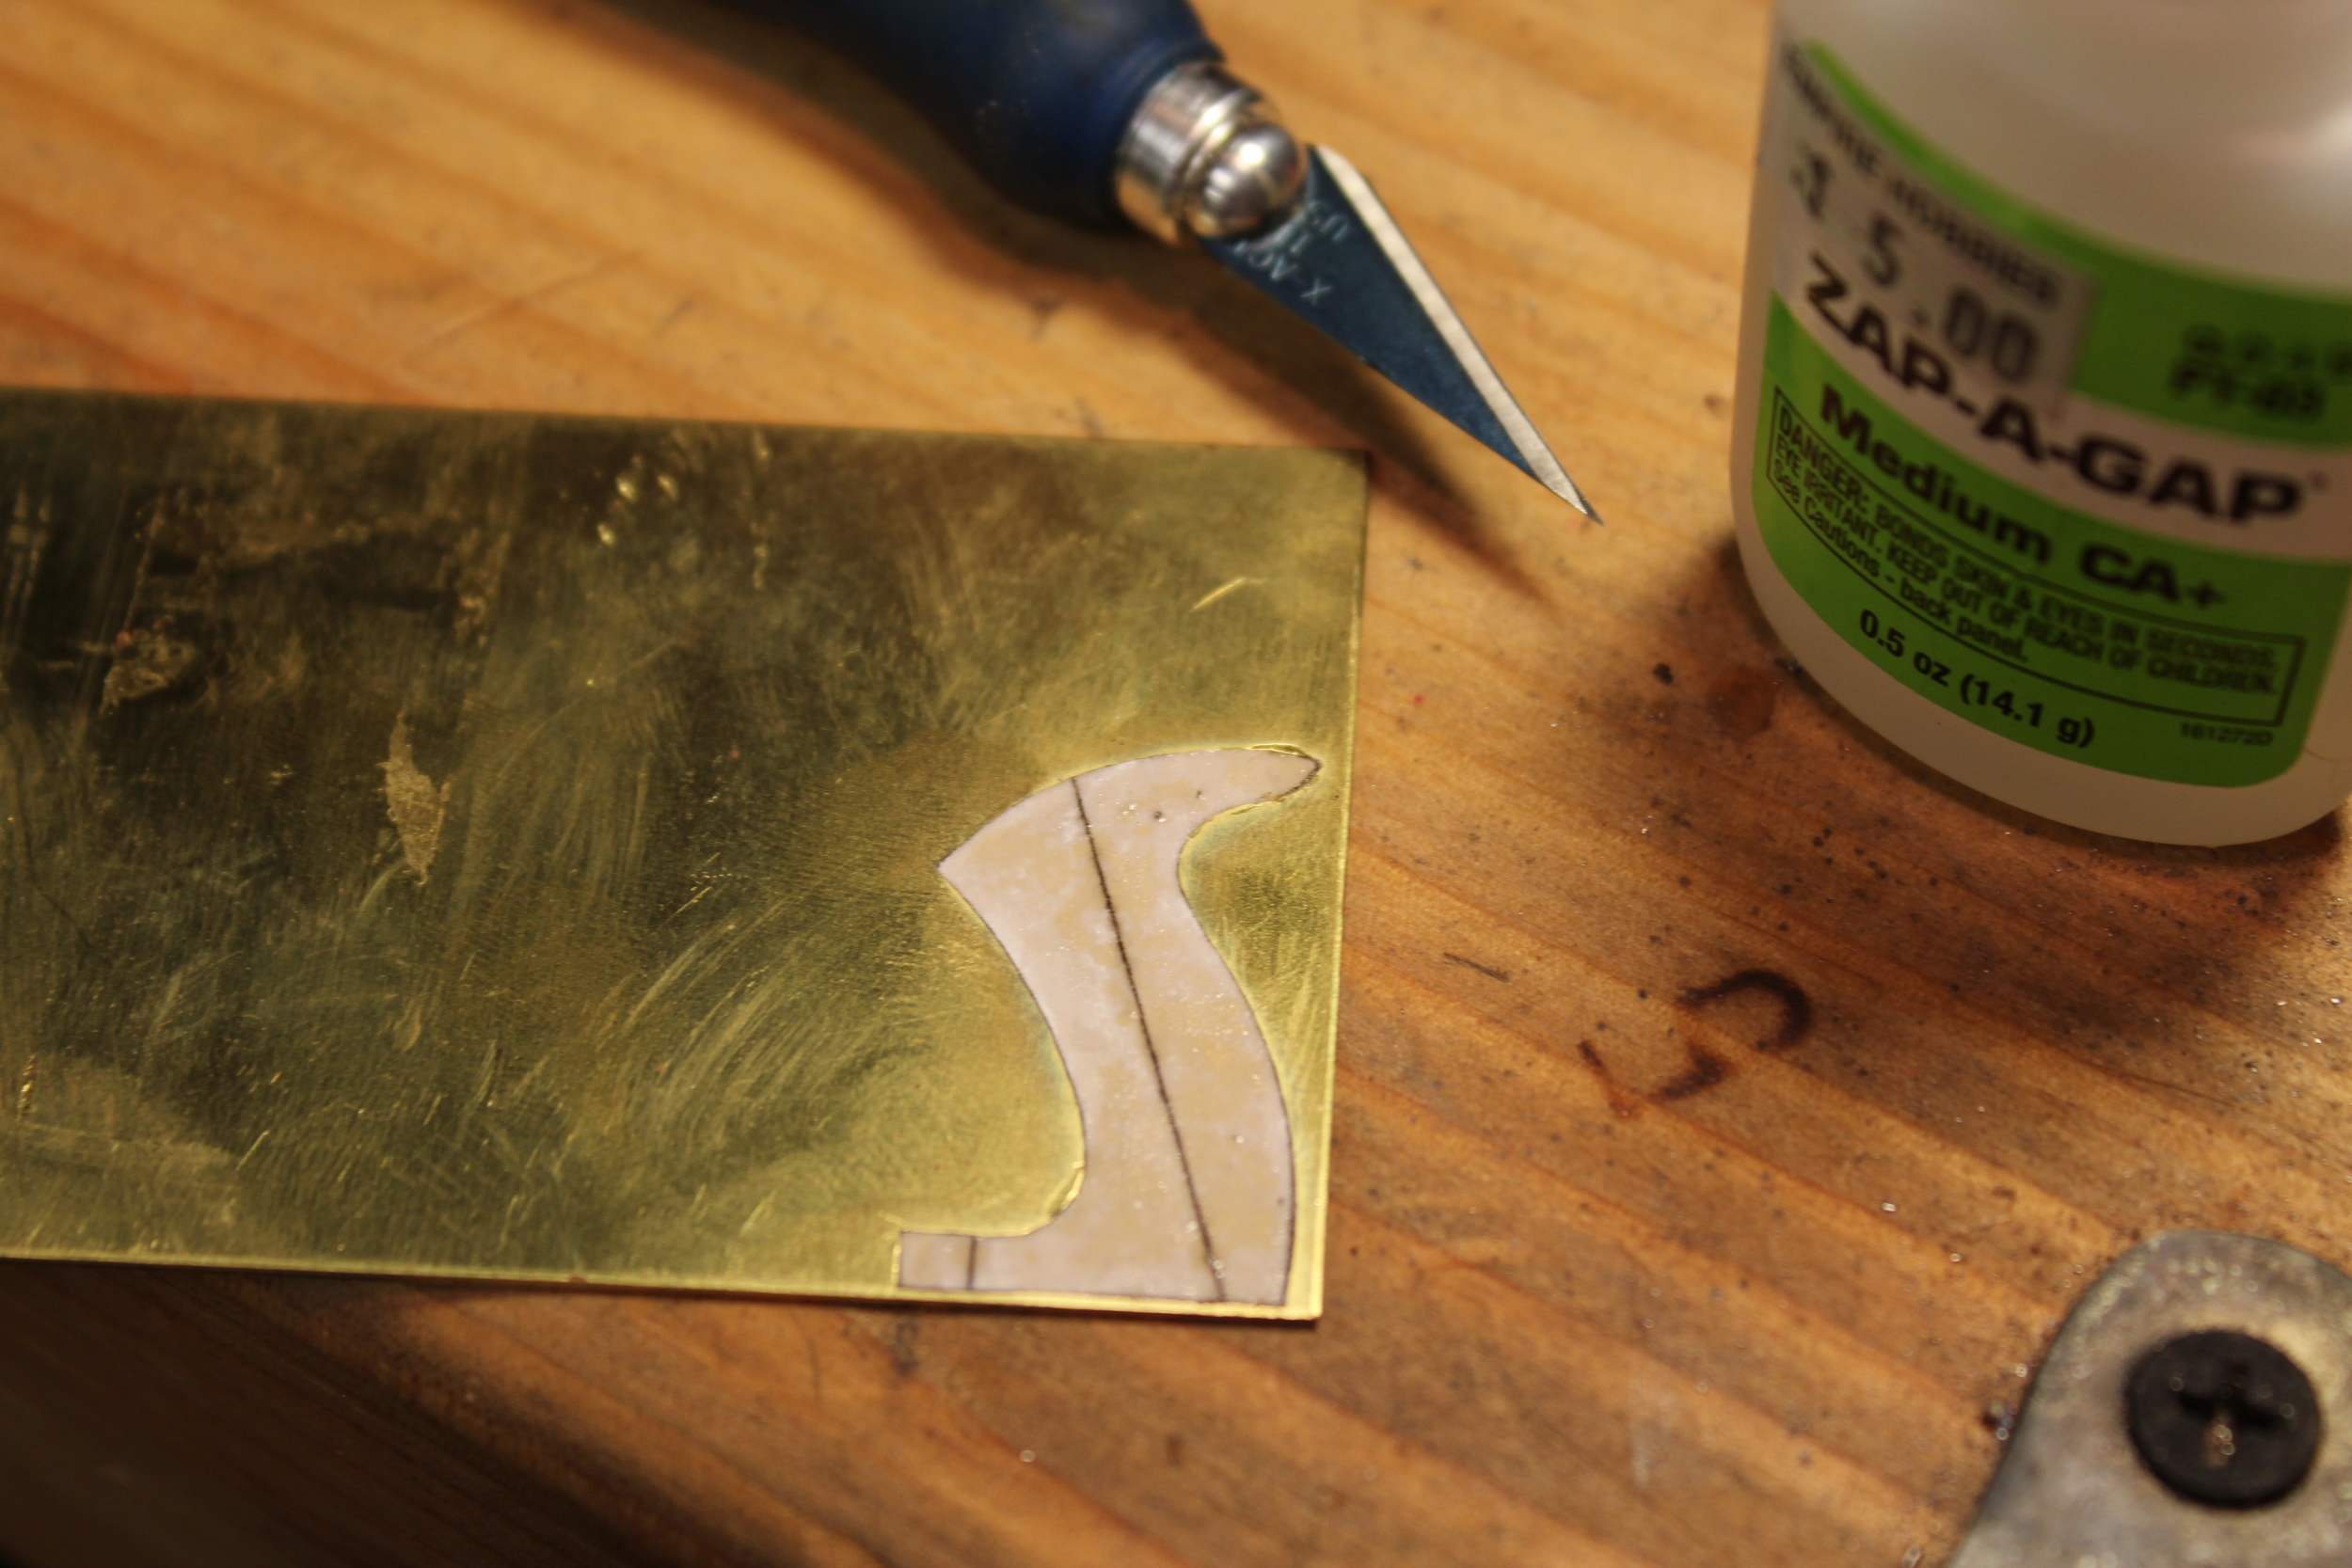
The tote shape was then sawed out, leaving some material cushion around the paper. I then filed the shape as close as possible to the edge of the paper. Before the paper template was removed from the brass I cut down the center lines I marked for the holes with a razor blade, leaving a nice score in the brass.
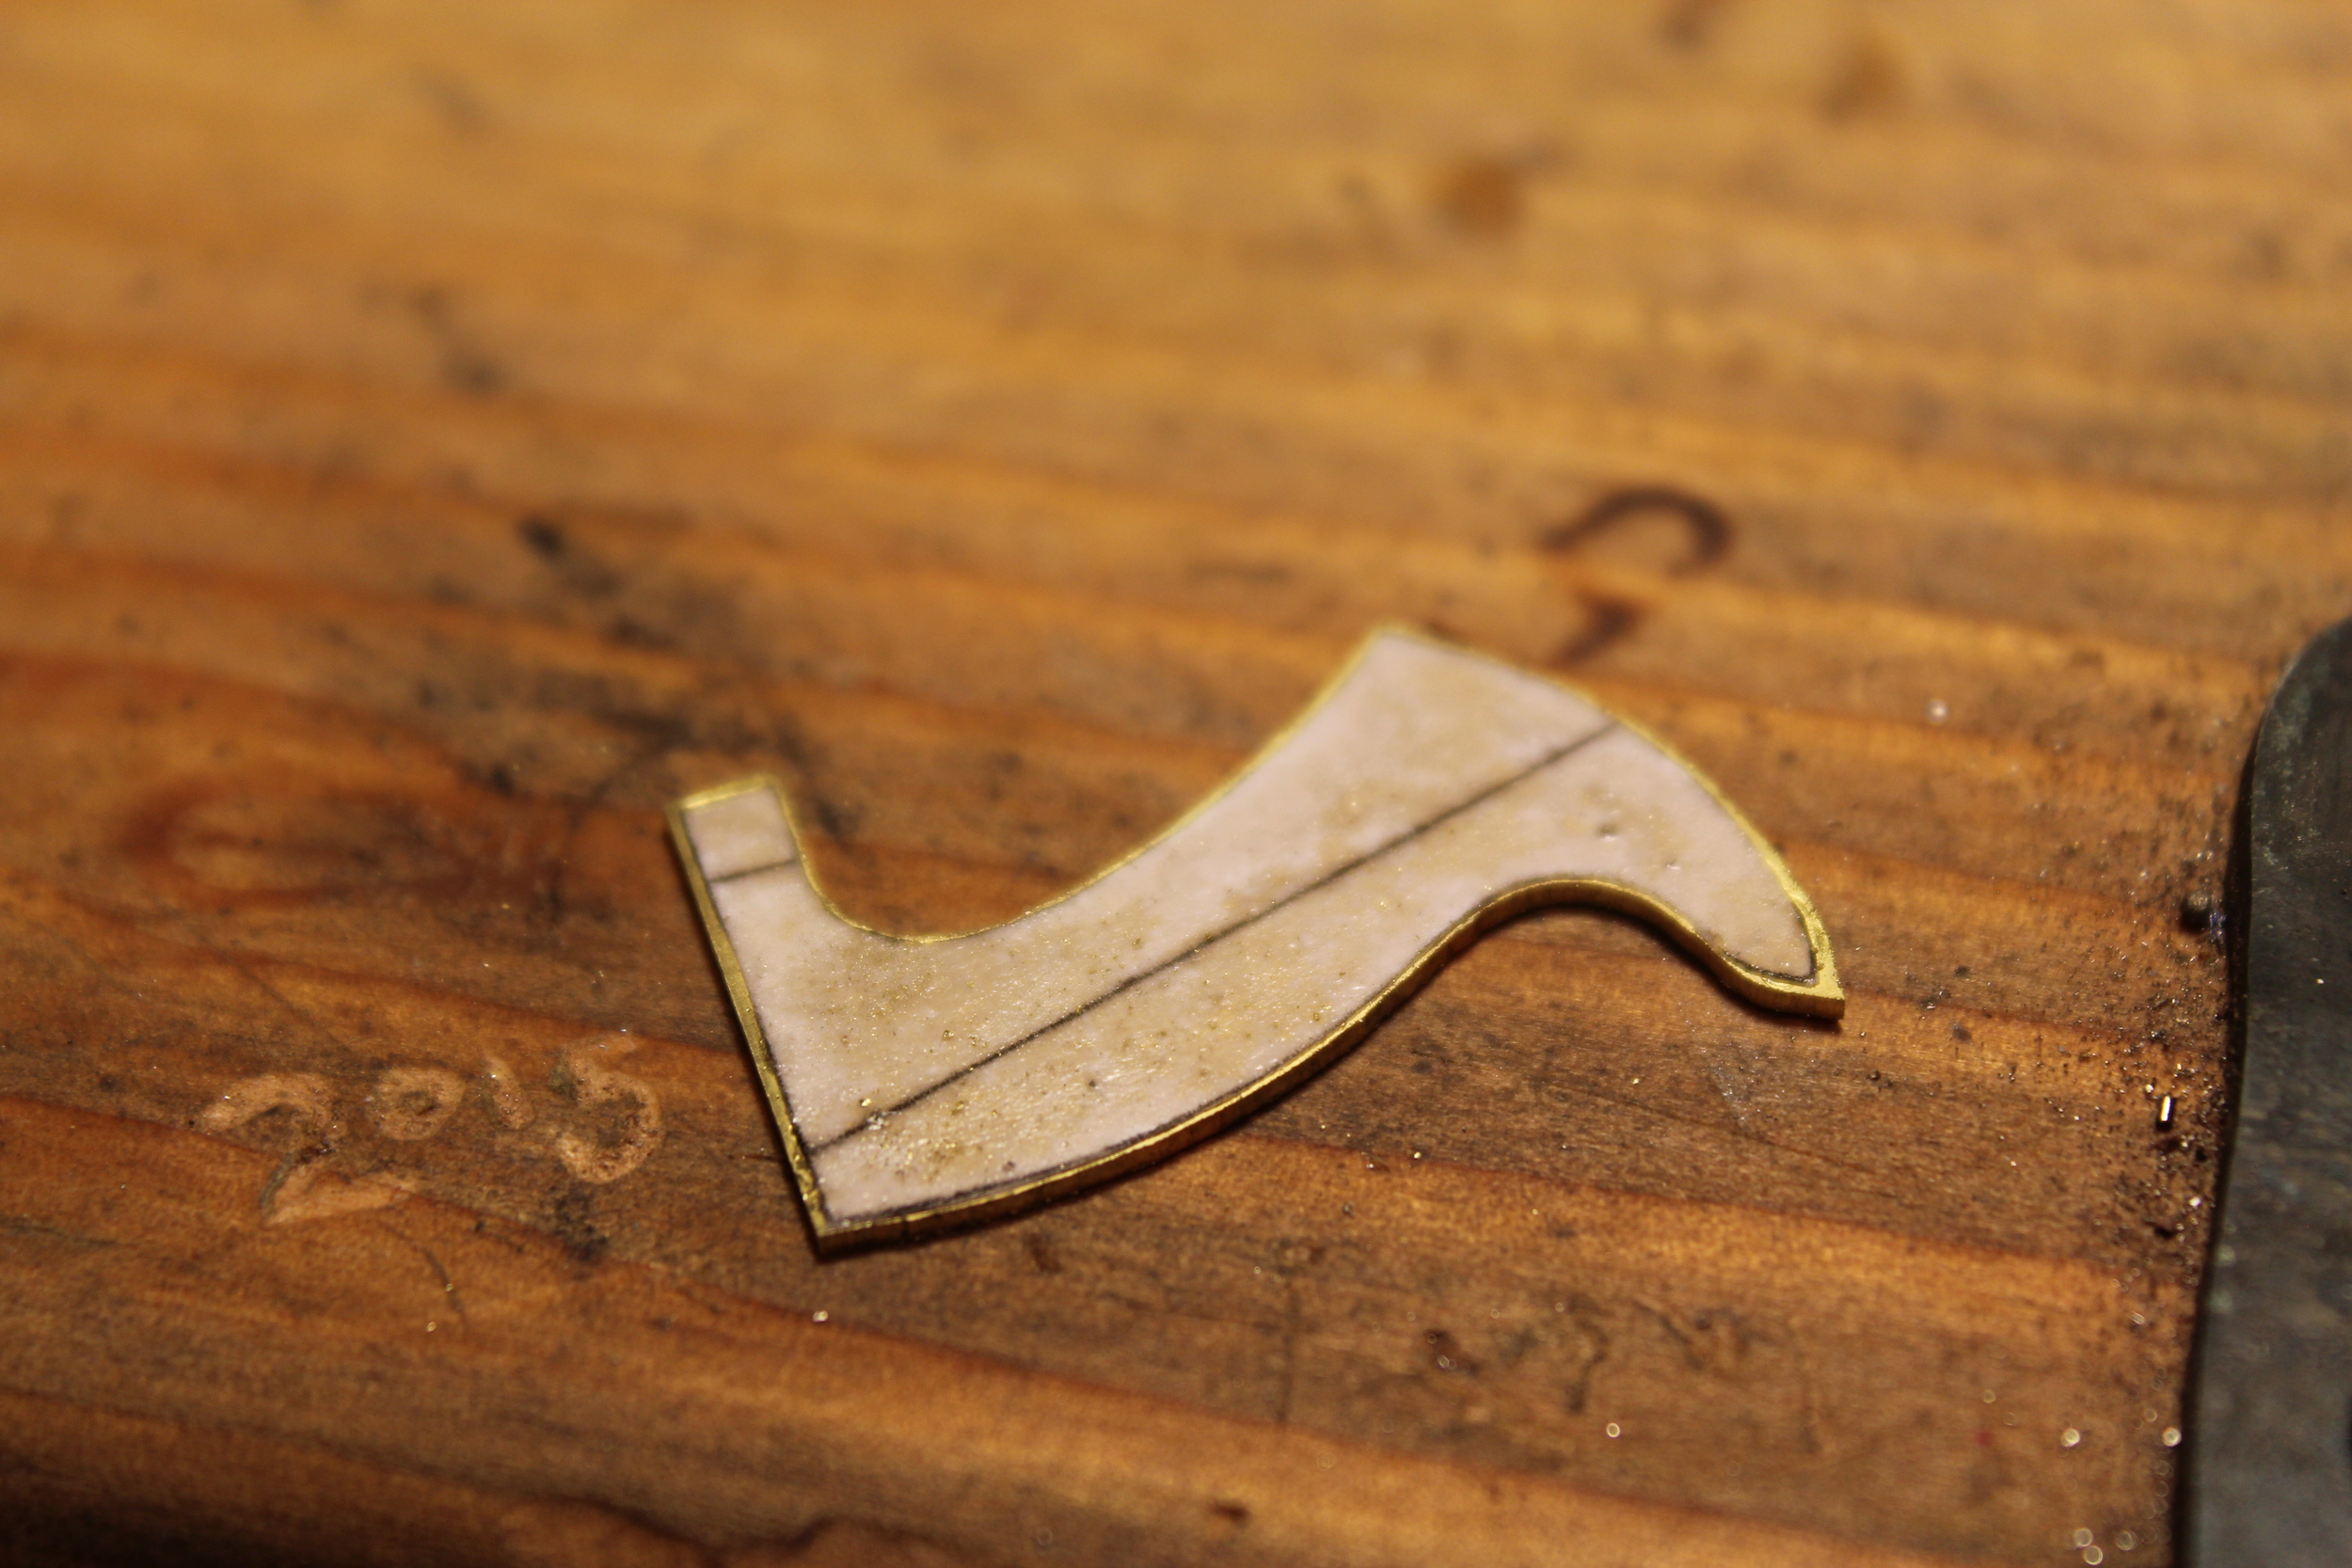
Roughed out with a jewelers saw.
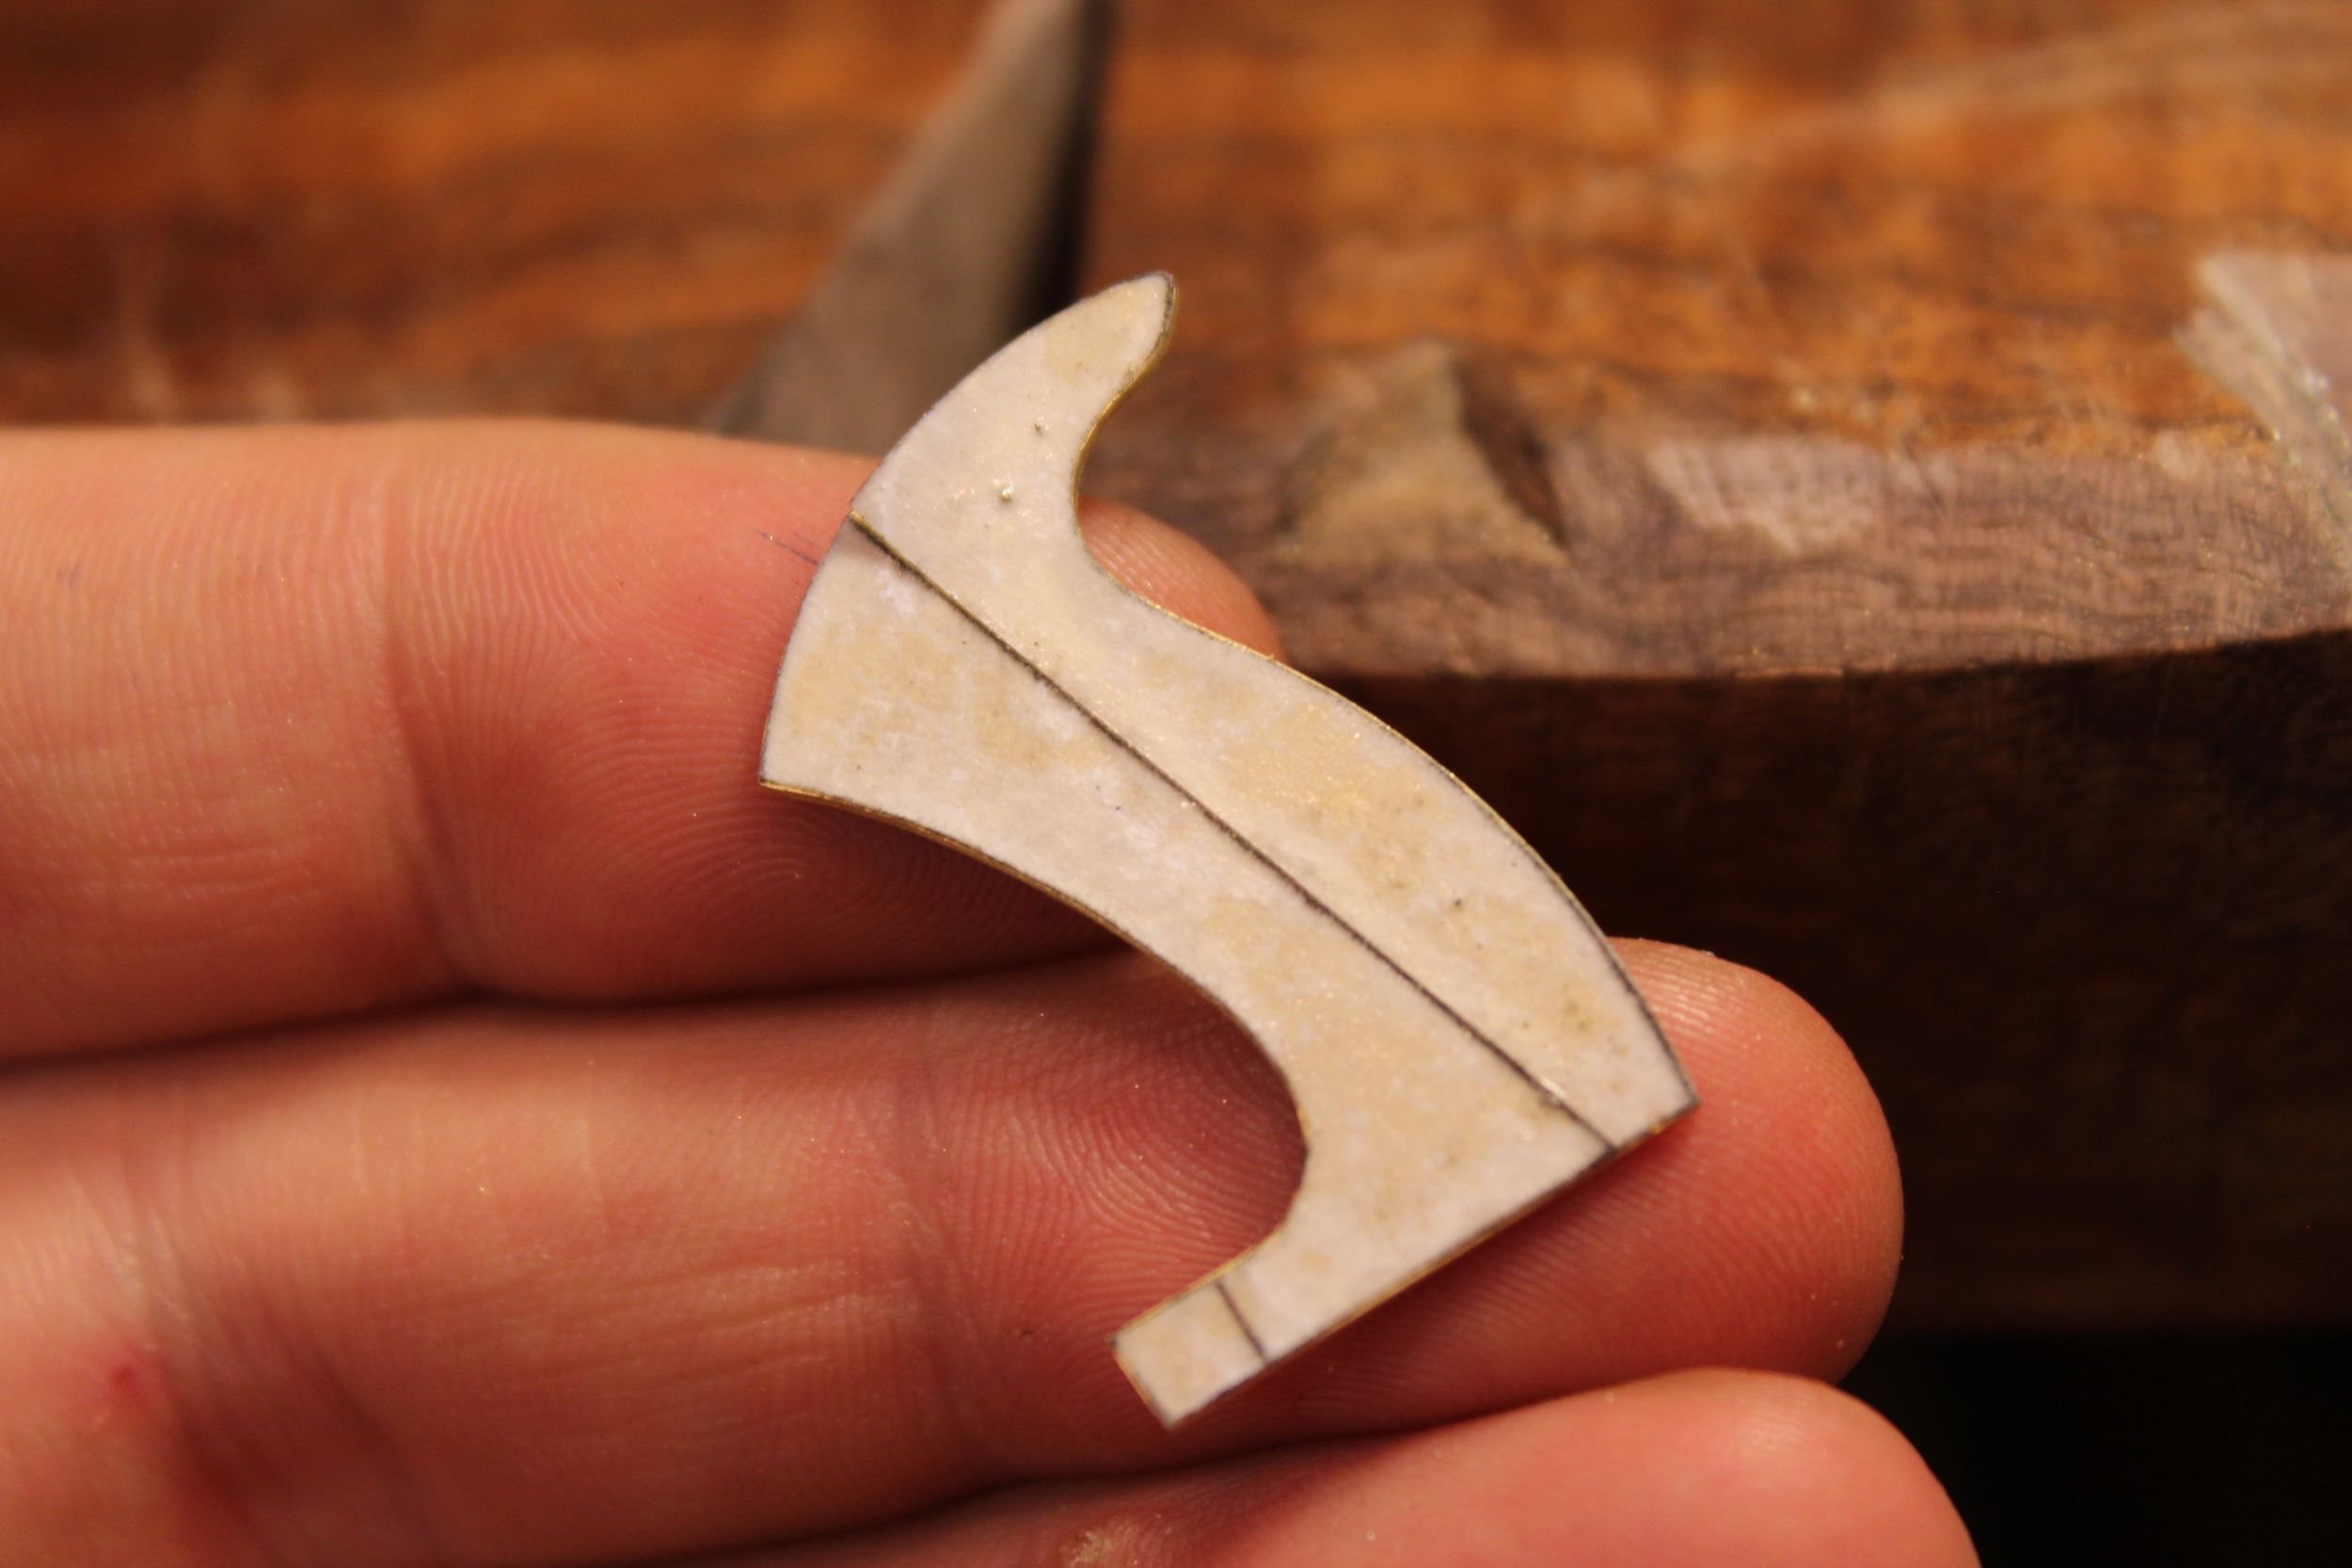
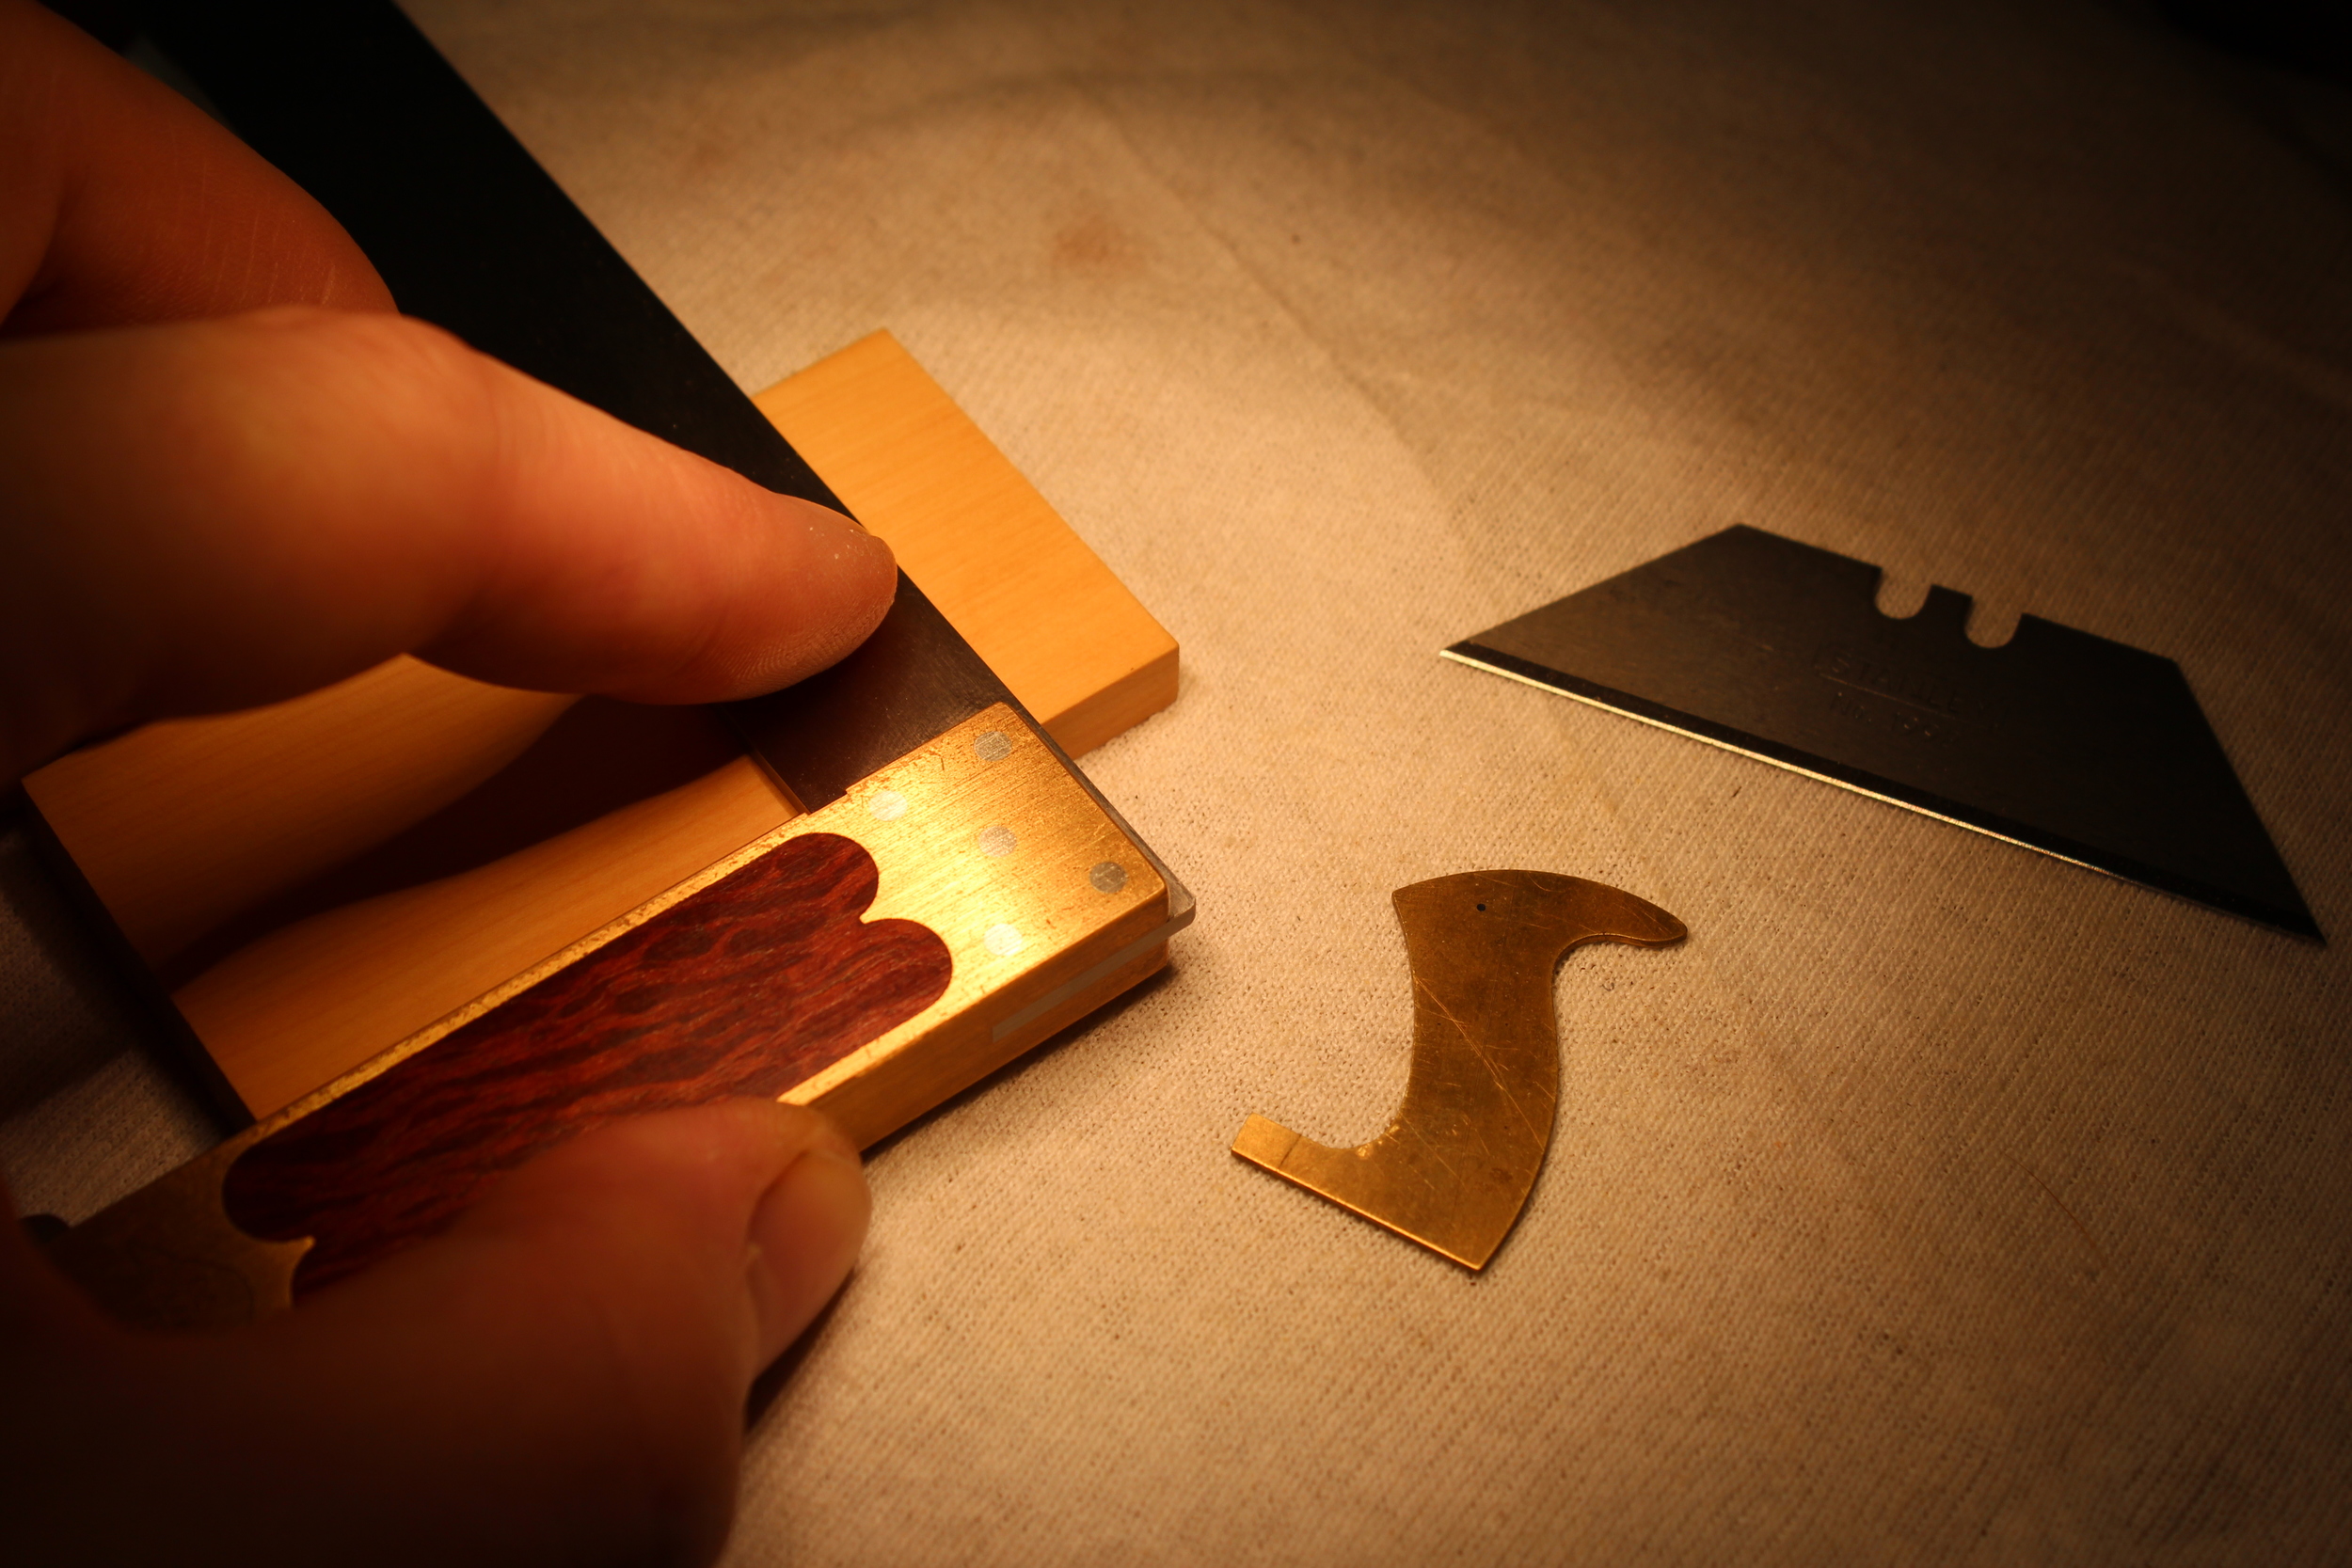
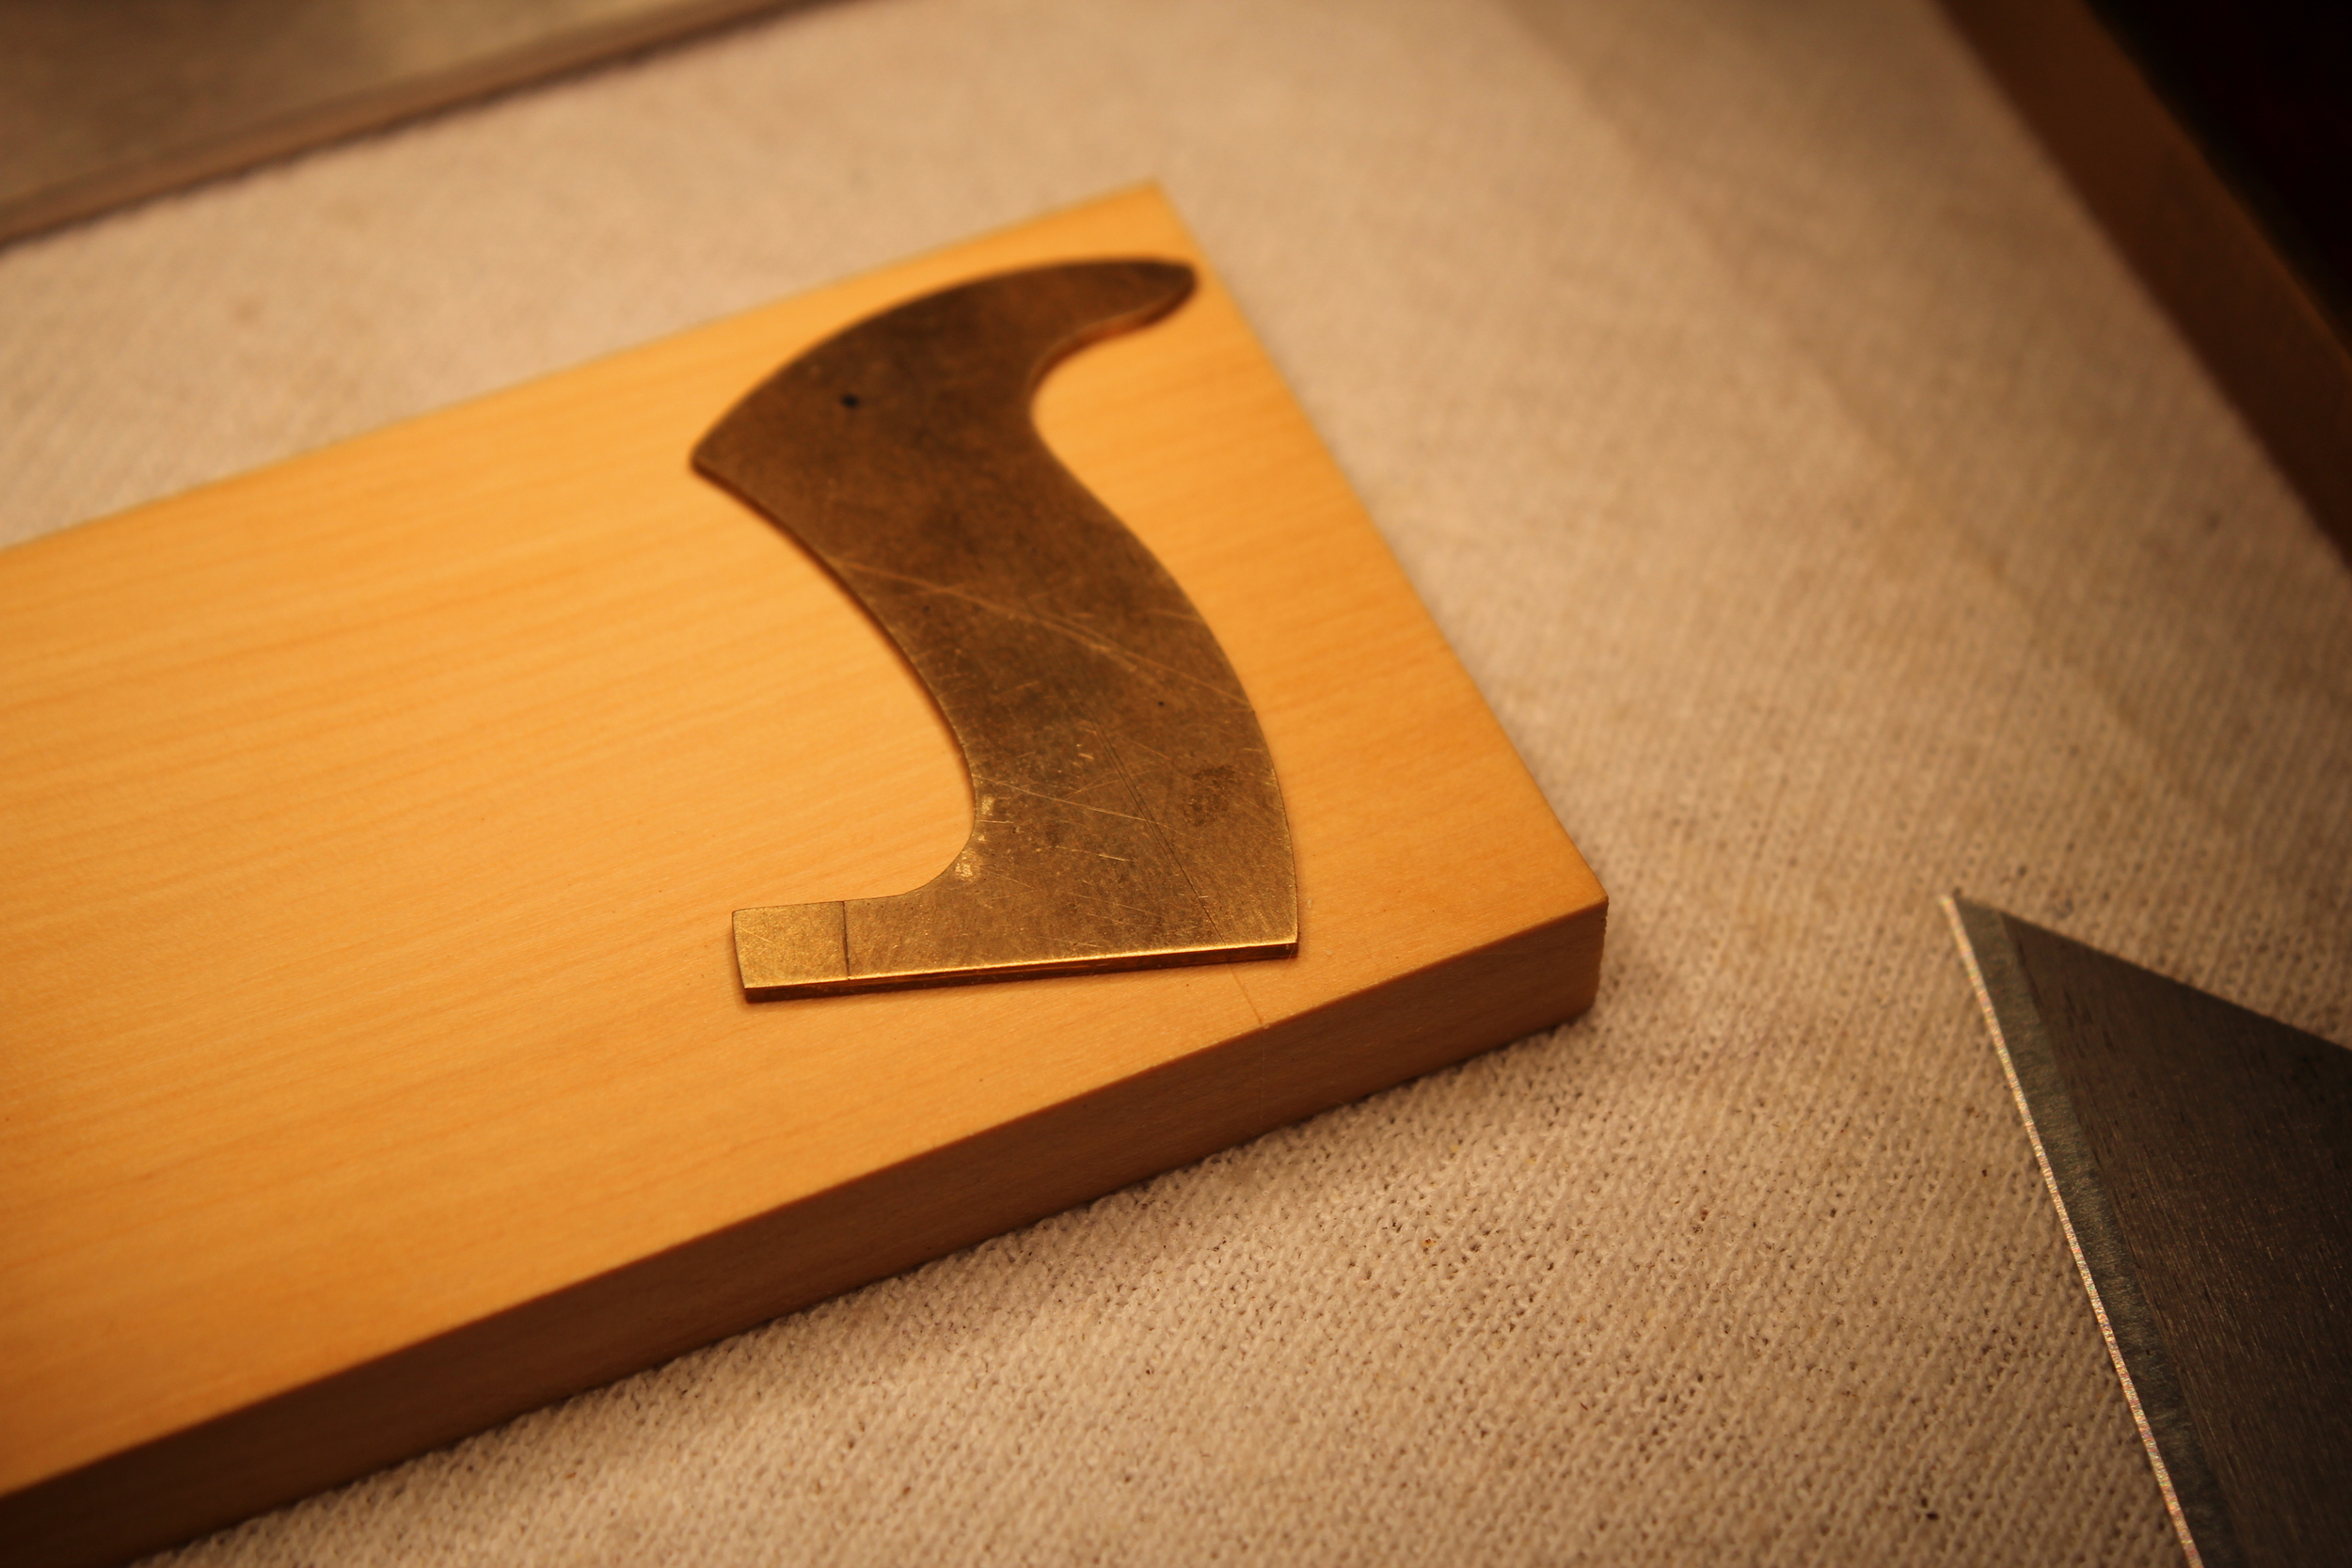
The template prior to removing the paper. You can see it peeling where I cut the center lines.
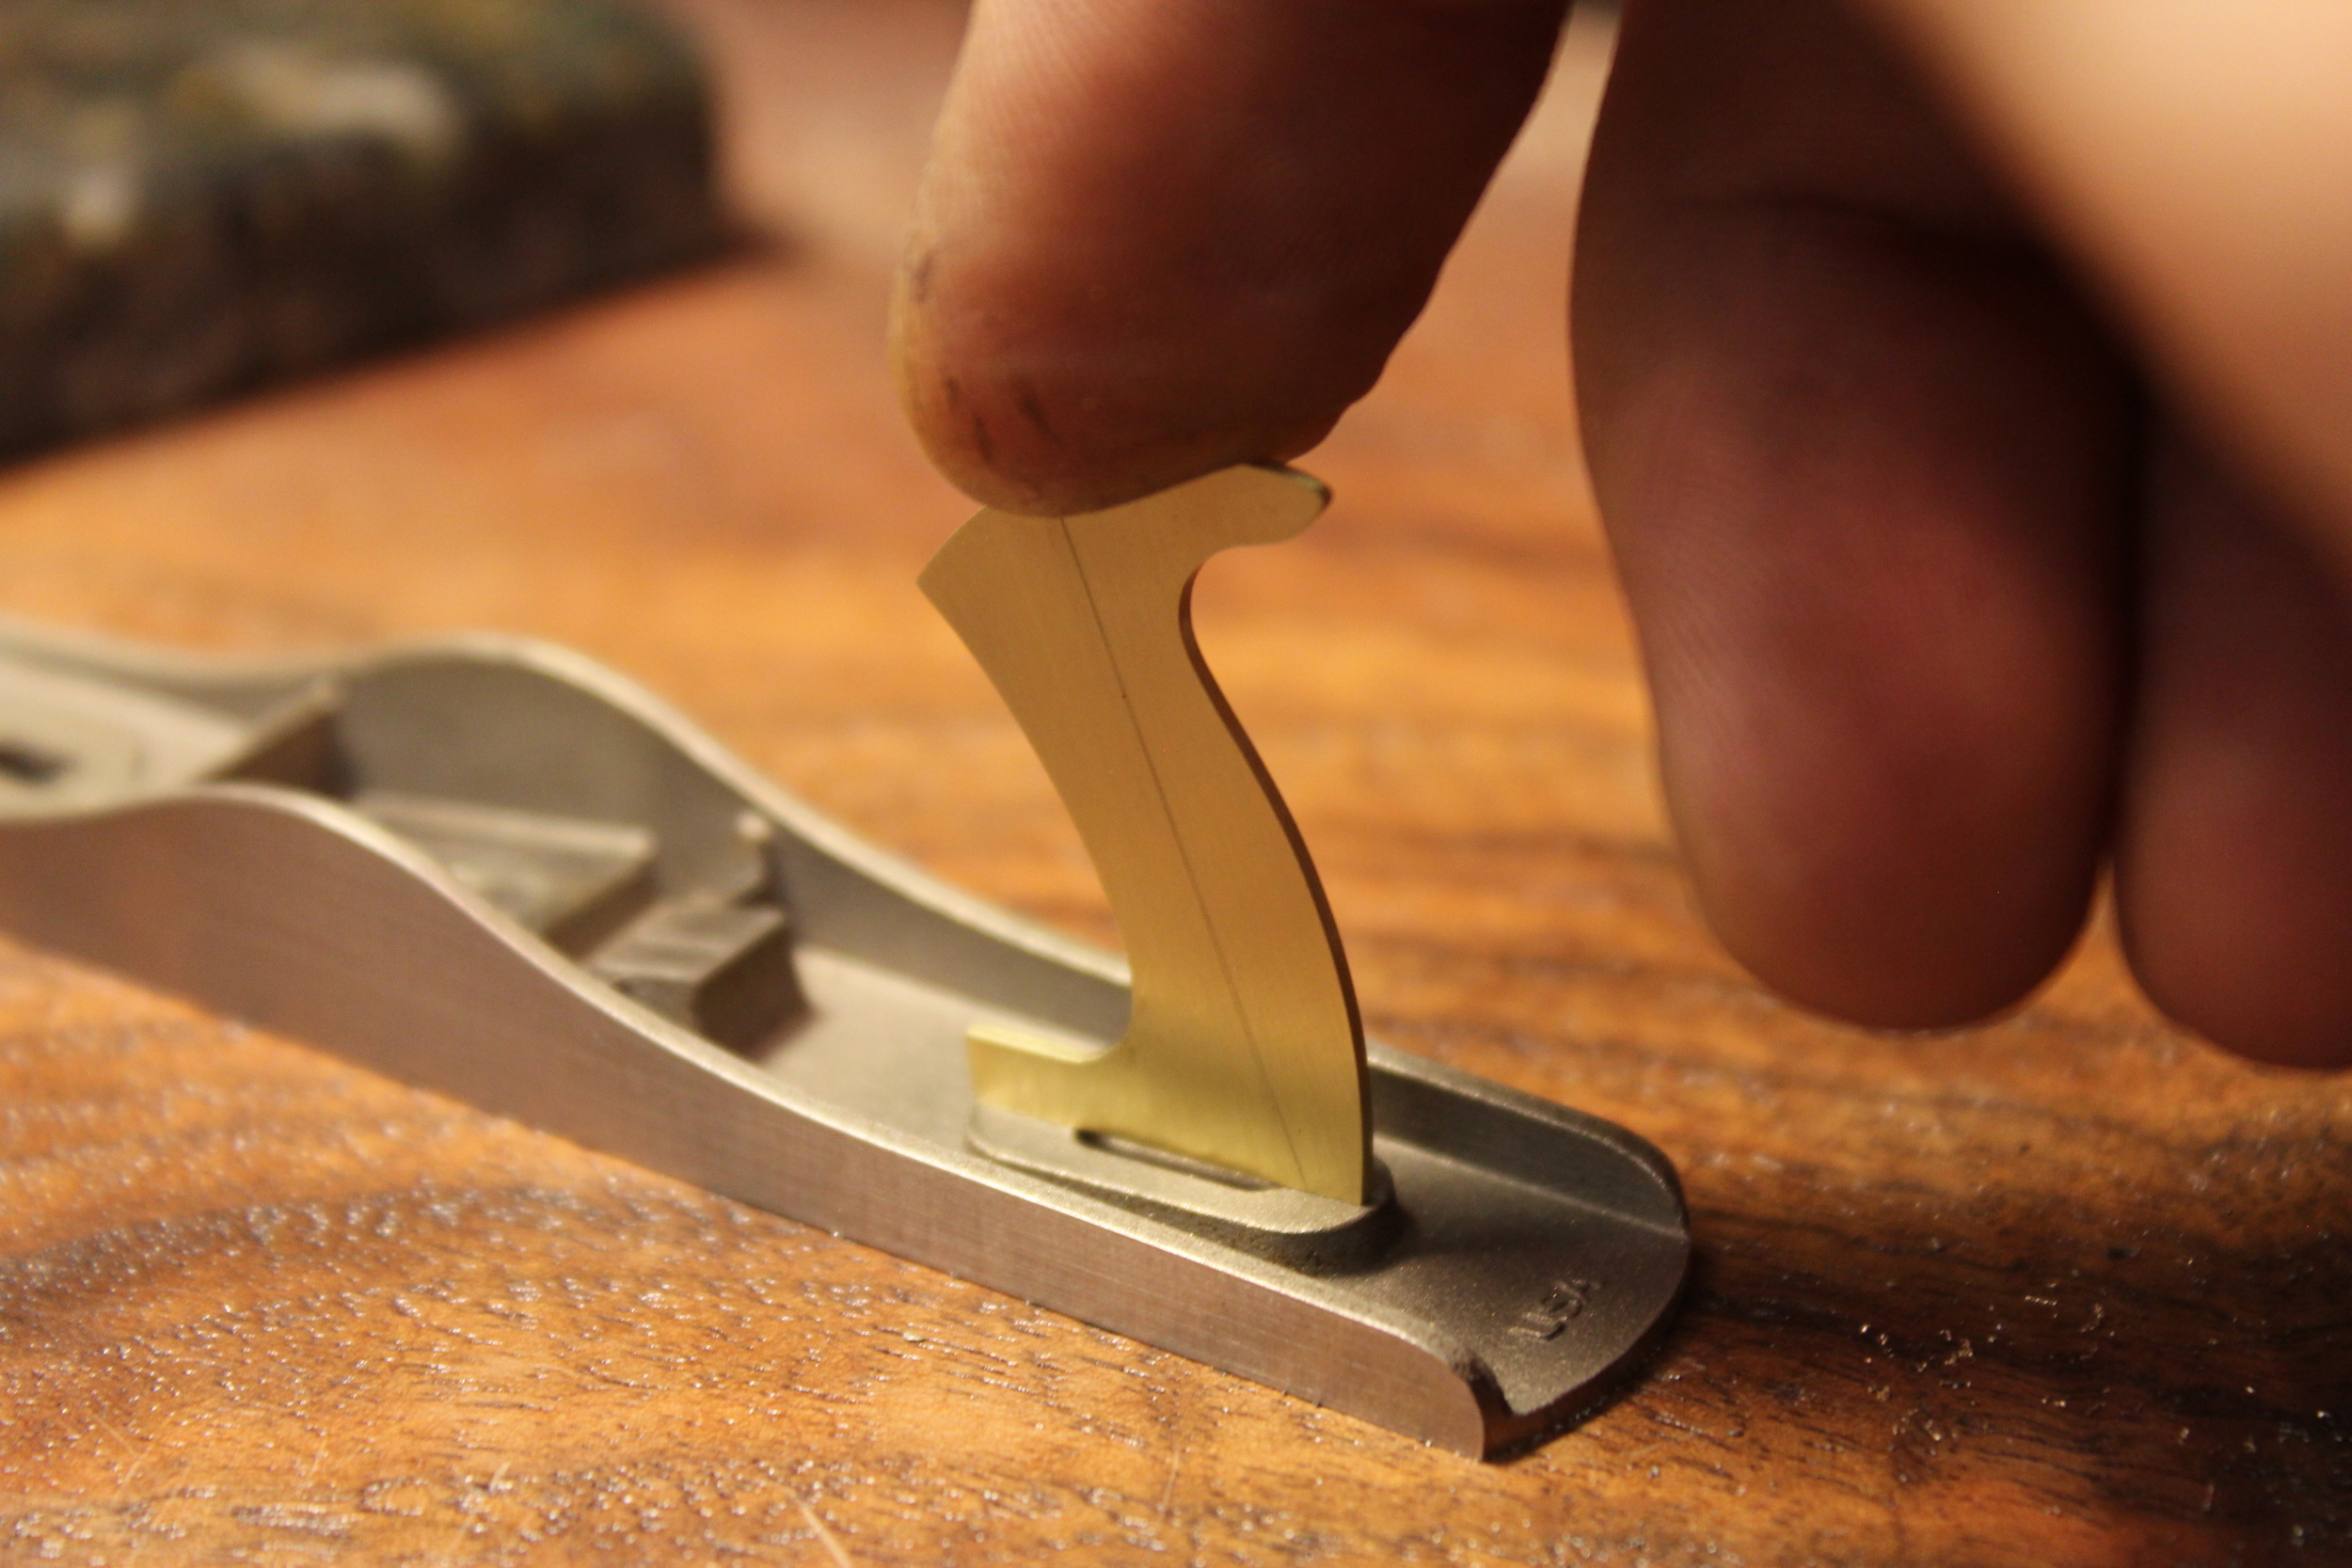
Test fitting the template on the casting to make sure the templates center lines match up with the centers marked in the castings.
The Timber
The wood I selected for the totes is European Box. Box has incredibly tight grain, that looks correct in scale. It is a absolute pleasure to work with; it machines, carves and files amazing. Box wood is super dense but it cuts smooth, almost buttery, its hard to explain. I also decided to make two totes in Brazilian Rosewood because it smells good.
I sliced the wood up with a band saw, trying to get as close to quarter sawn as possible. I let the slices acclimate for a couple weeks before milling them to size. I used a 7" metal shaper to mill the pieces down to my final thickness. In time I will do a separate post on using a metal shaper for milling wood. I left a extra .005" in thickness for sanding room in the final stages. I milled out 14 pieces, each good for two totes.
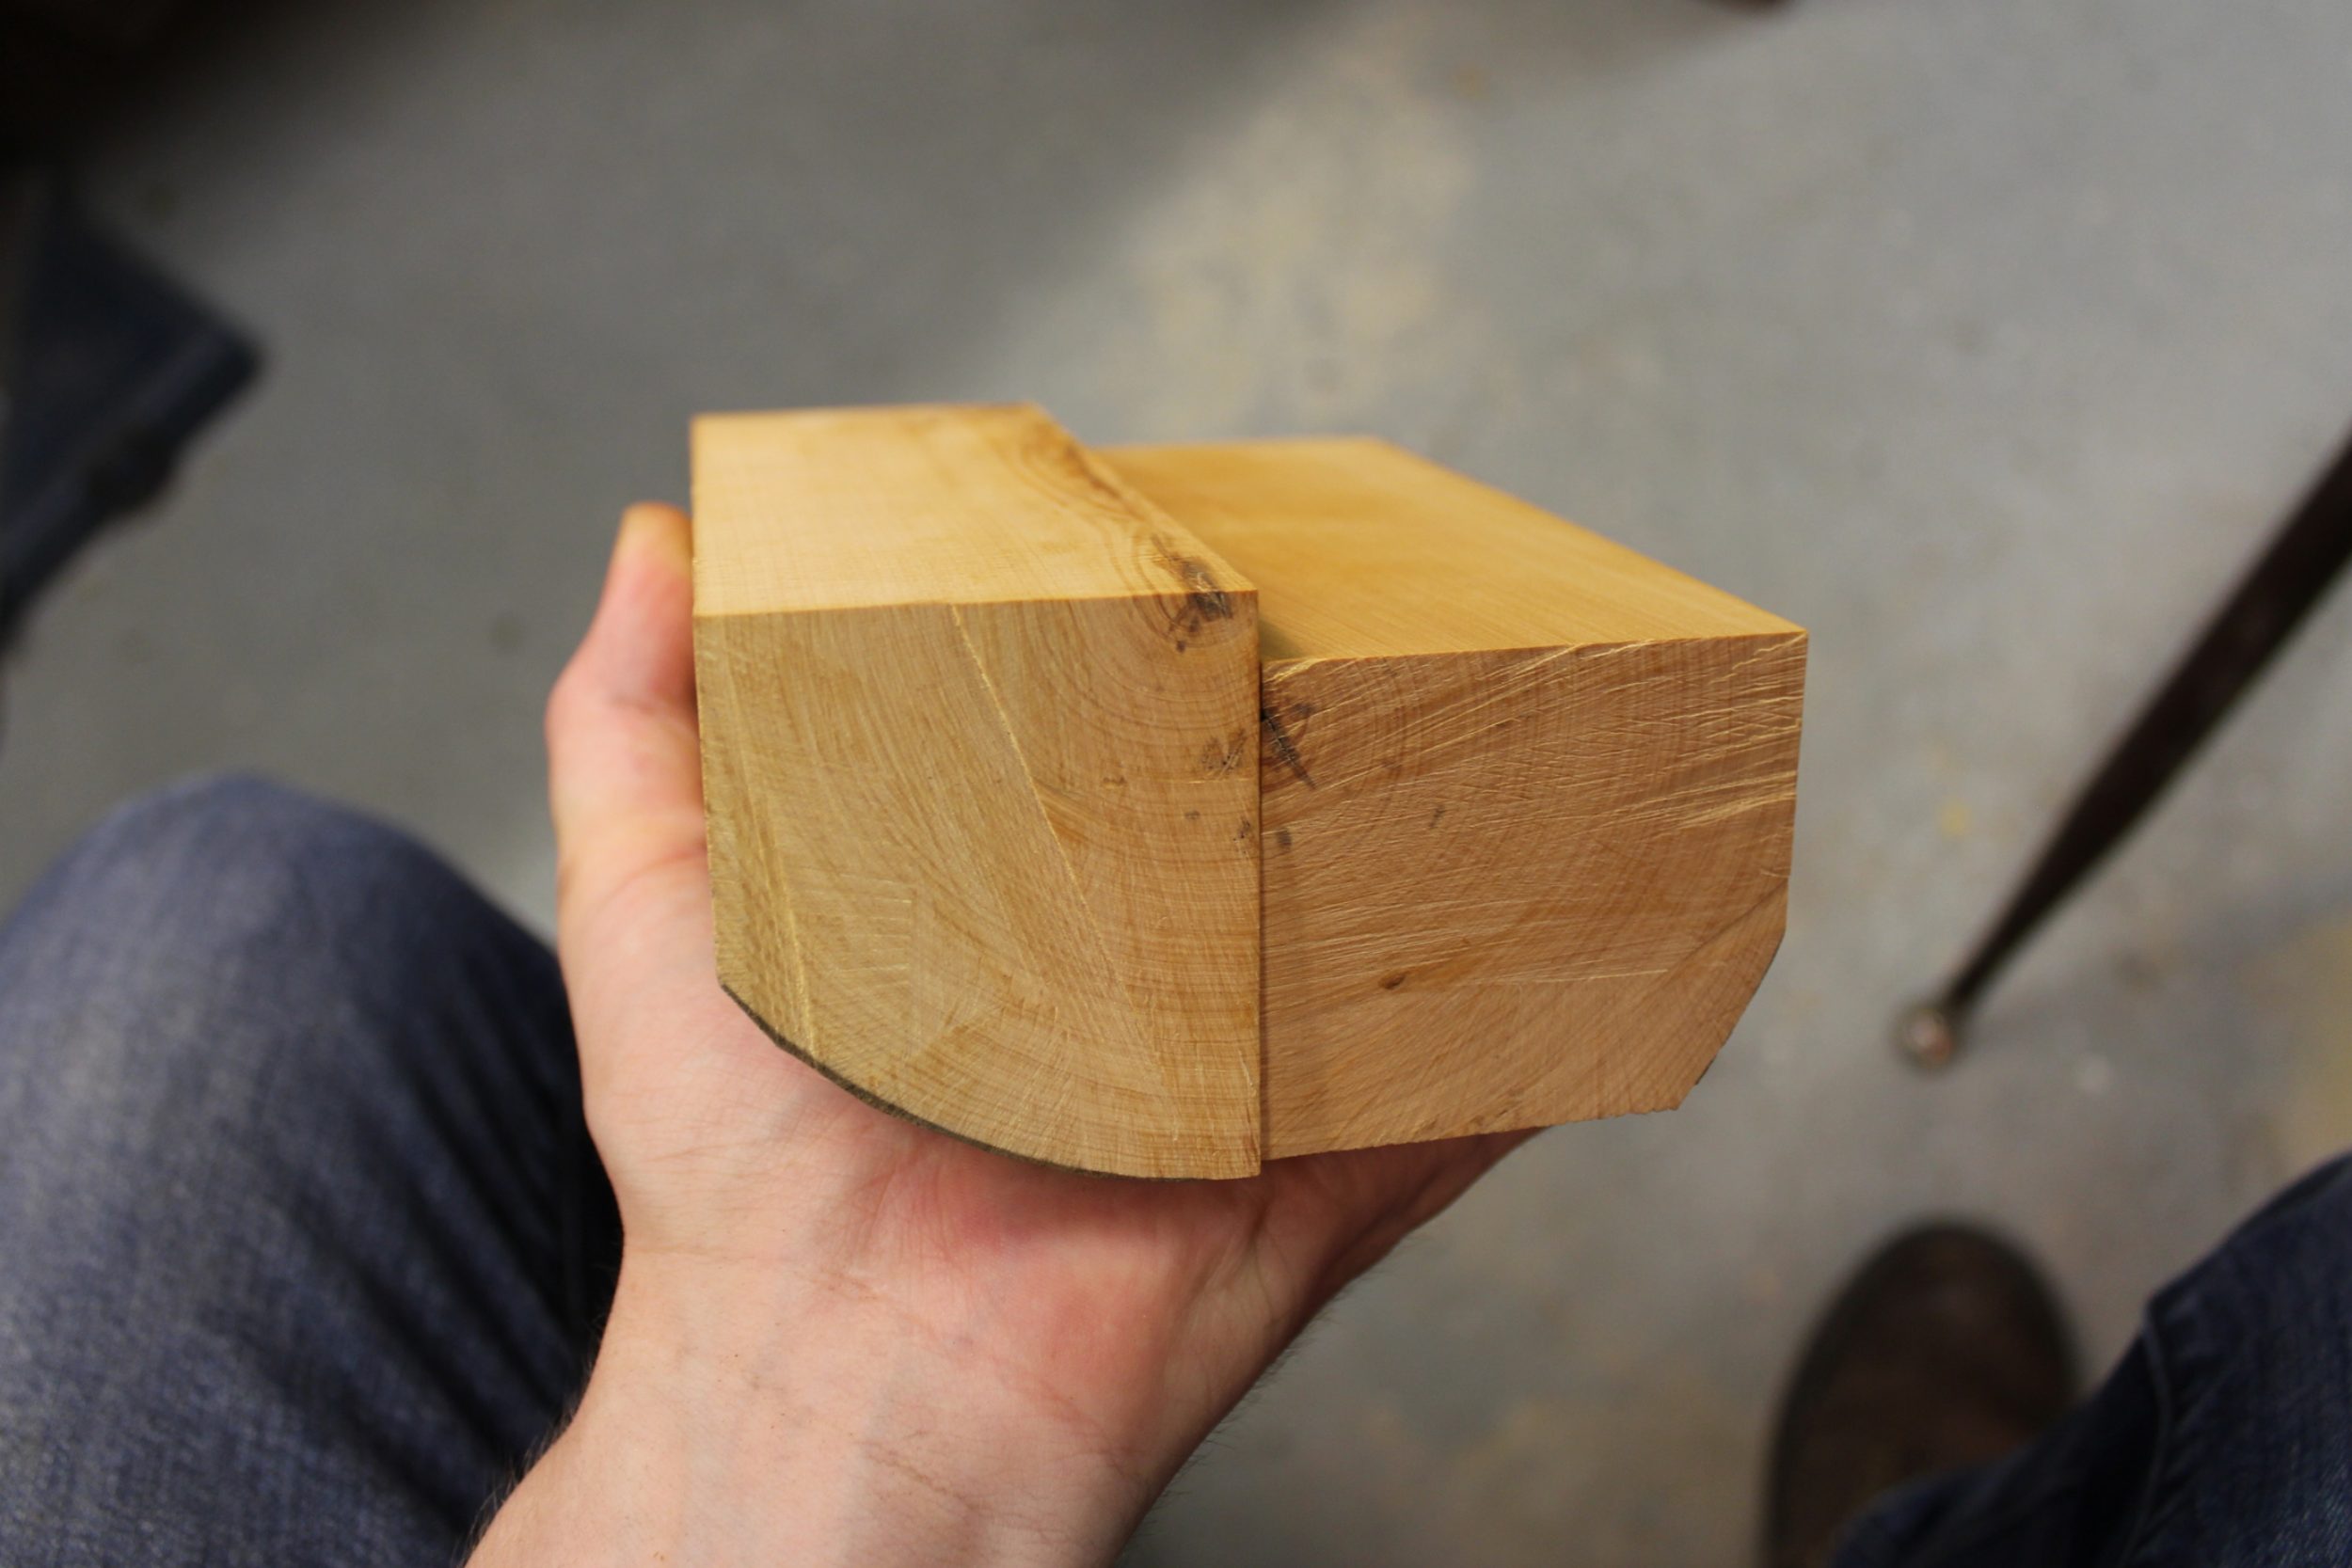
Box wood chunks. Its almost like buying a fine cheese.
Tight ass grain.
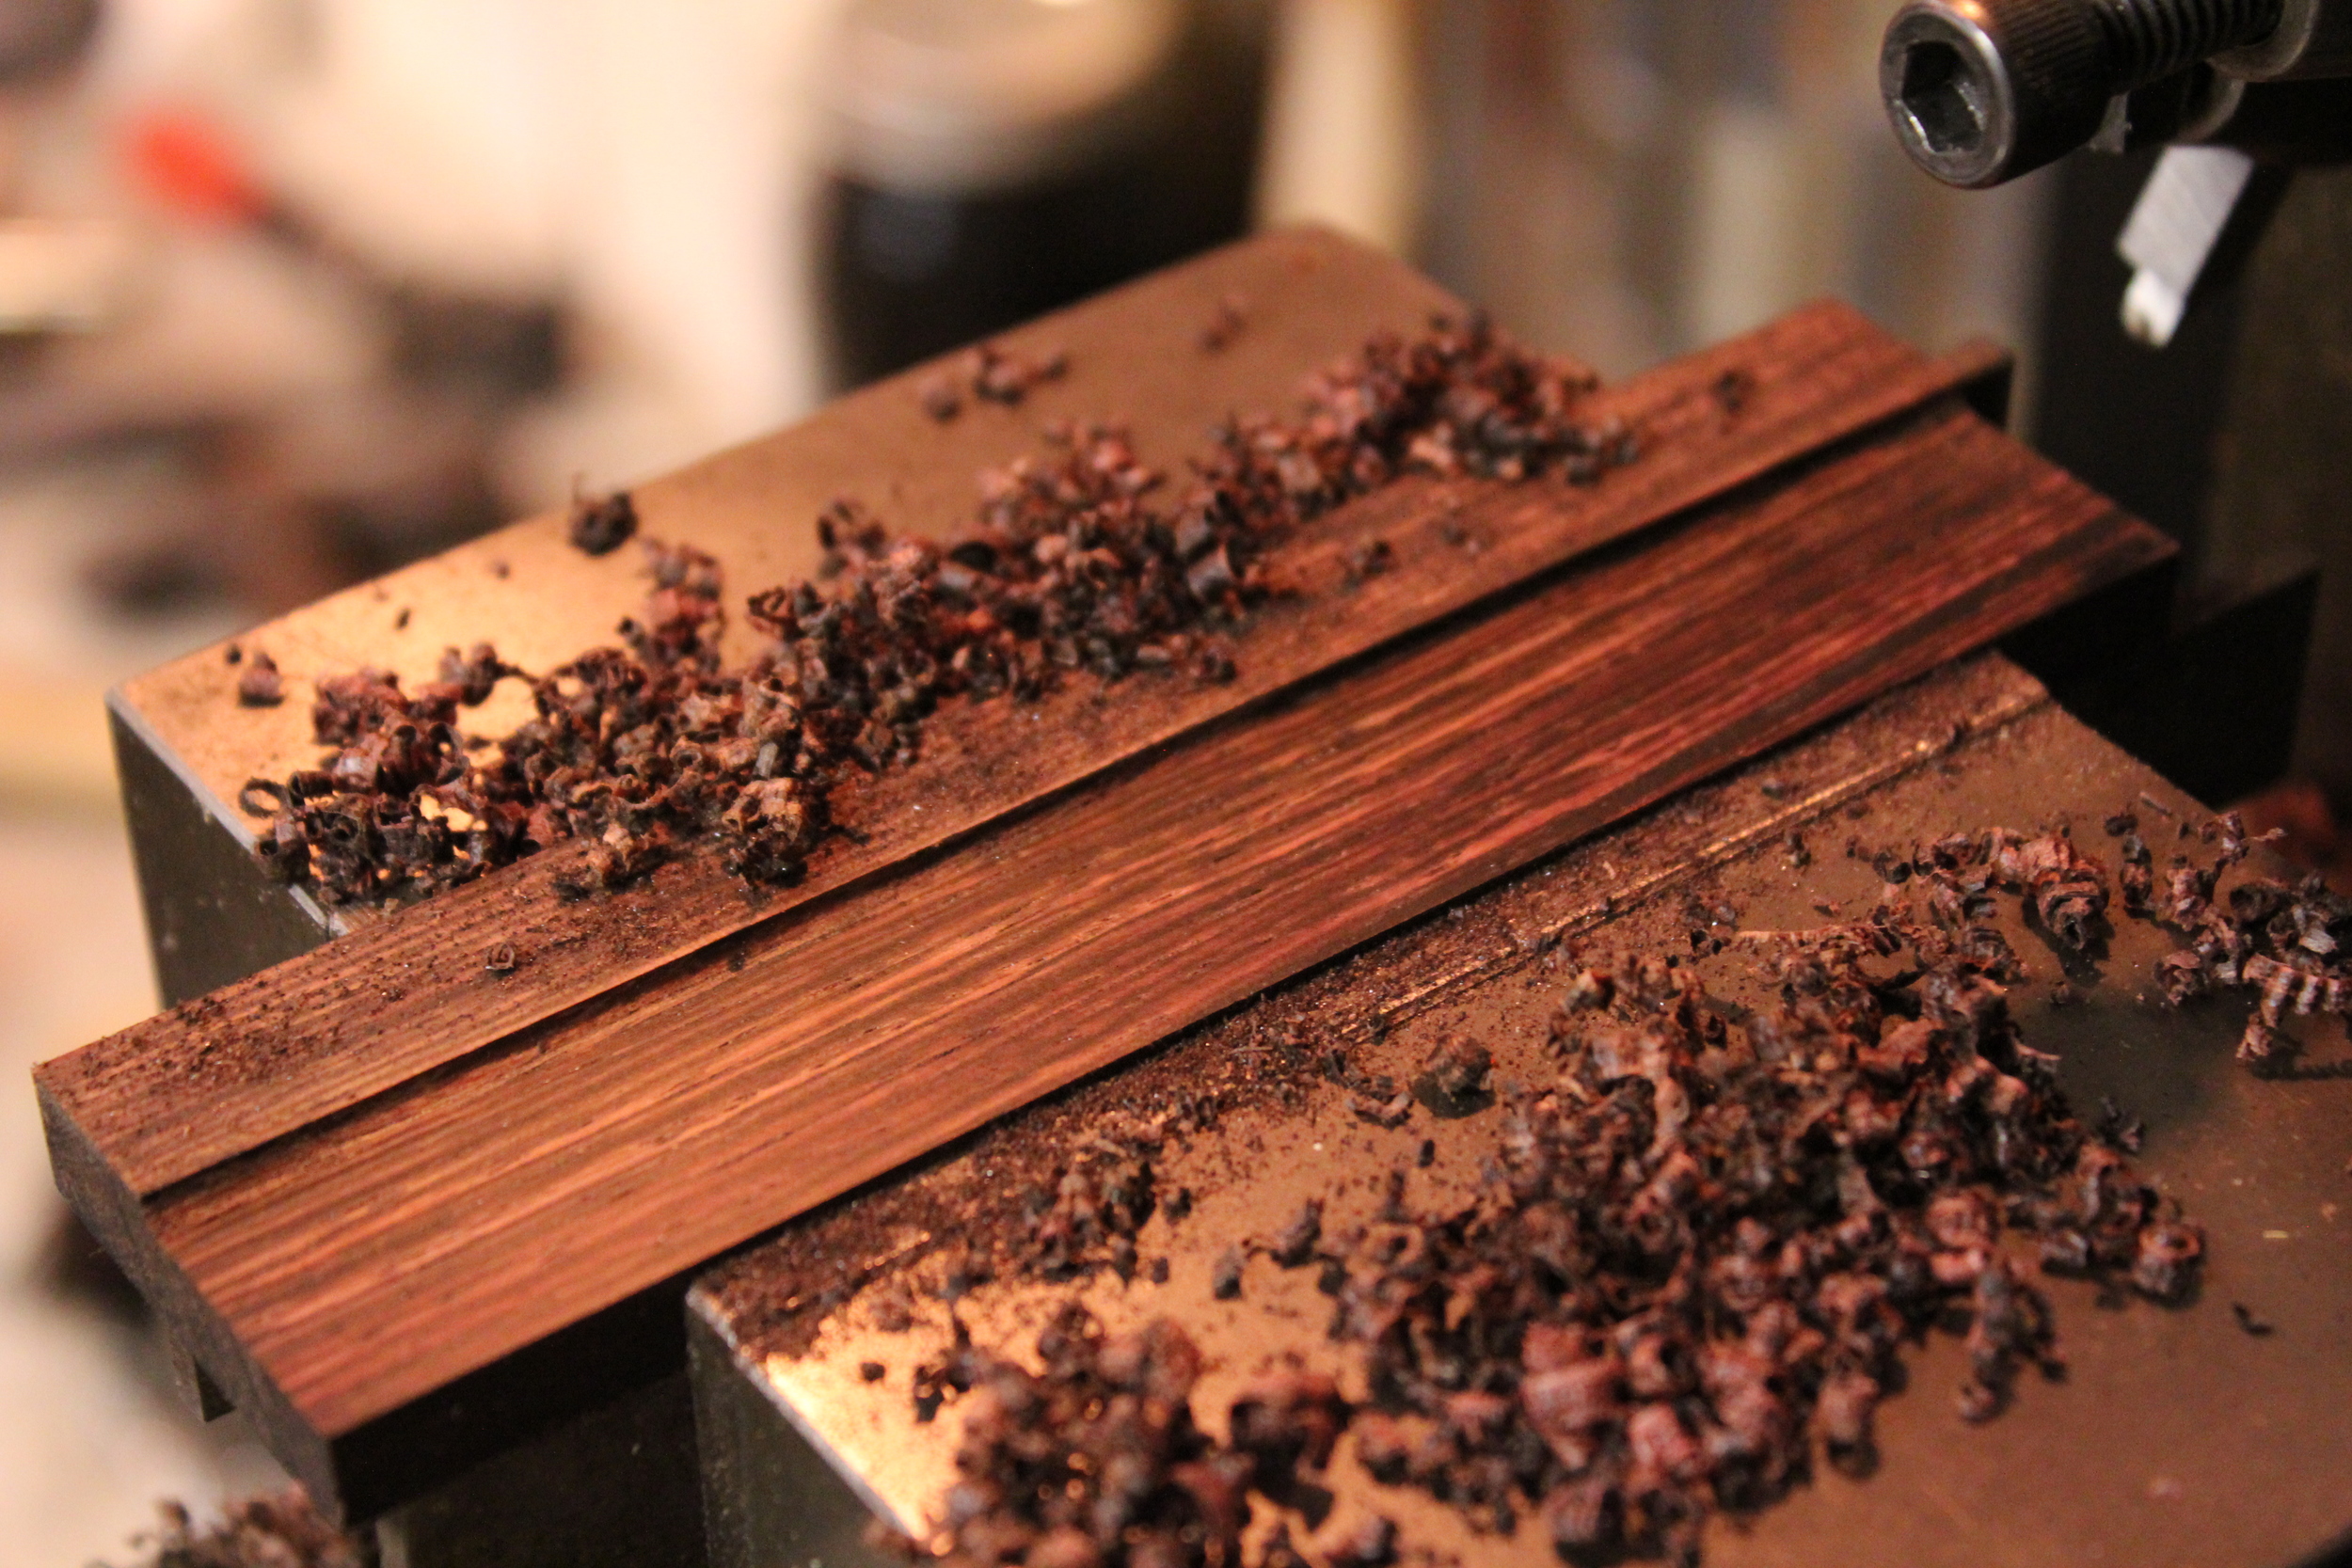
Shaper milling down Rosewood. Not typically used for wood, shapers do accurate work and leave a beautiful finish.

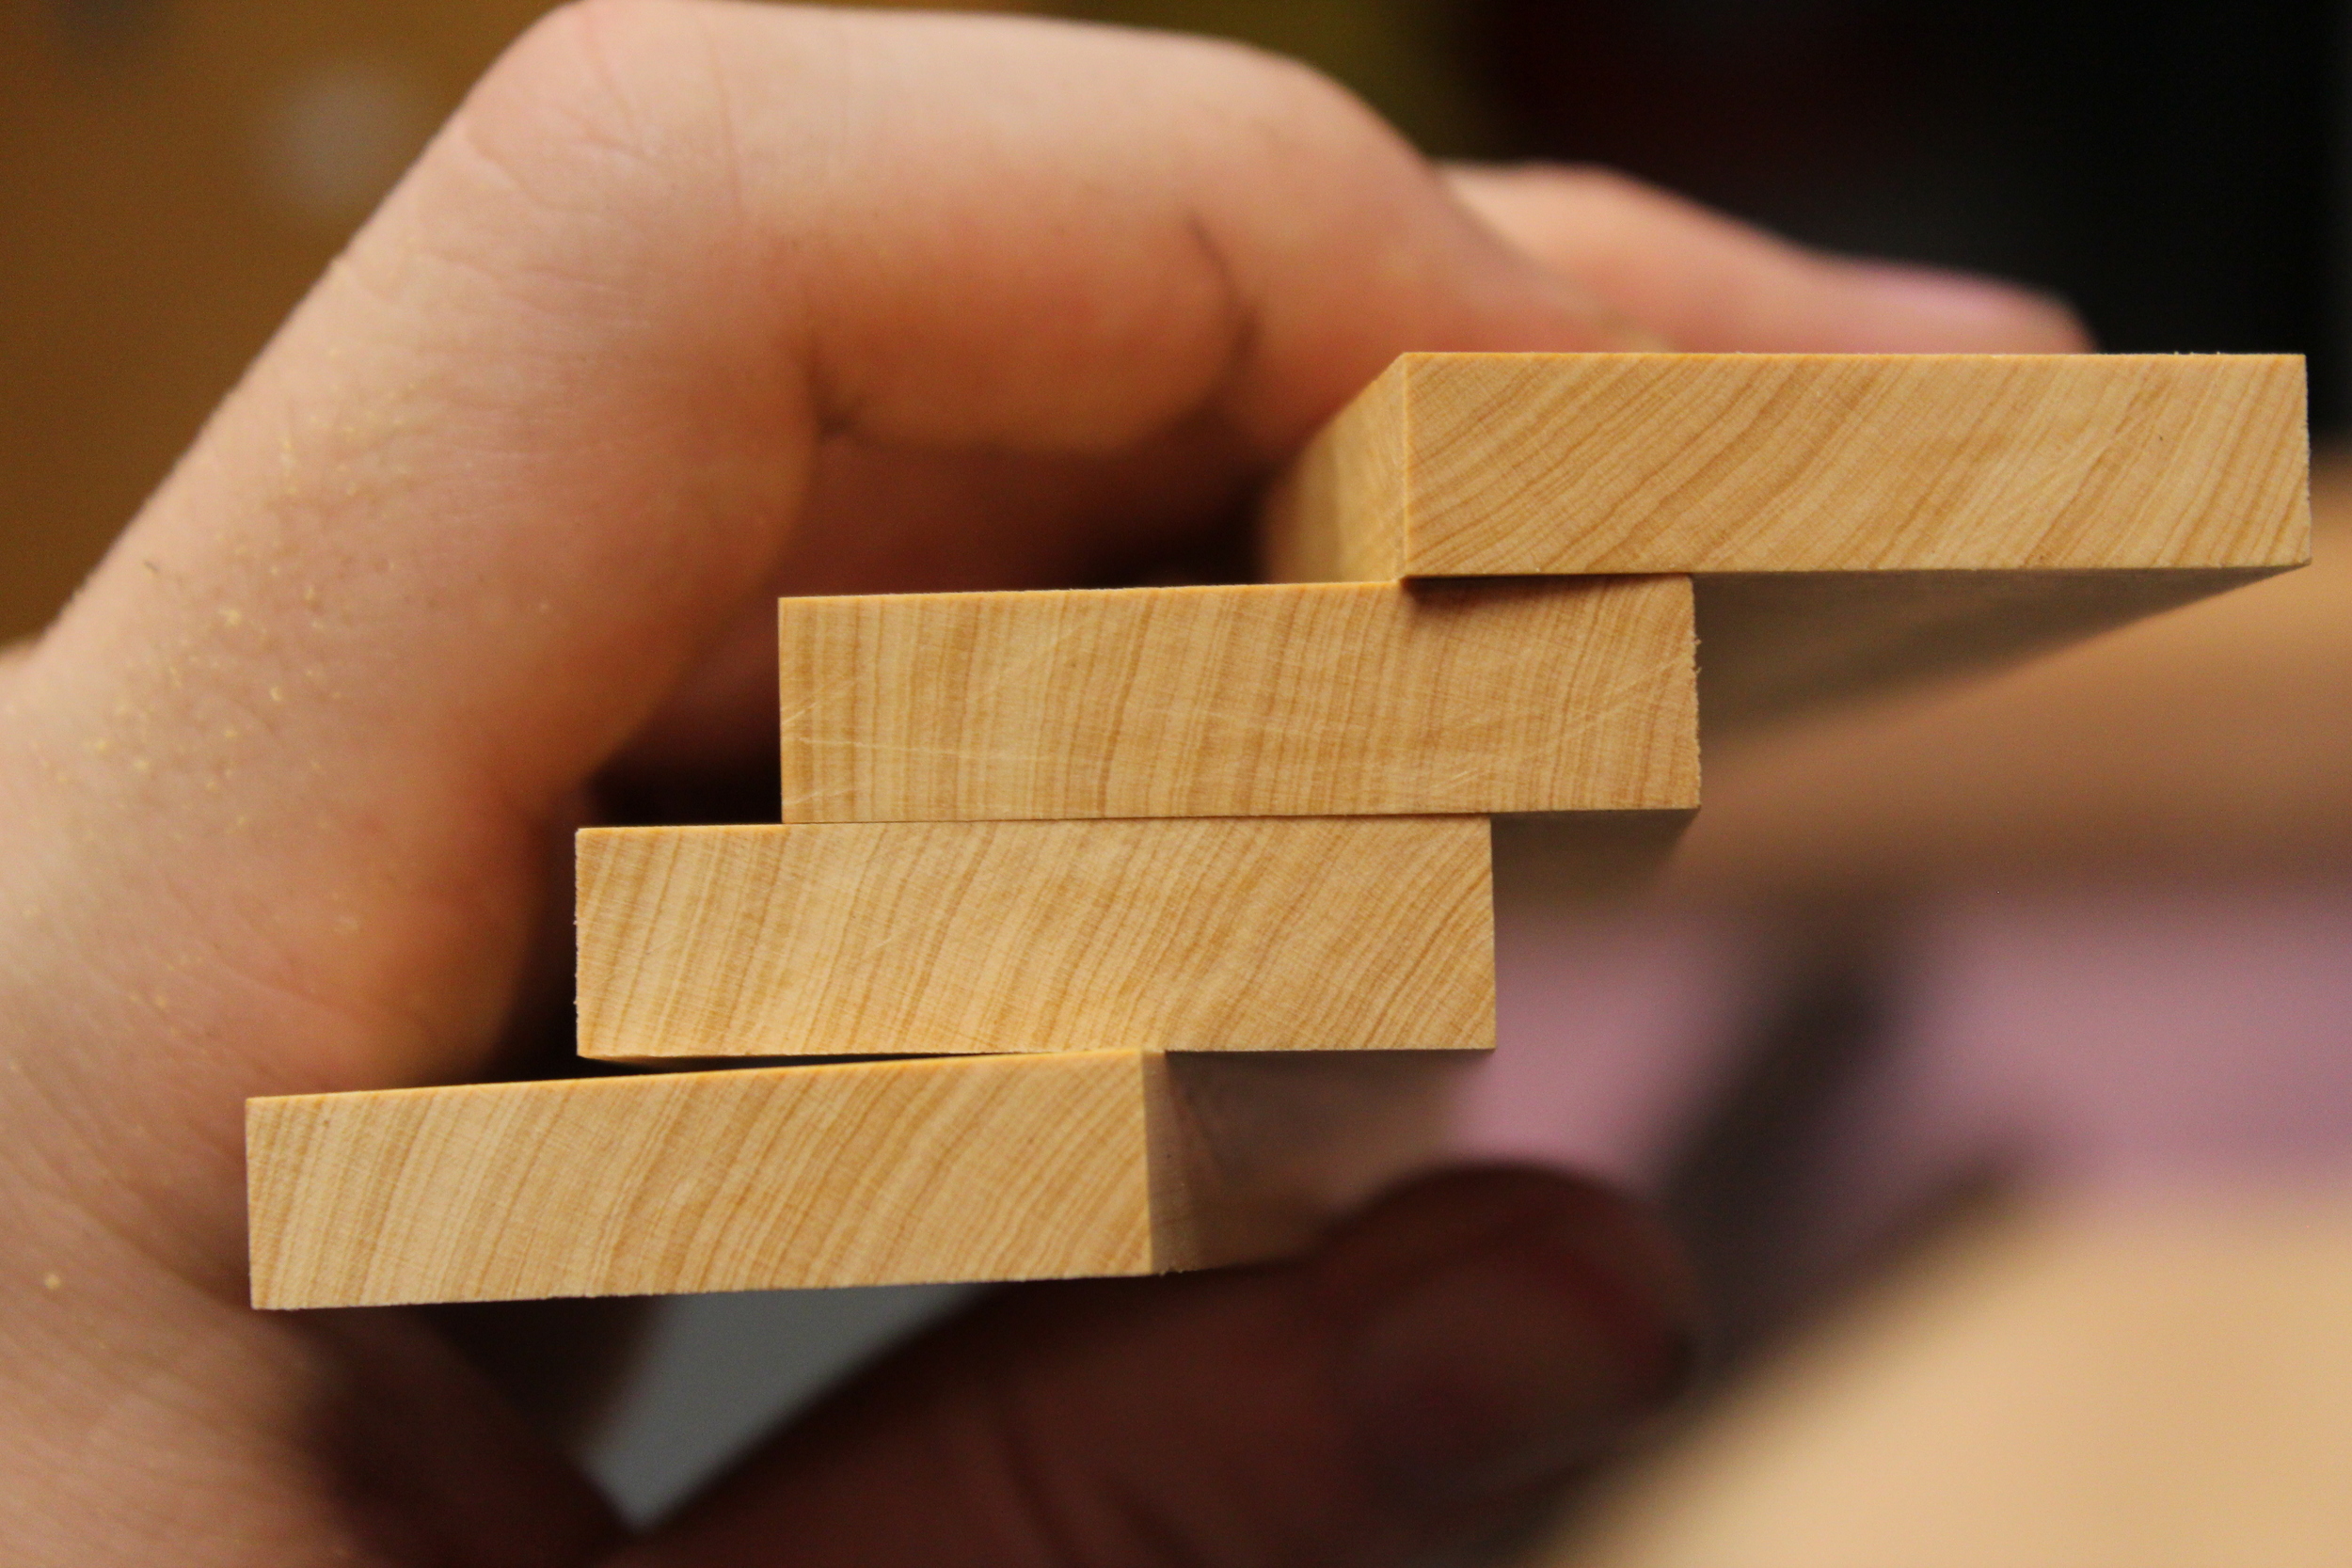
All the same thickness +- .001"
Tote Time.
With the template made and the wood ready to go, next was transferring the template lines to the wood. I started with a square and marked a center line all the way around the pieces in two places, one for each tote. This center line gets lined up with the center line on the template. This mark is made incredibly light because it needs to be easily removed without taking off thickness. I made it deeper than normal for the pictures, usually it can only be seen it if the lighting is just right.
Once I had a square line on the wood, I lined up the template. I used serious magnification to make sure it was right on. When satisfied with the alignment, I firmly held the template down with a finger and traced around it with a xacto knife while trying not to breath. If it slips, it is not easy to relocate the template in the same spot. I tried double stick tape but it kept sliding around, glue would just be a mess. Before I took my finger off the template I marked the center for the front hole. Once I pulled the template away, I used a ruler and razor blade to connect the center lines for the front hole as well as deepen the baseline.
Template laid out on center.

The tote shape transferred to the wood. See the center line for the front hole?
Drilling
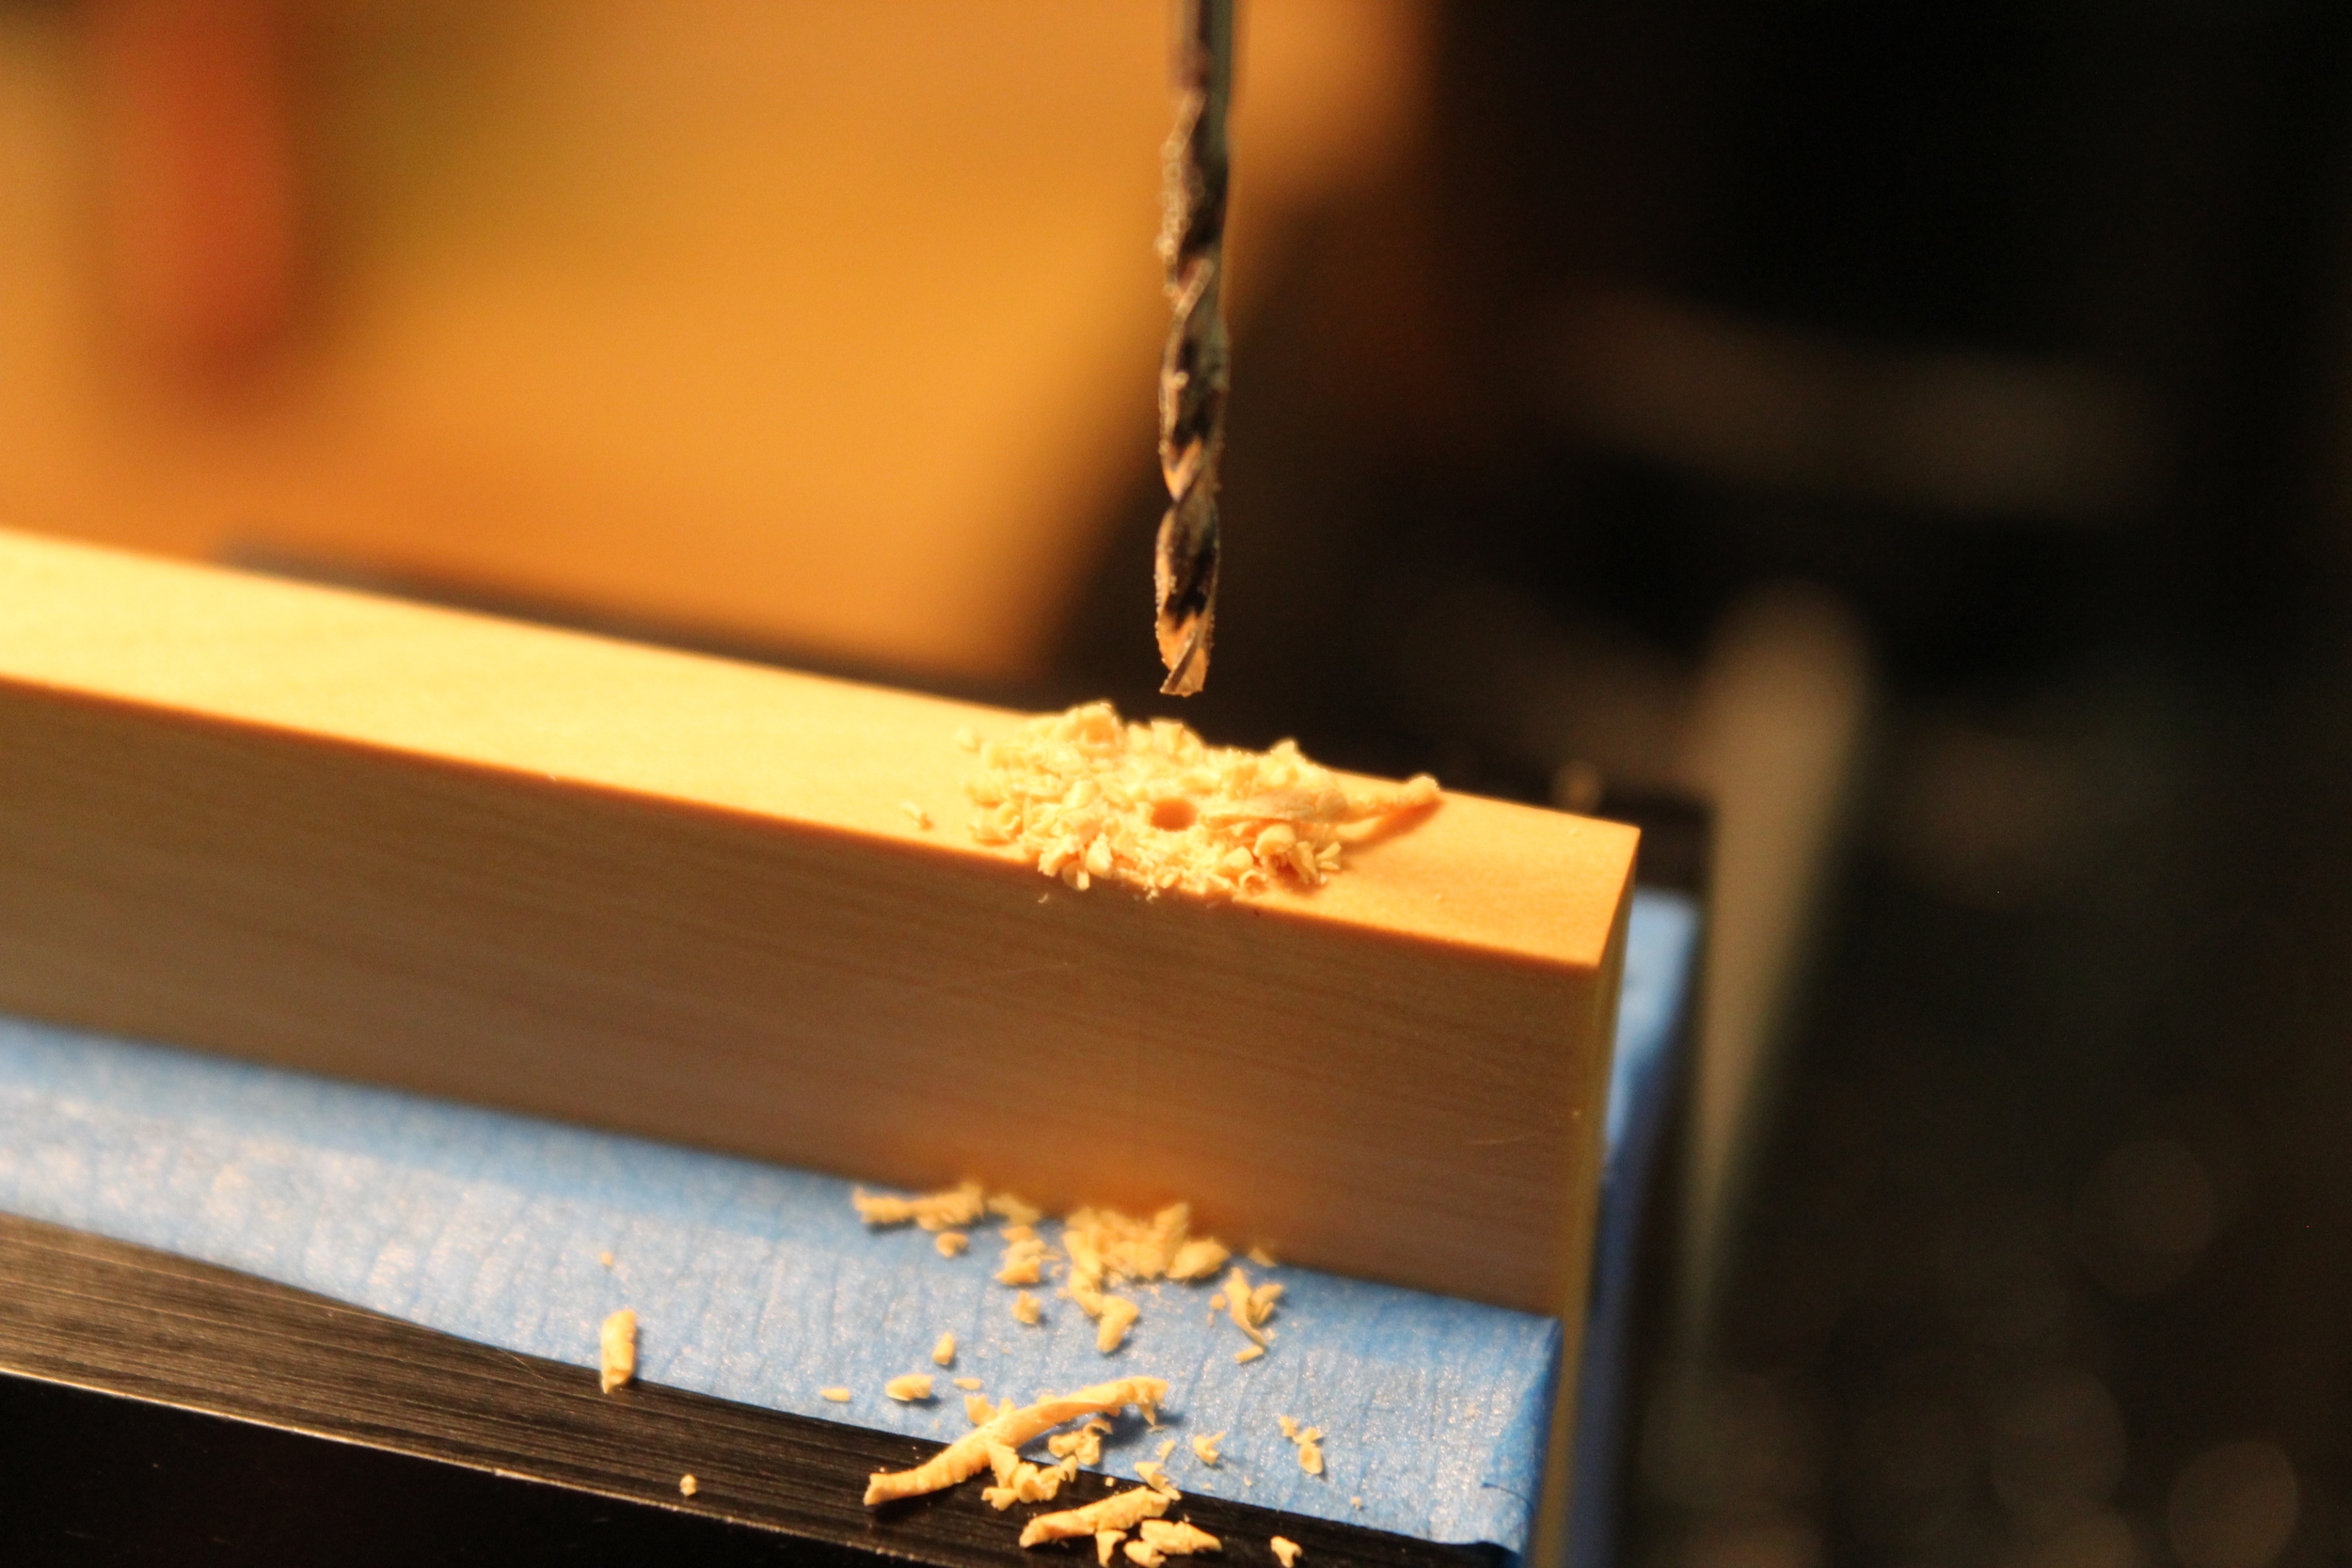
Before any holes were drilled, I made damn sure the spindle was centered on the wood. With the wood in the vise, I drilled a test hole in a waste area to check center. I then measured the thickness of material left on each side of the test hole. Difference in thickness would mean its off center. The machine was adjusted until it was within .001" of center.
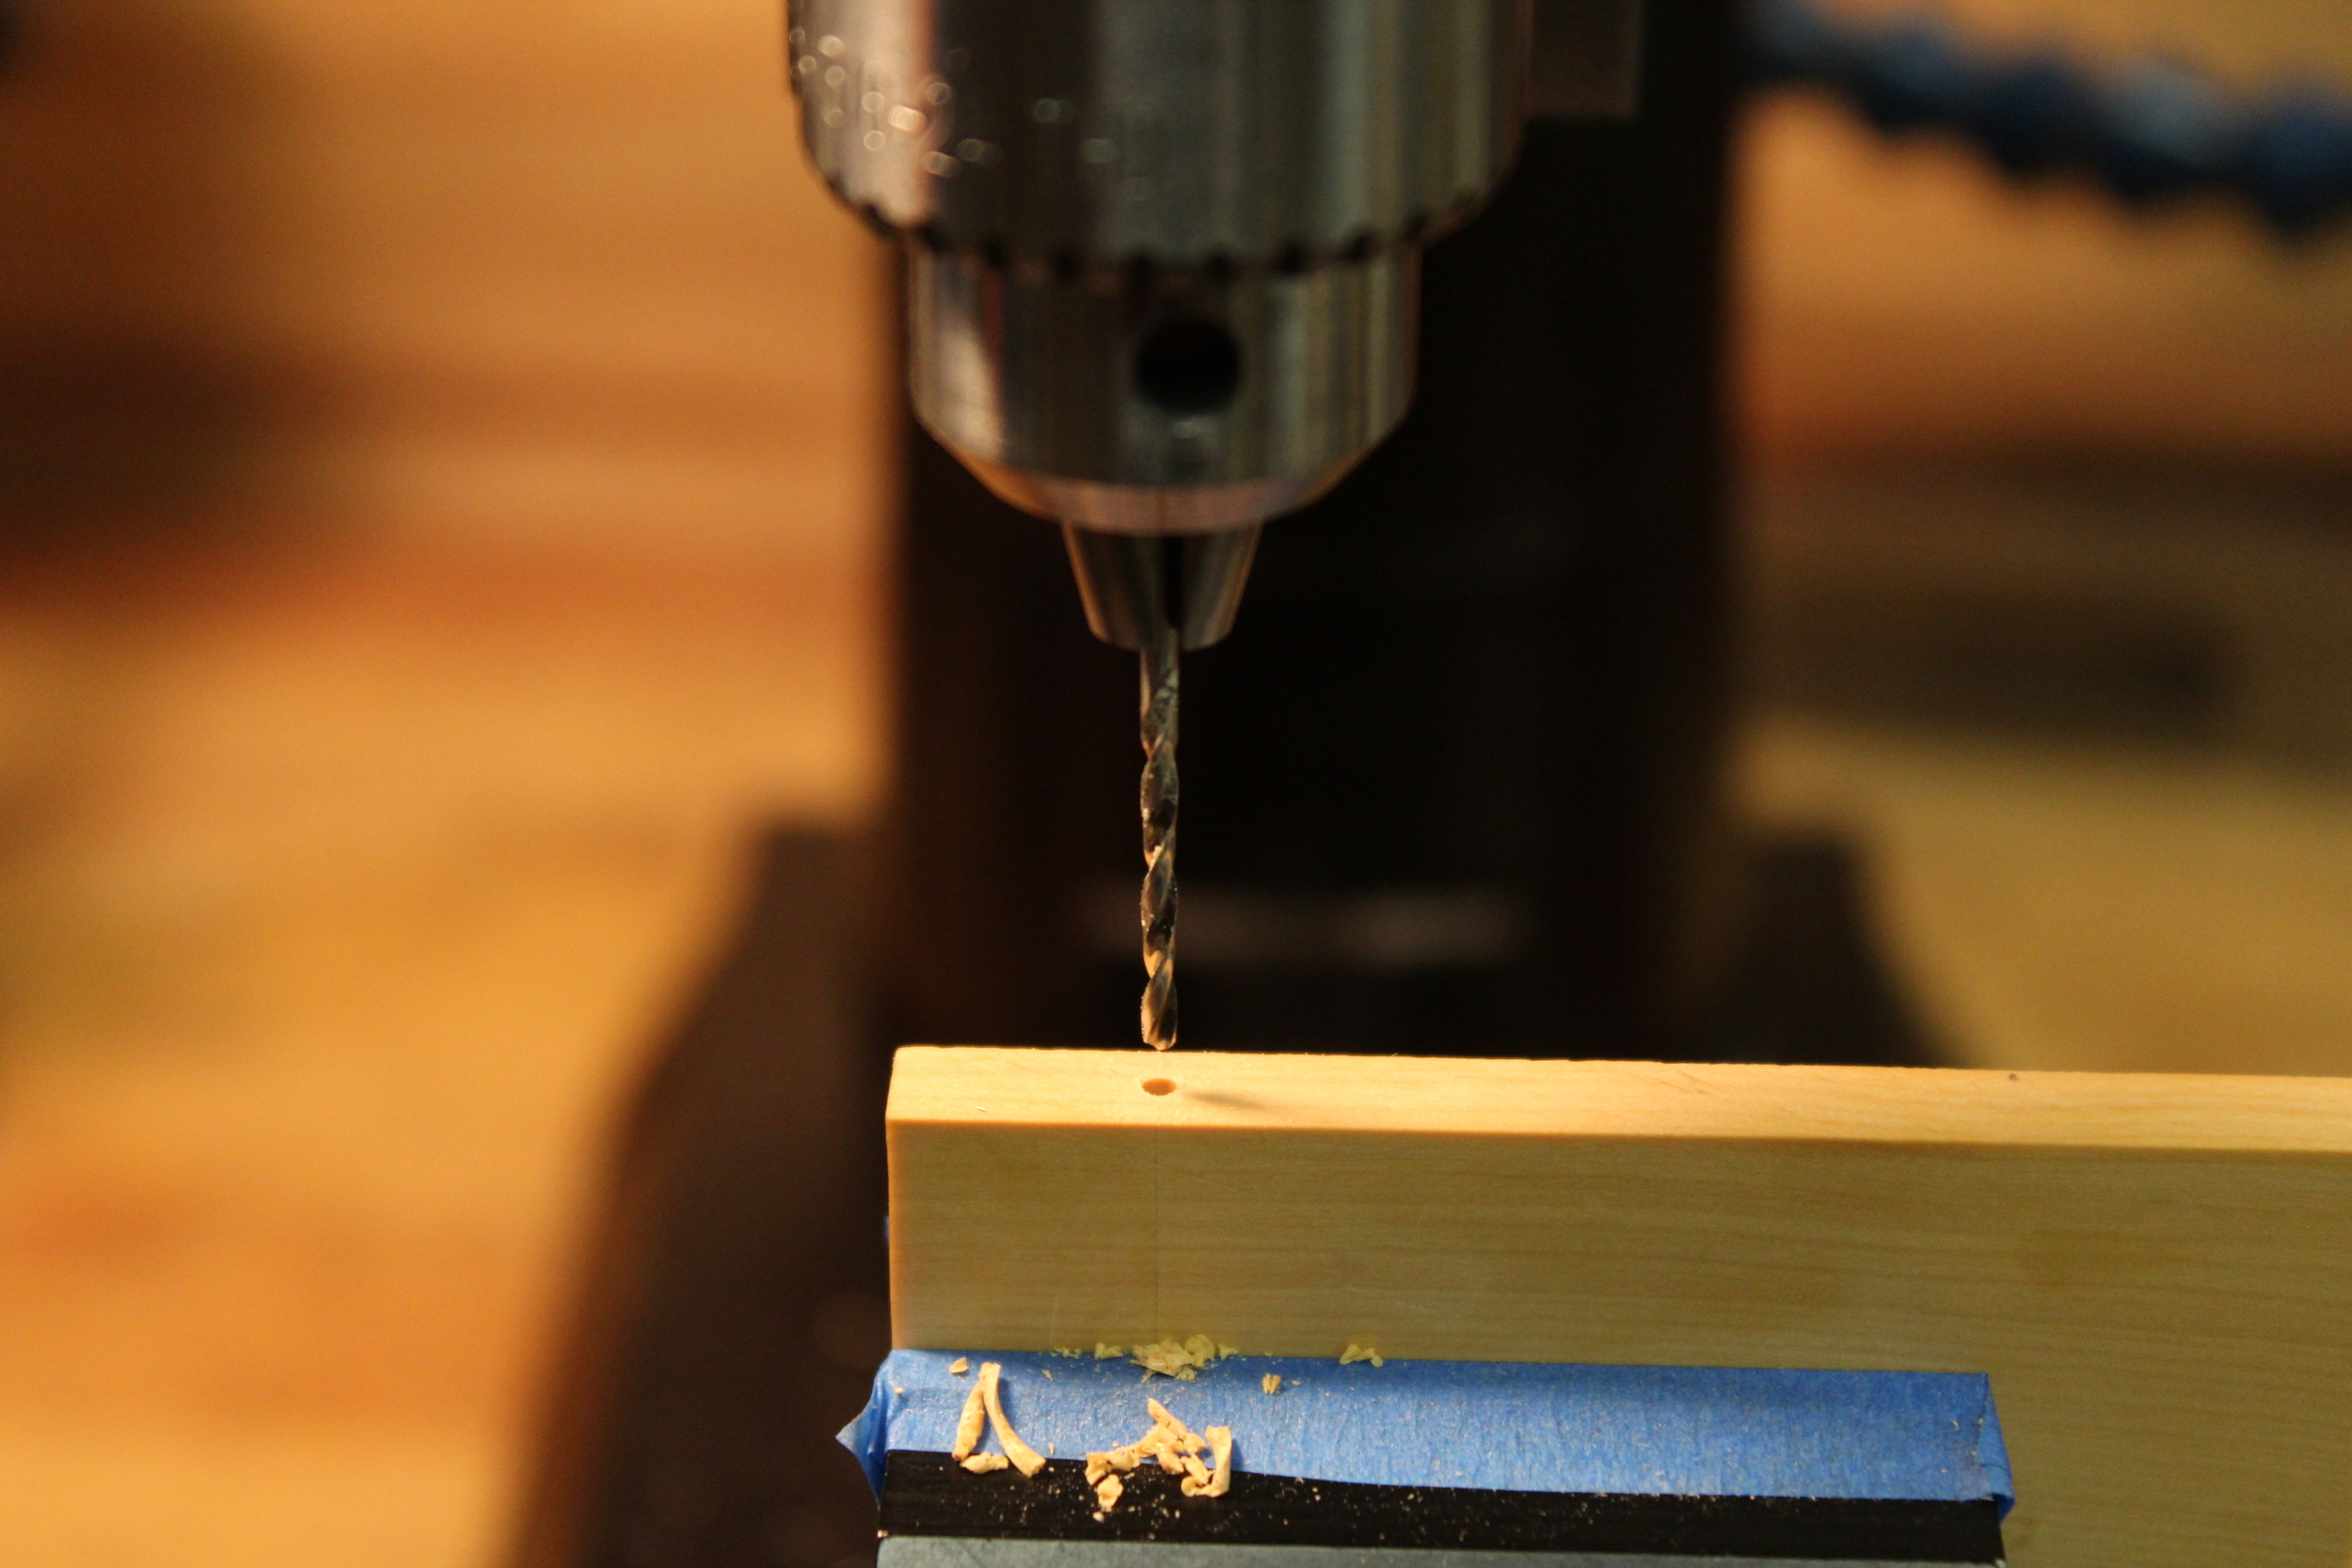
I started with the top side of the long through hole. I used a stubby center drill to make a light cut where the hole needed to be. This helps the long drill find its center without walking off. This hole is too deep to go all the way though from one side, I had to go in from both ends and have them meet somewhere in the middle. Before it was finished from the backside, there was more operations to do on the top end before it was moved off center.
The top hole on the tote needed to be counter bored to make clearance for the brass nut which holds it on. Without moving the center from the first hole, I plunged a end mill into the piece until the bottom of it touched my template line. This flat is then used as a zero point for how deep the counter bore will be. The totes were not laid out at the same height in the piece because I was selective with the grain, so this was the best way I could come up with to make sure the brass nuts were seated at the right depth in the finished tote.
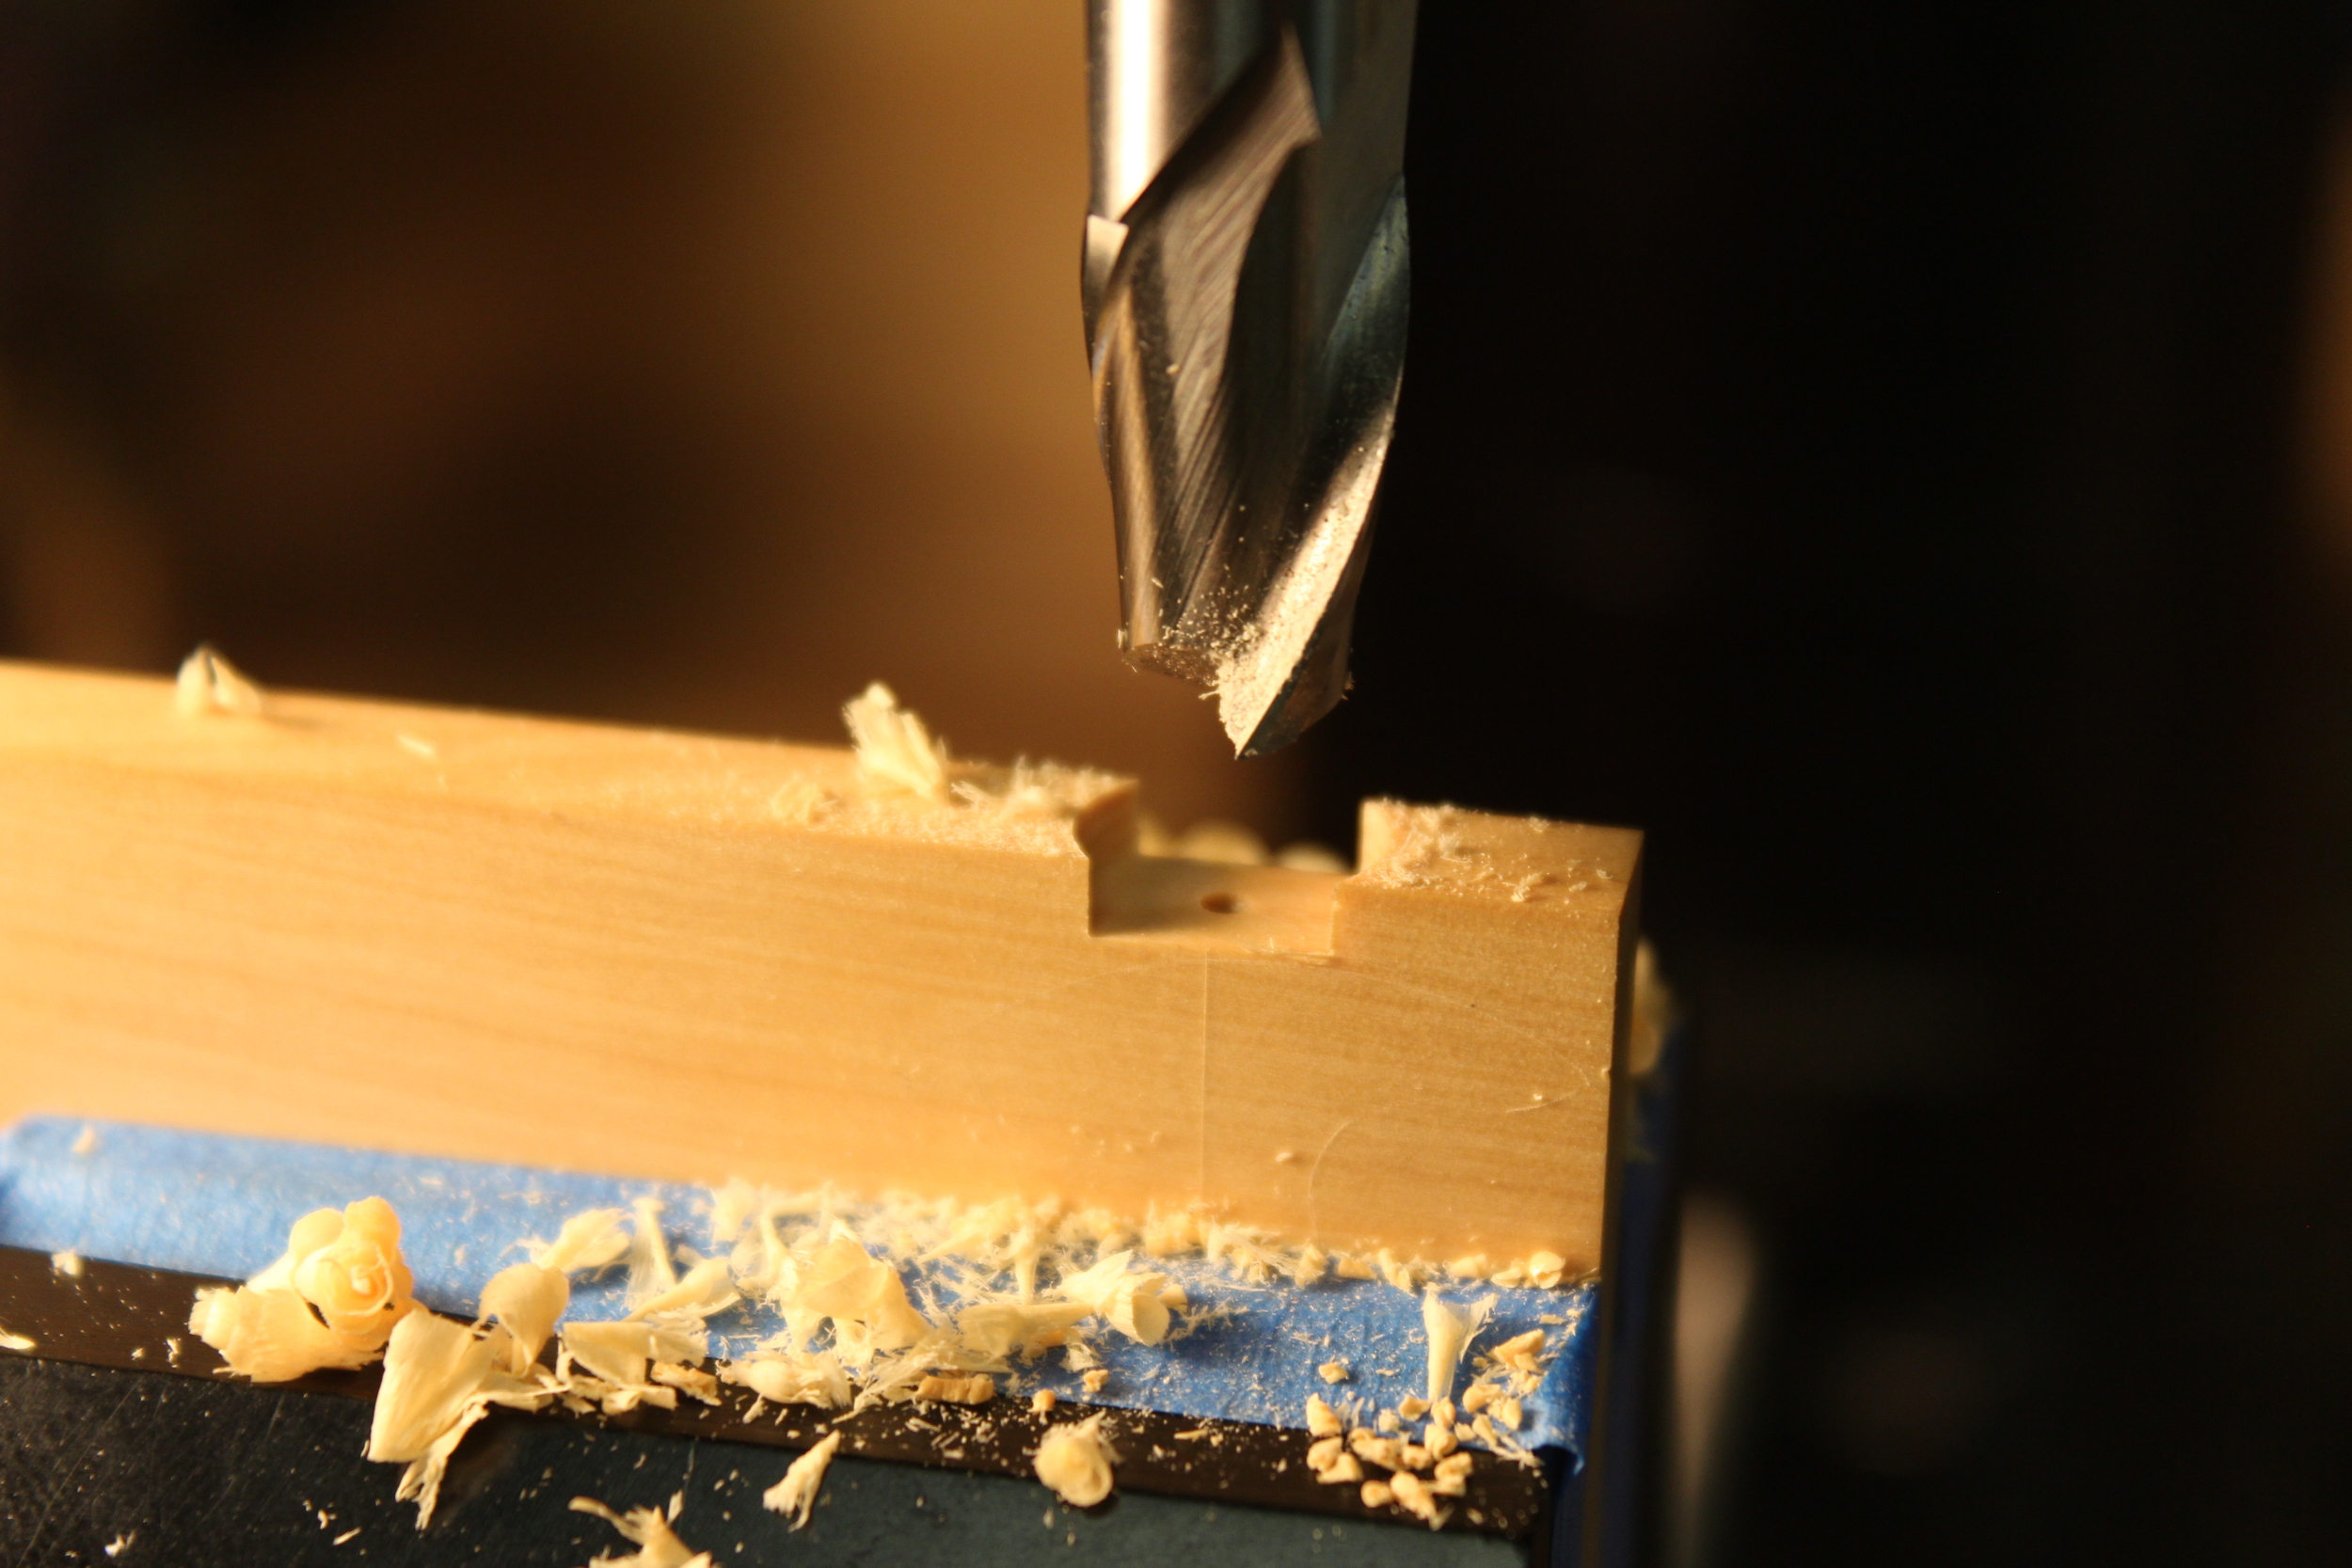
The brass nuts are not a standard diameter (I believe they are .110") so I ground down a counter bore bit from a old drill the right size. I set my zero point using the adjustable hand wheels, and plunged the bit .120" deep.
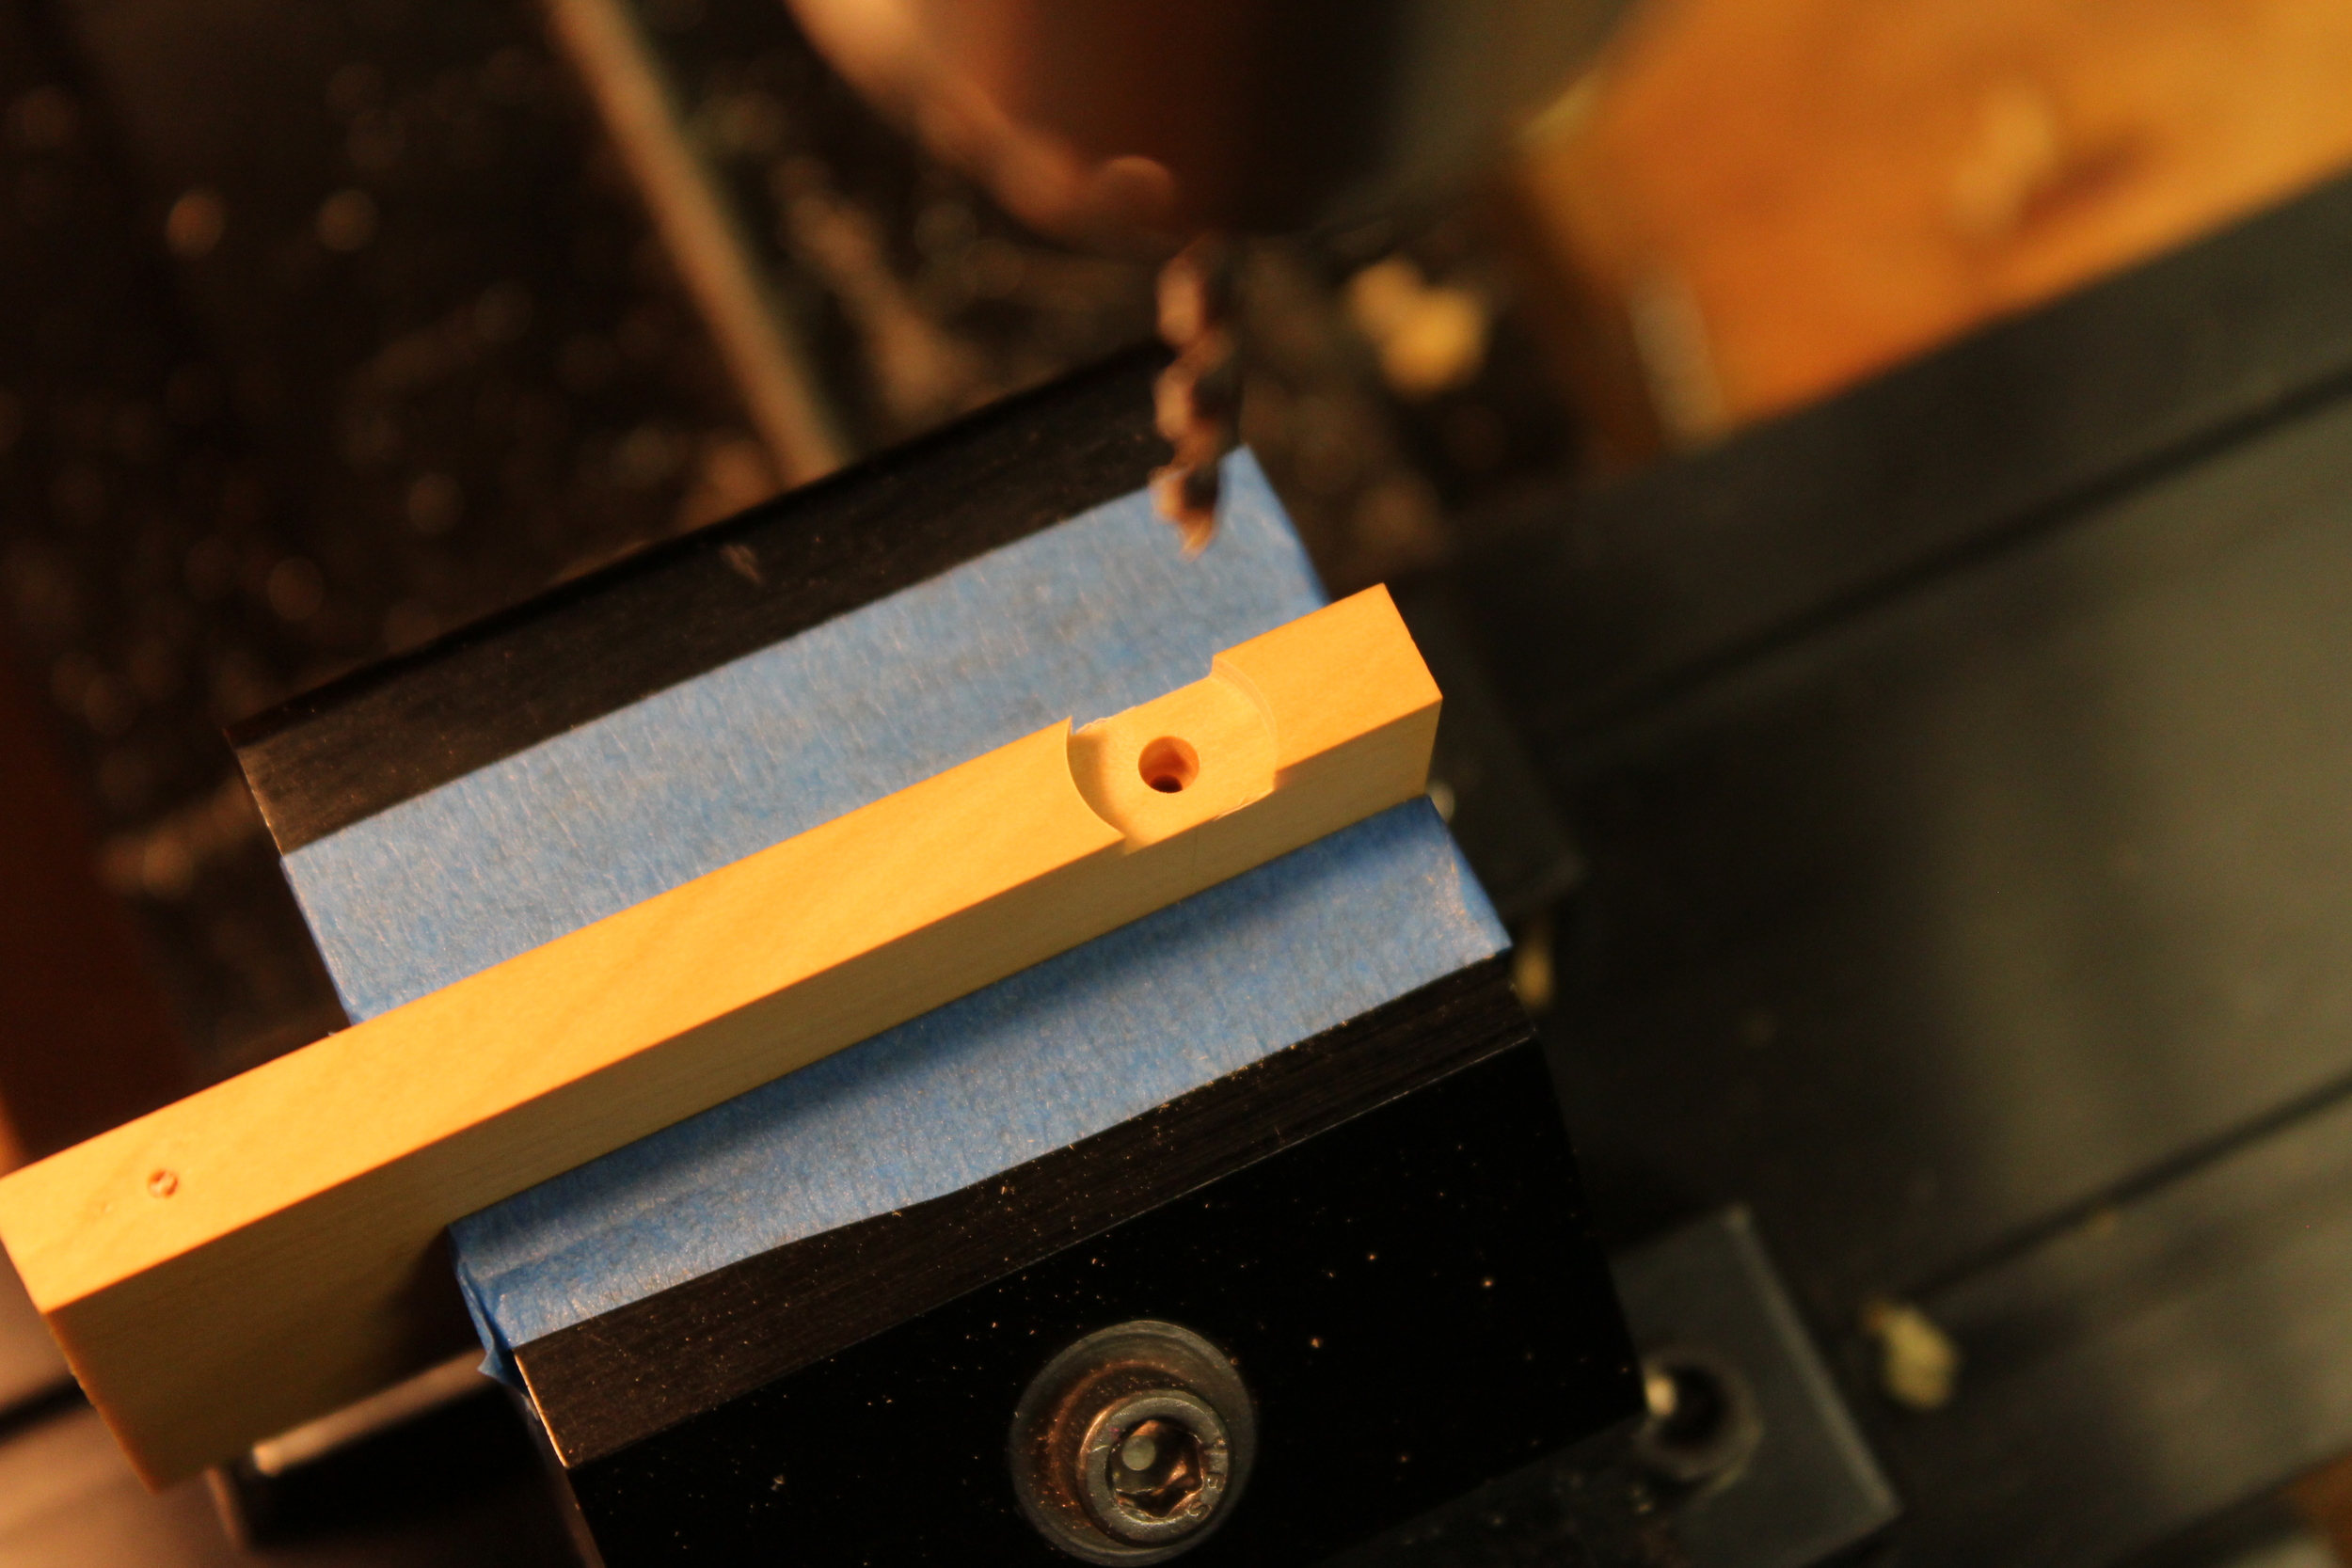
Counter bore for the brass nut on top.
I then turned the piece over and finished drilling the through hole from the backside. Again, starting with a center drill before switching to the long one.
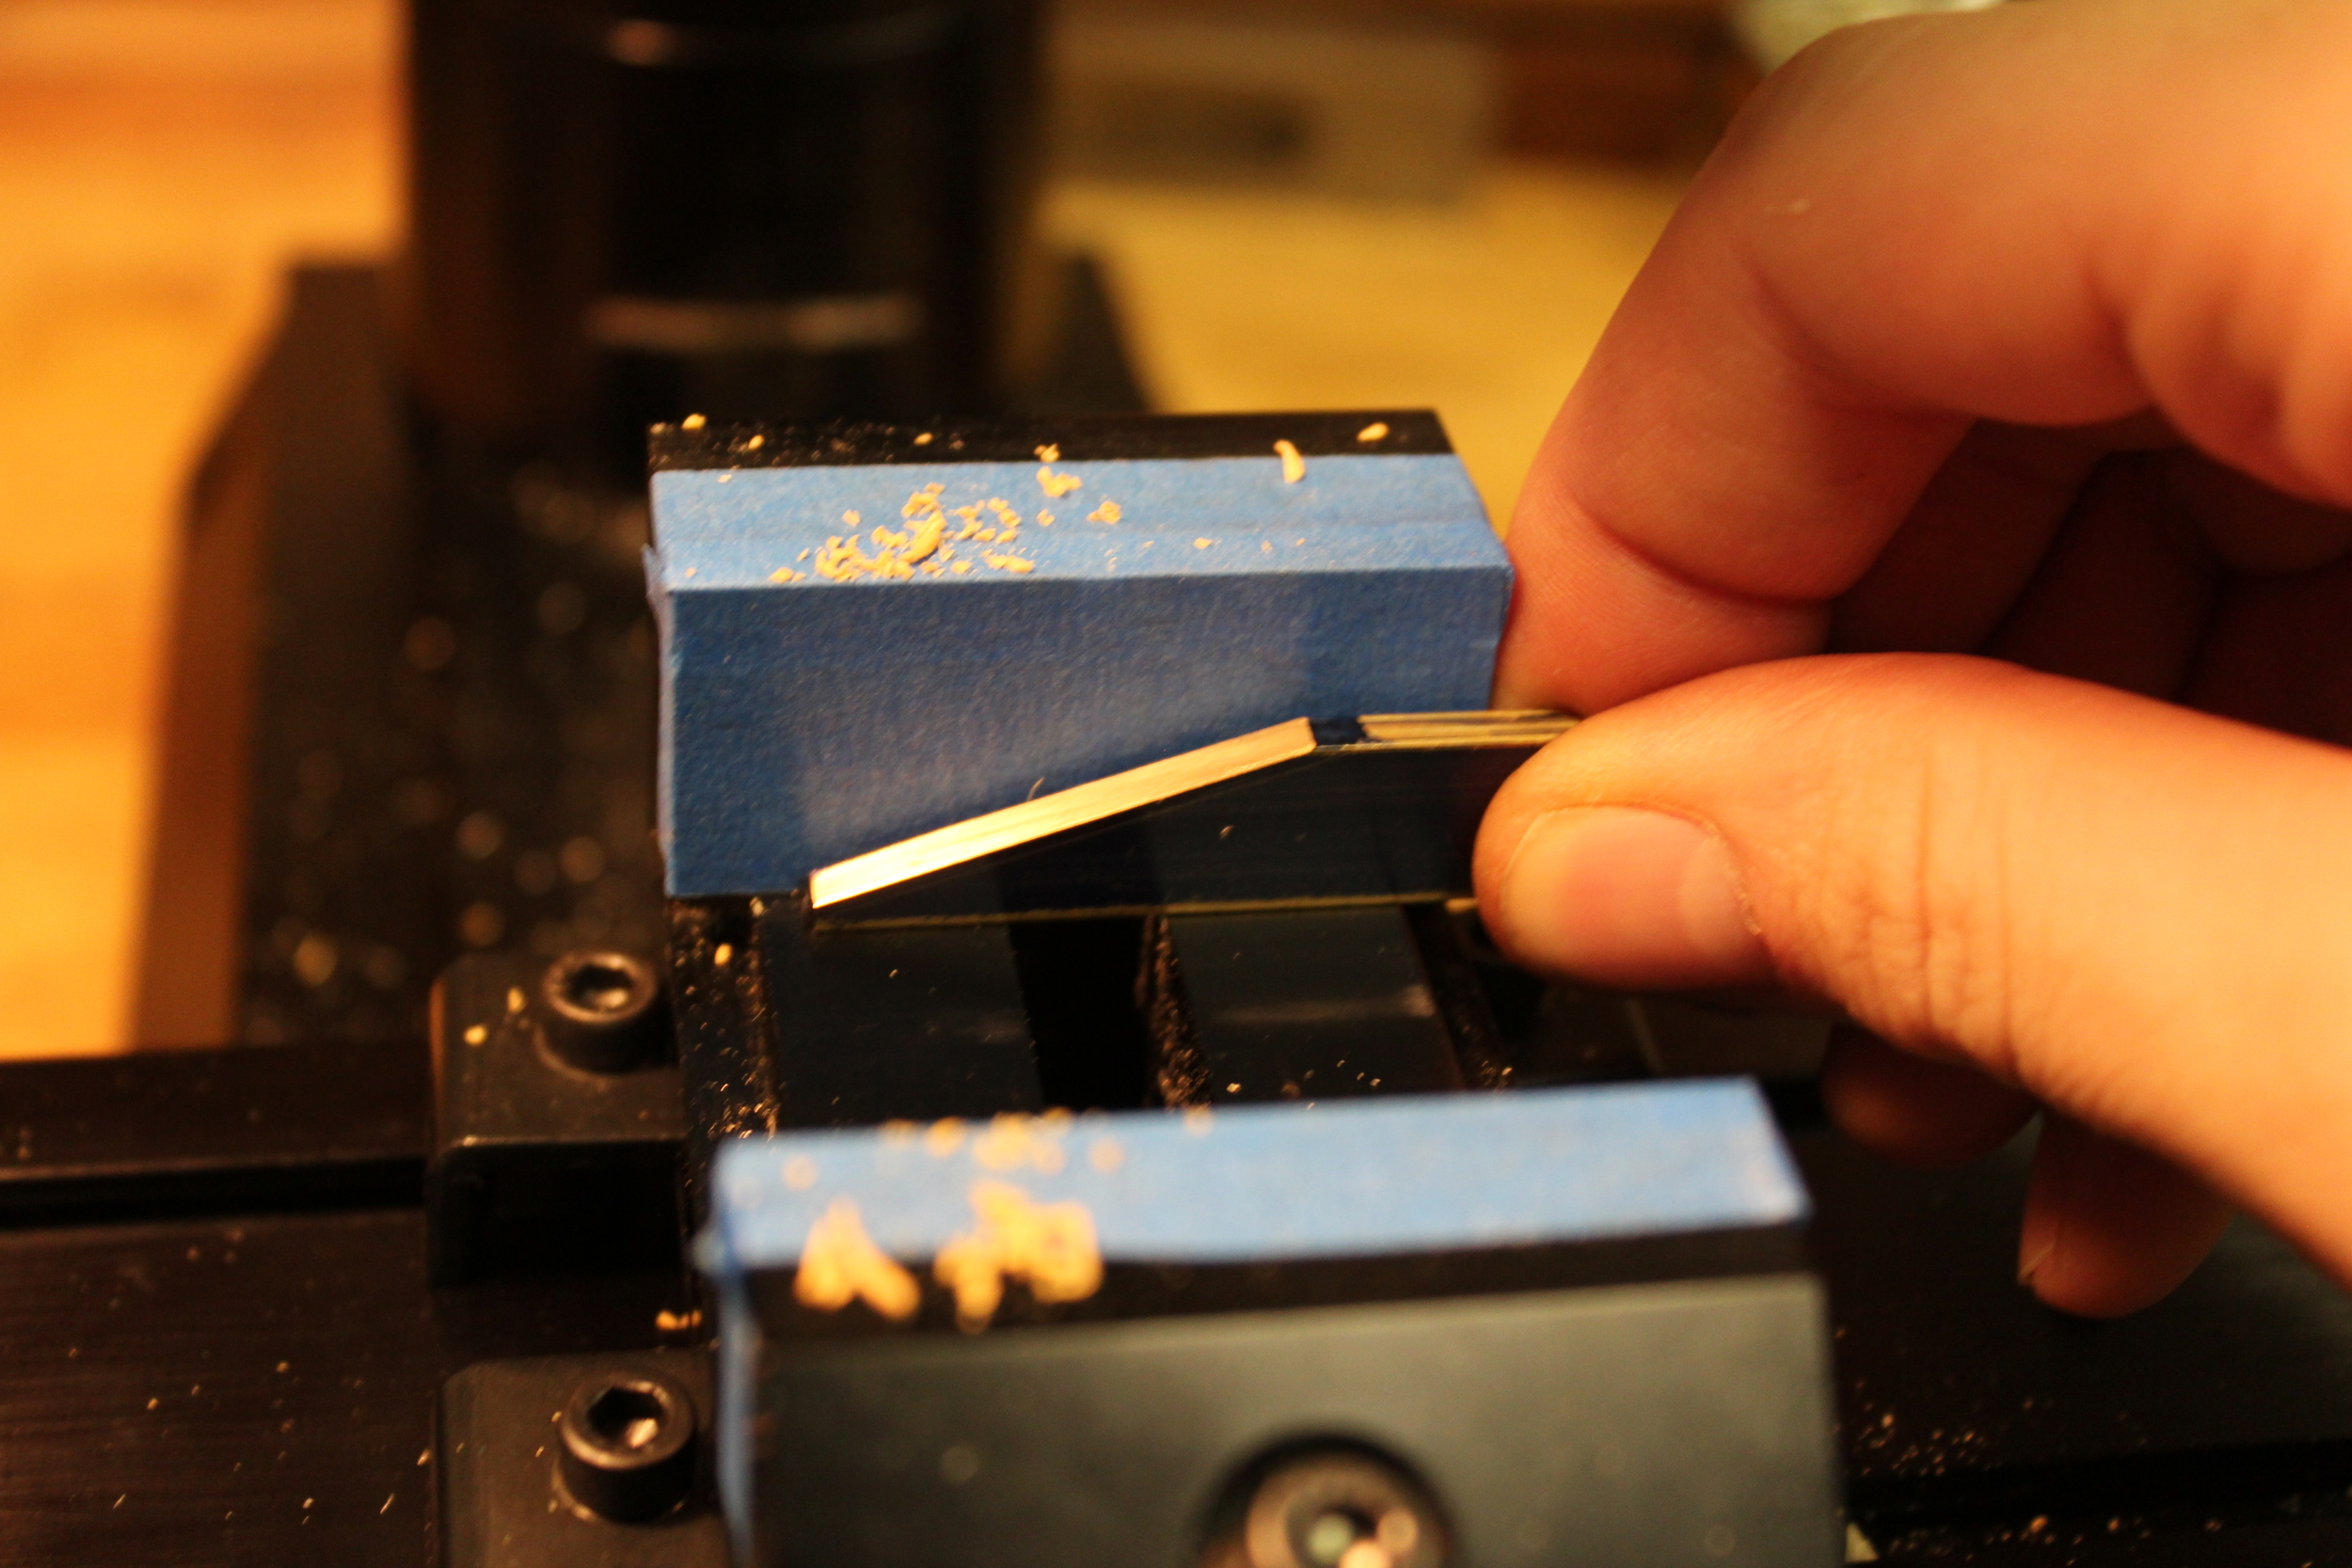
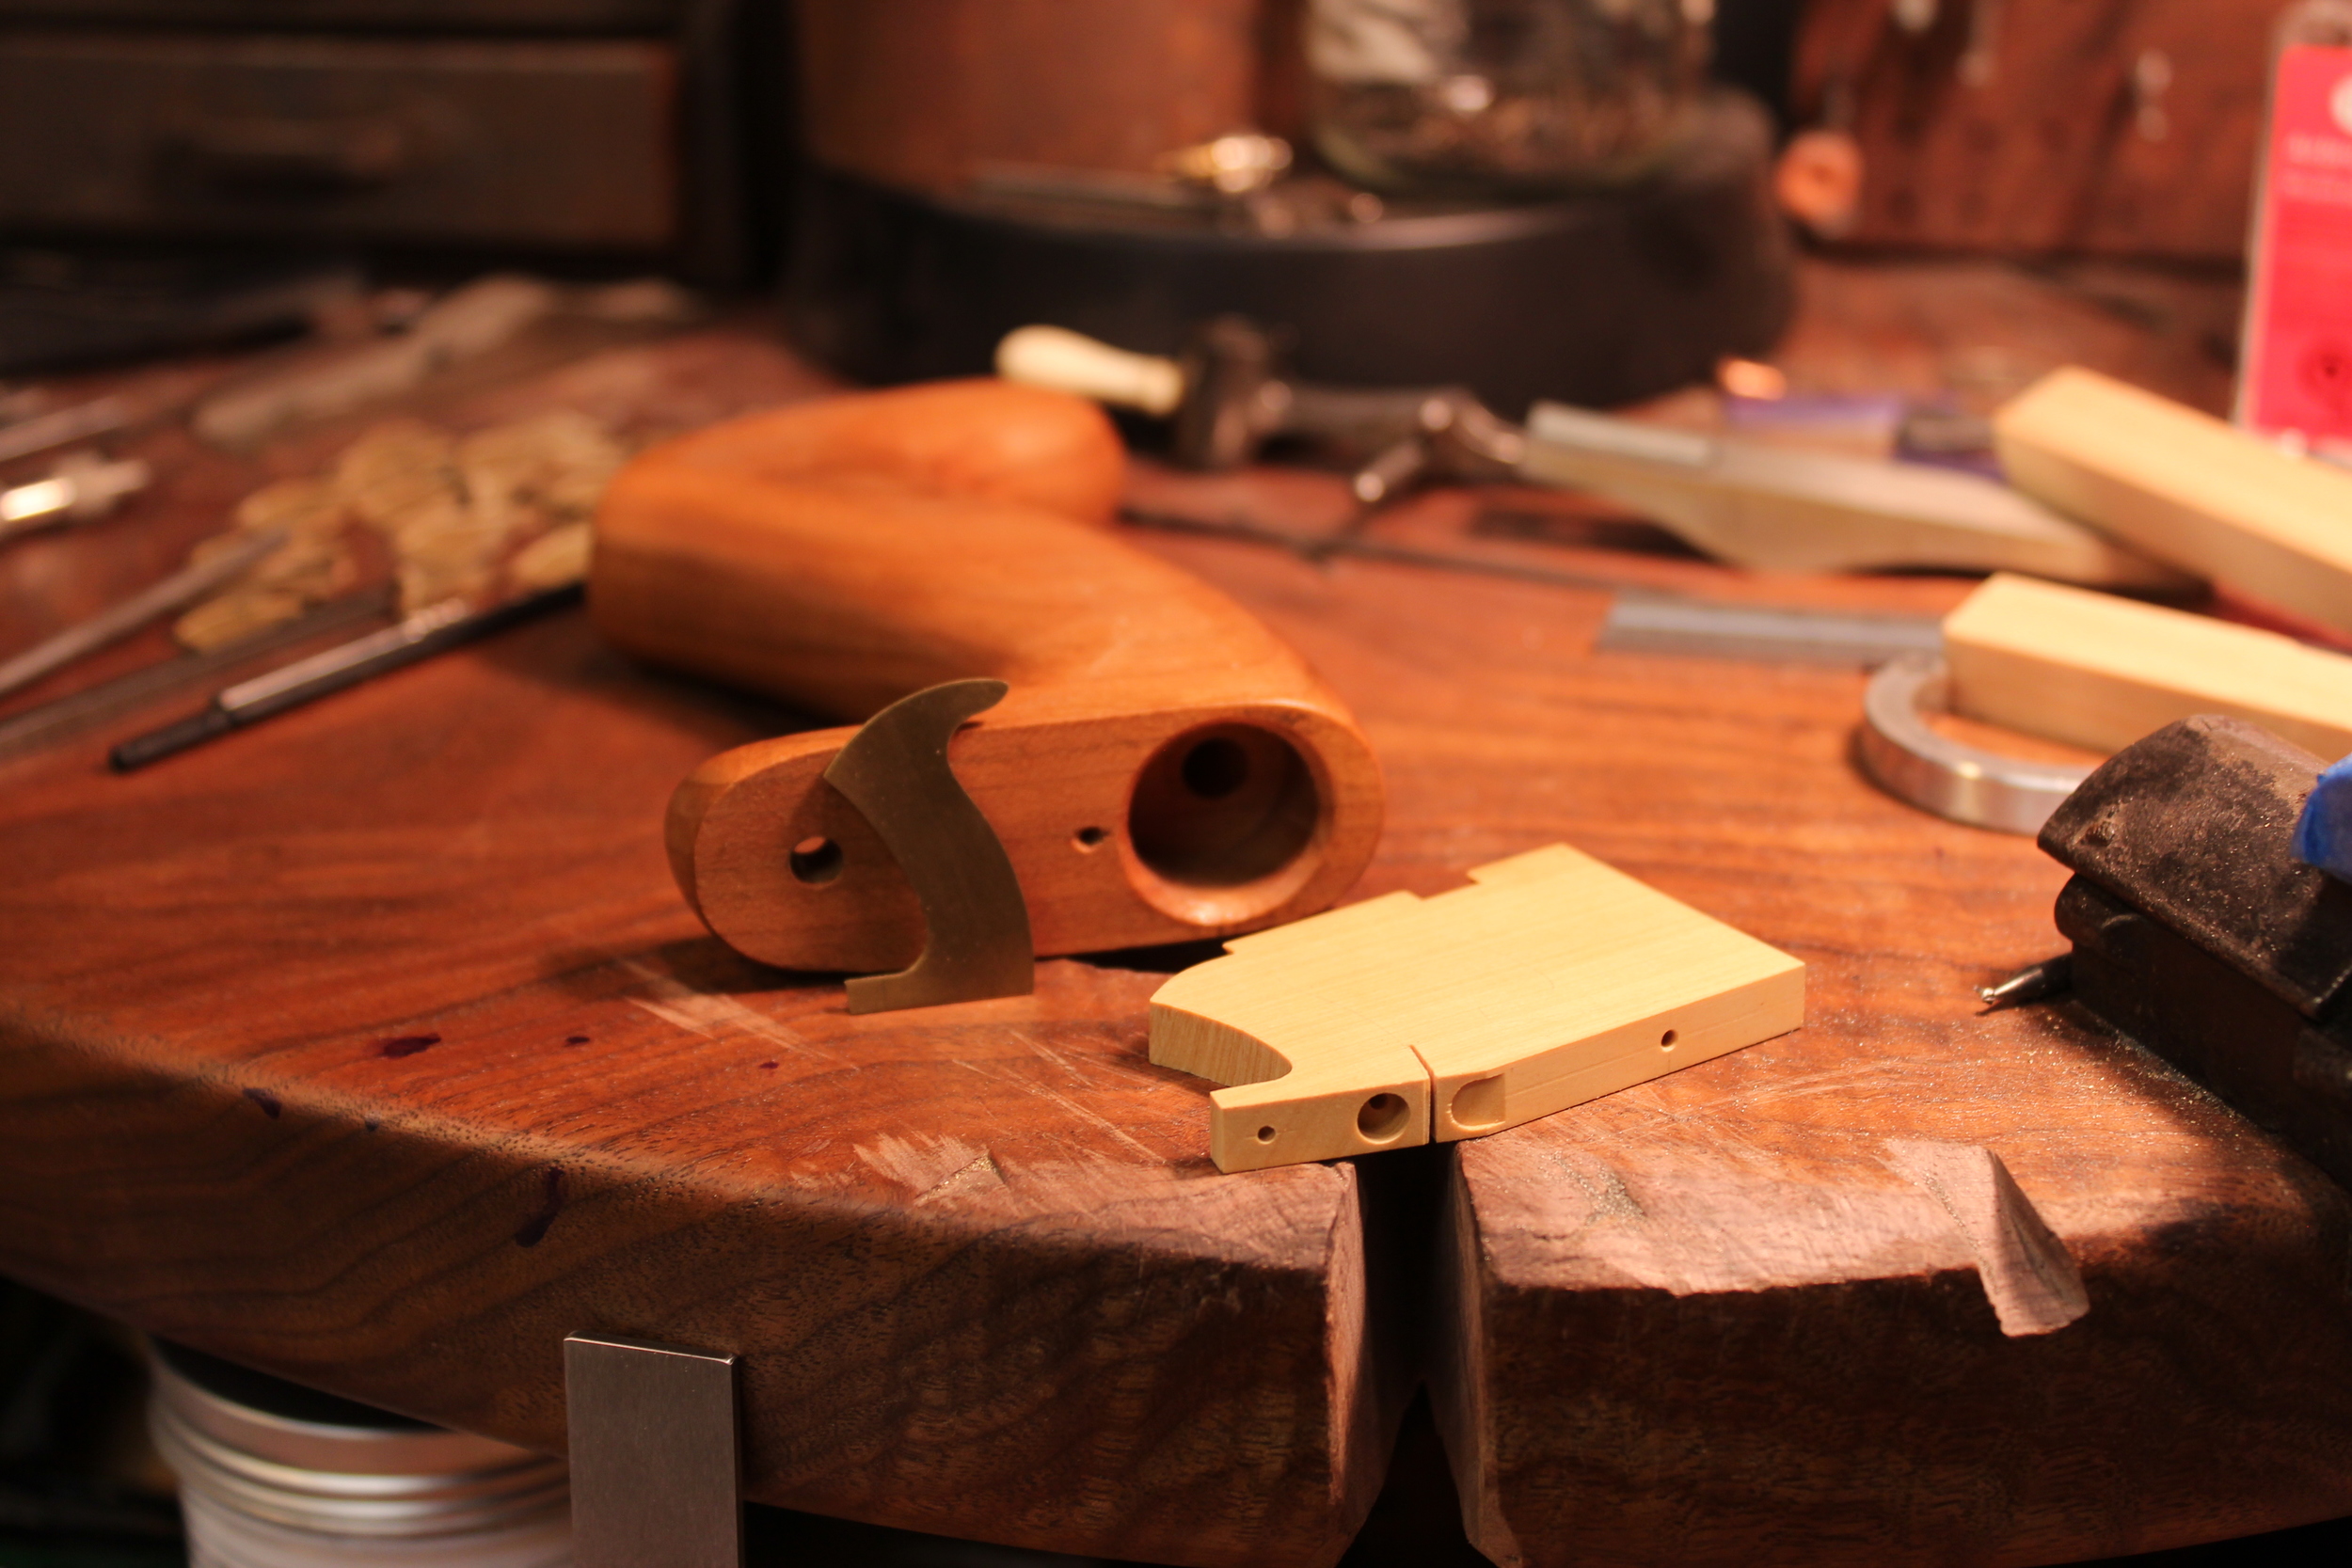
With the through hole drilled and counter bored on top, next was the front hole and bottom counter bore. I first machined a brass wedge to put in the vise, this holds the tote blank at the right angle for machining the bottom flat.
I used a band saw to cut out the majority of the waste before clamping it in the vise over top of the wedge. I then used a end mill to machine down to the totes baseline in a few light passes.
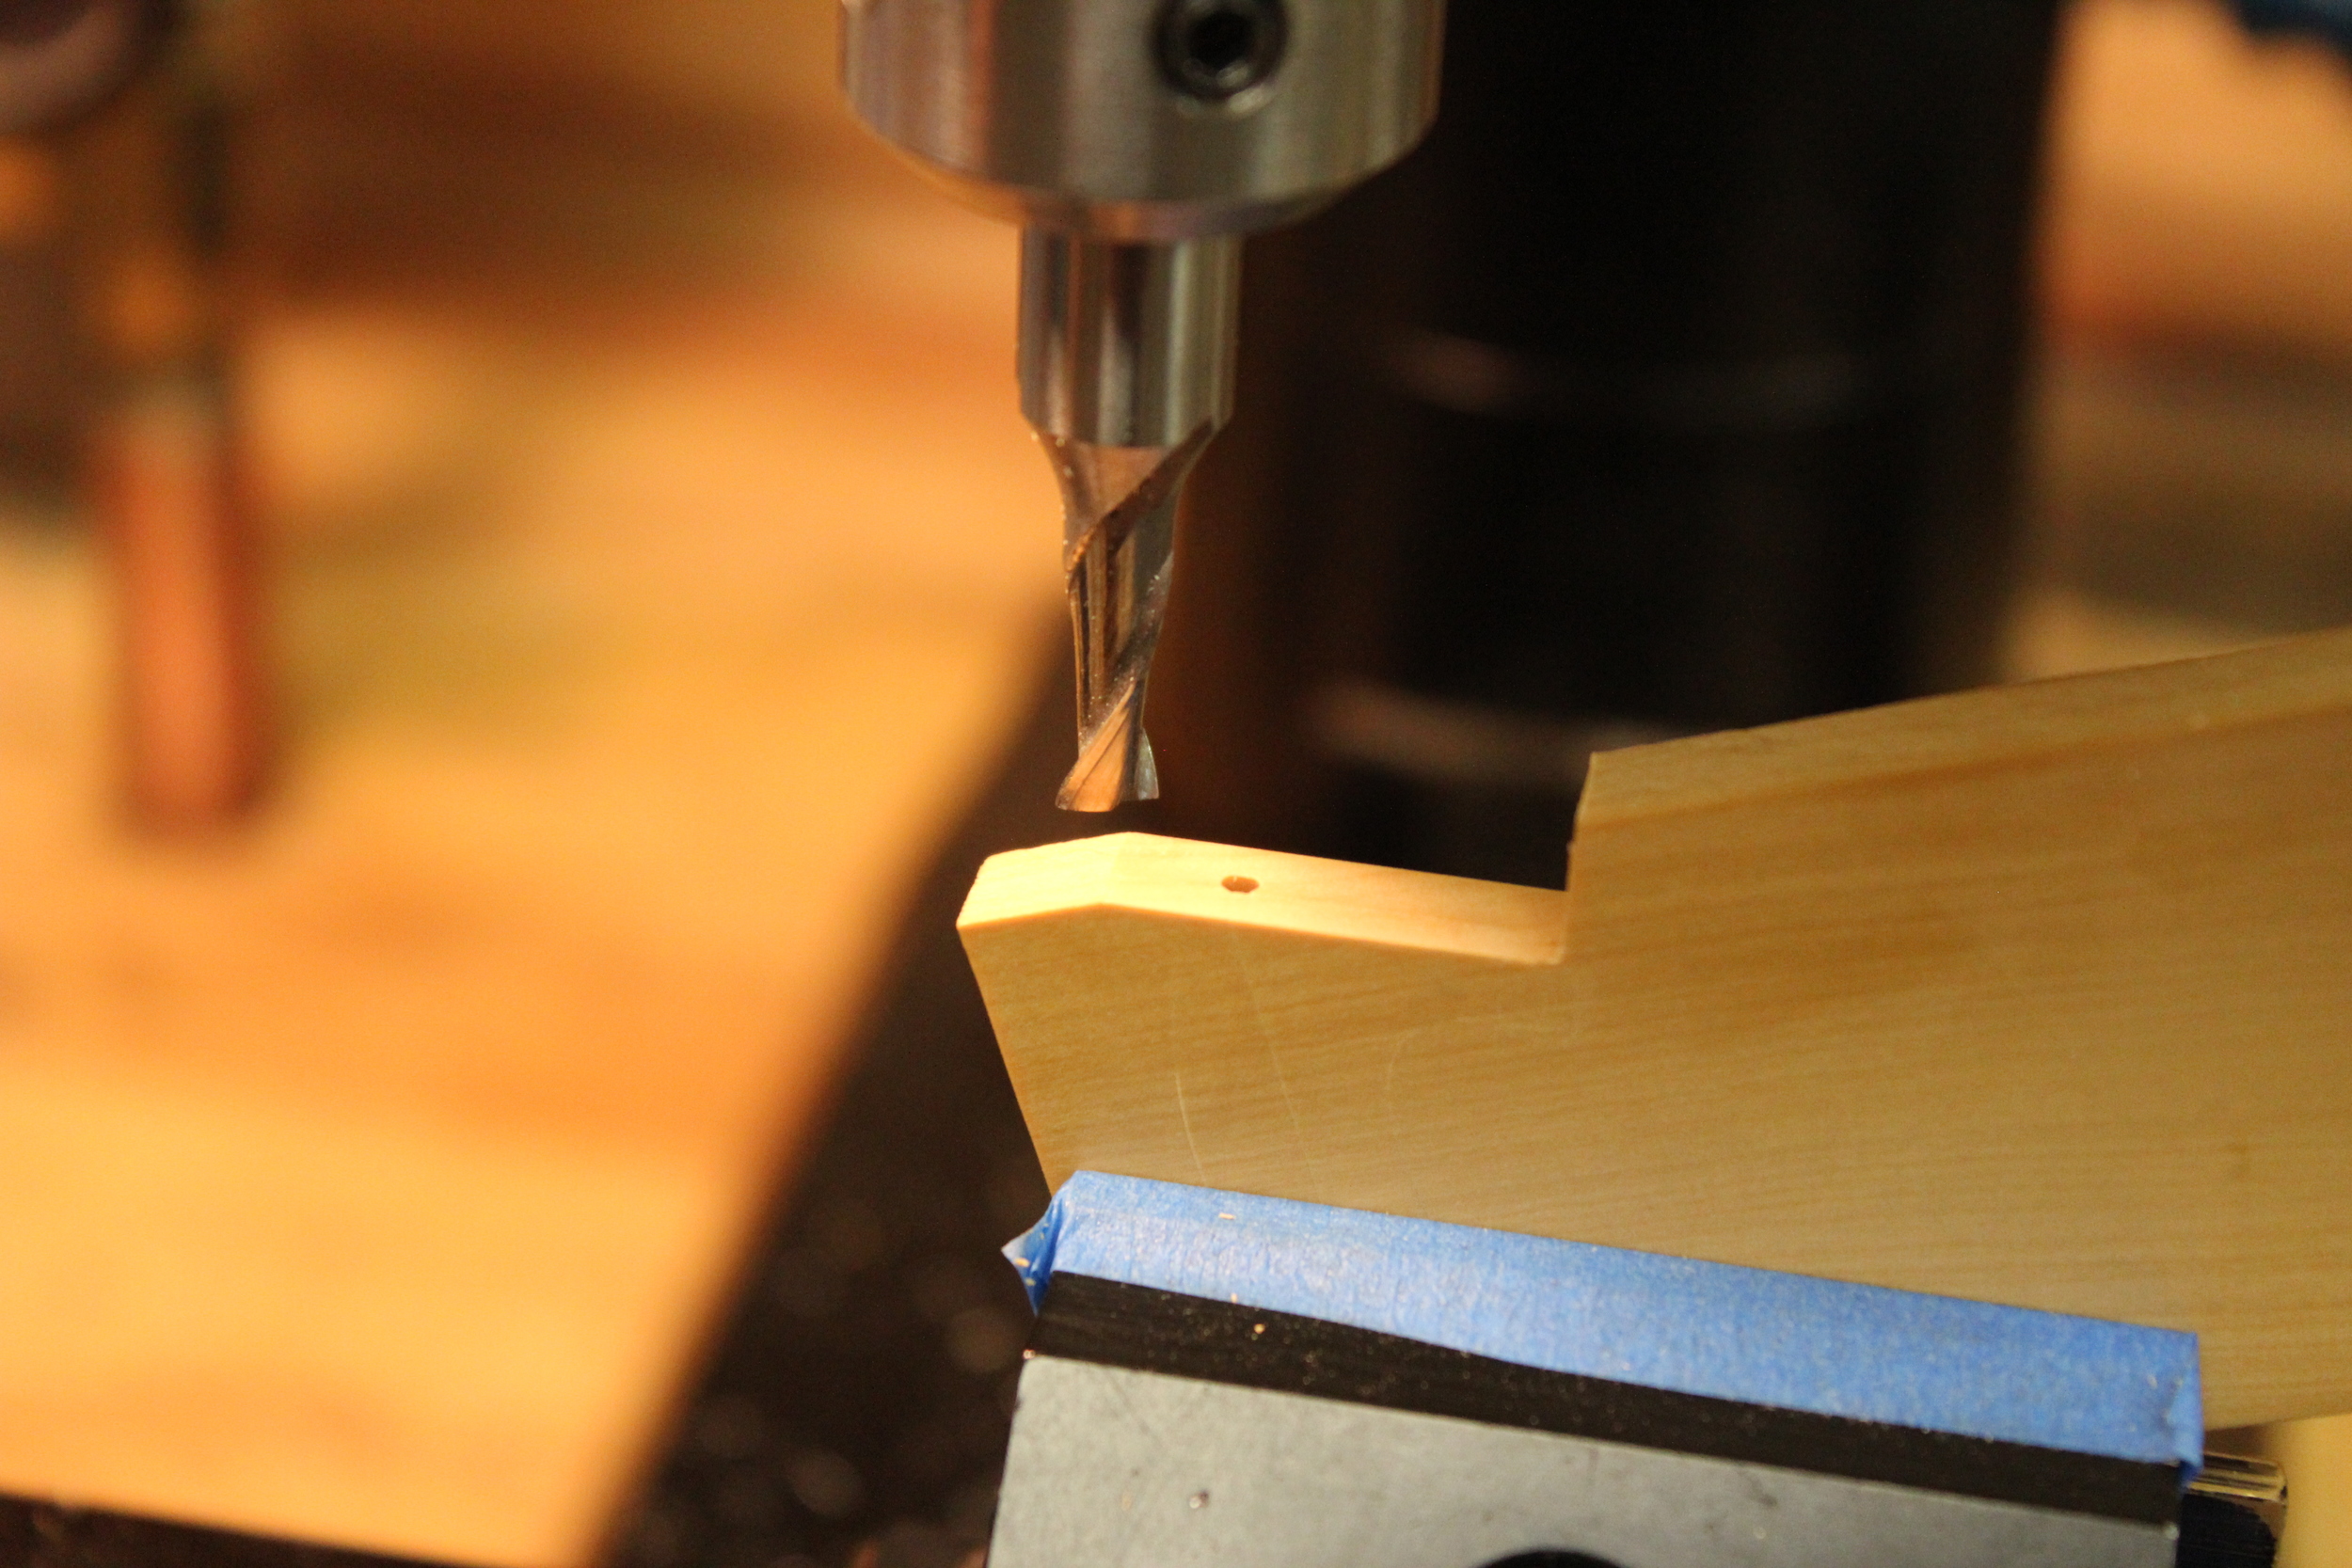
I used a end mill to counter bore the bottom of the through hole. In the picture you can see where I drove the end mill into the waste area to check its center, before committing to the actual cut.

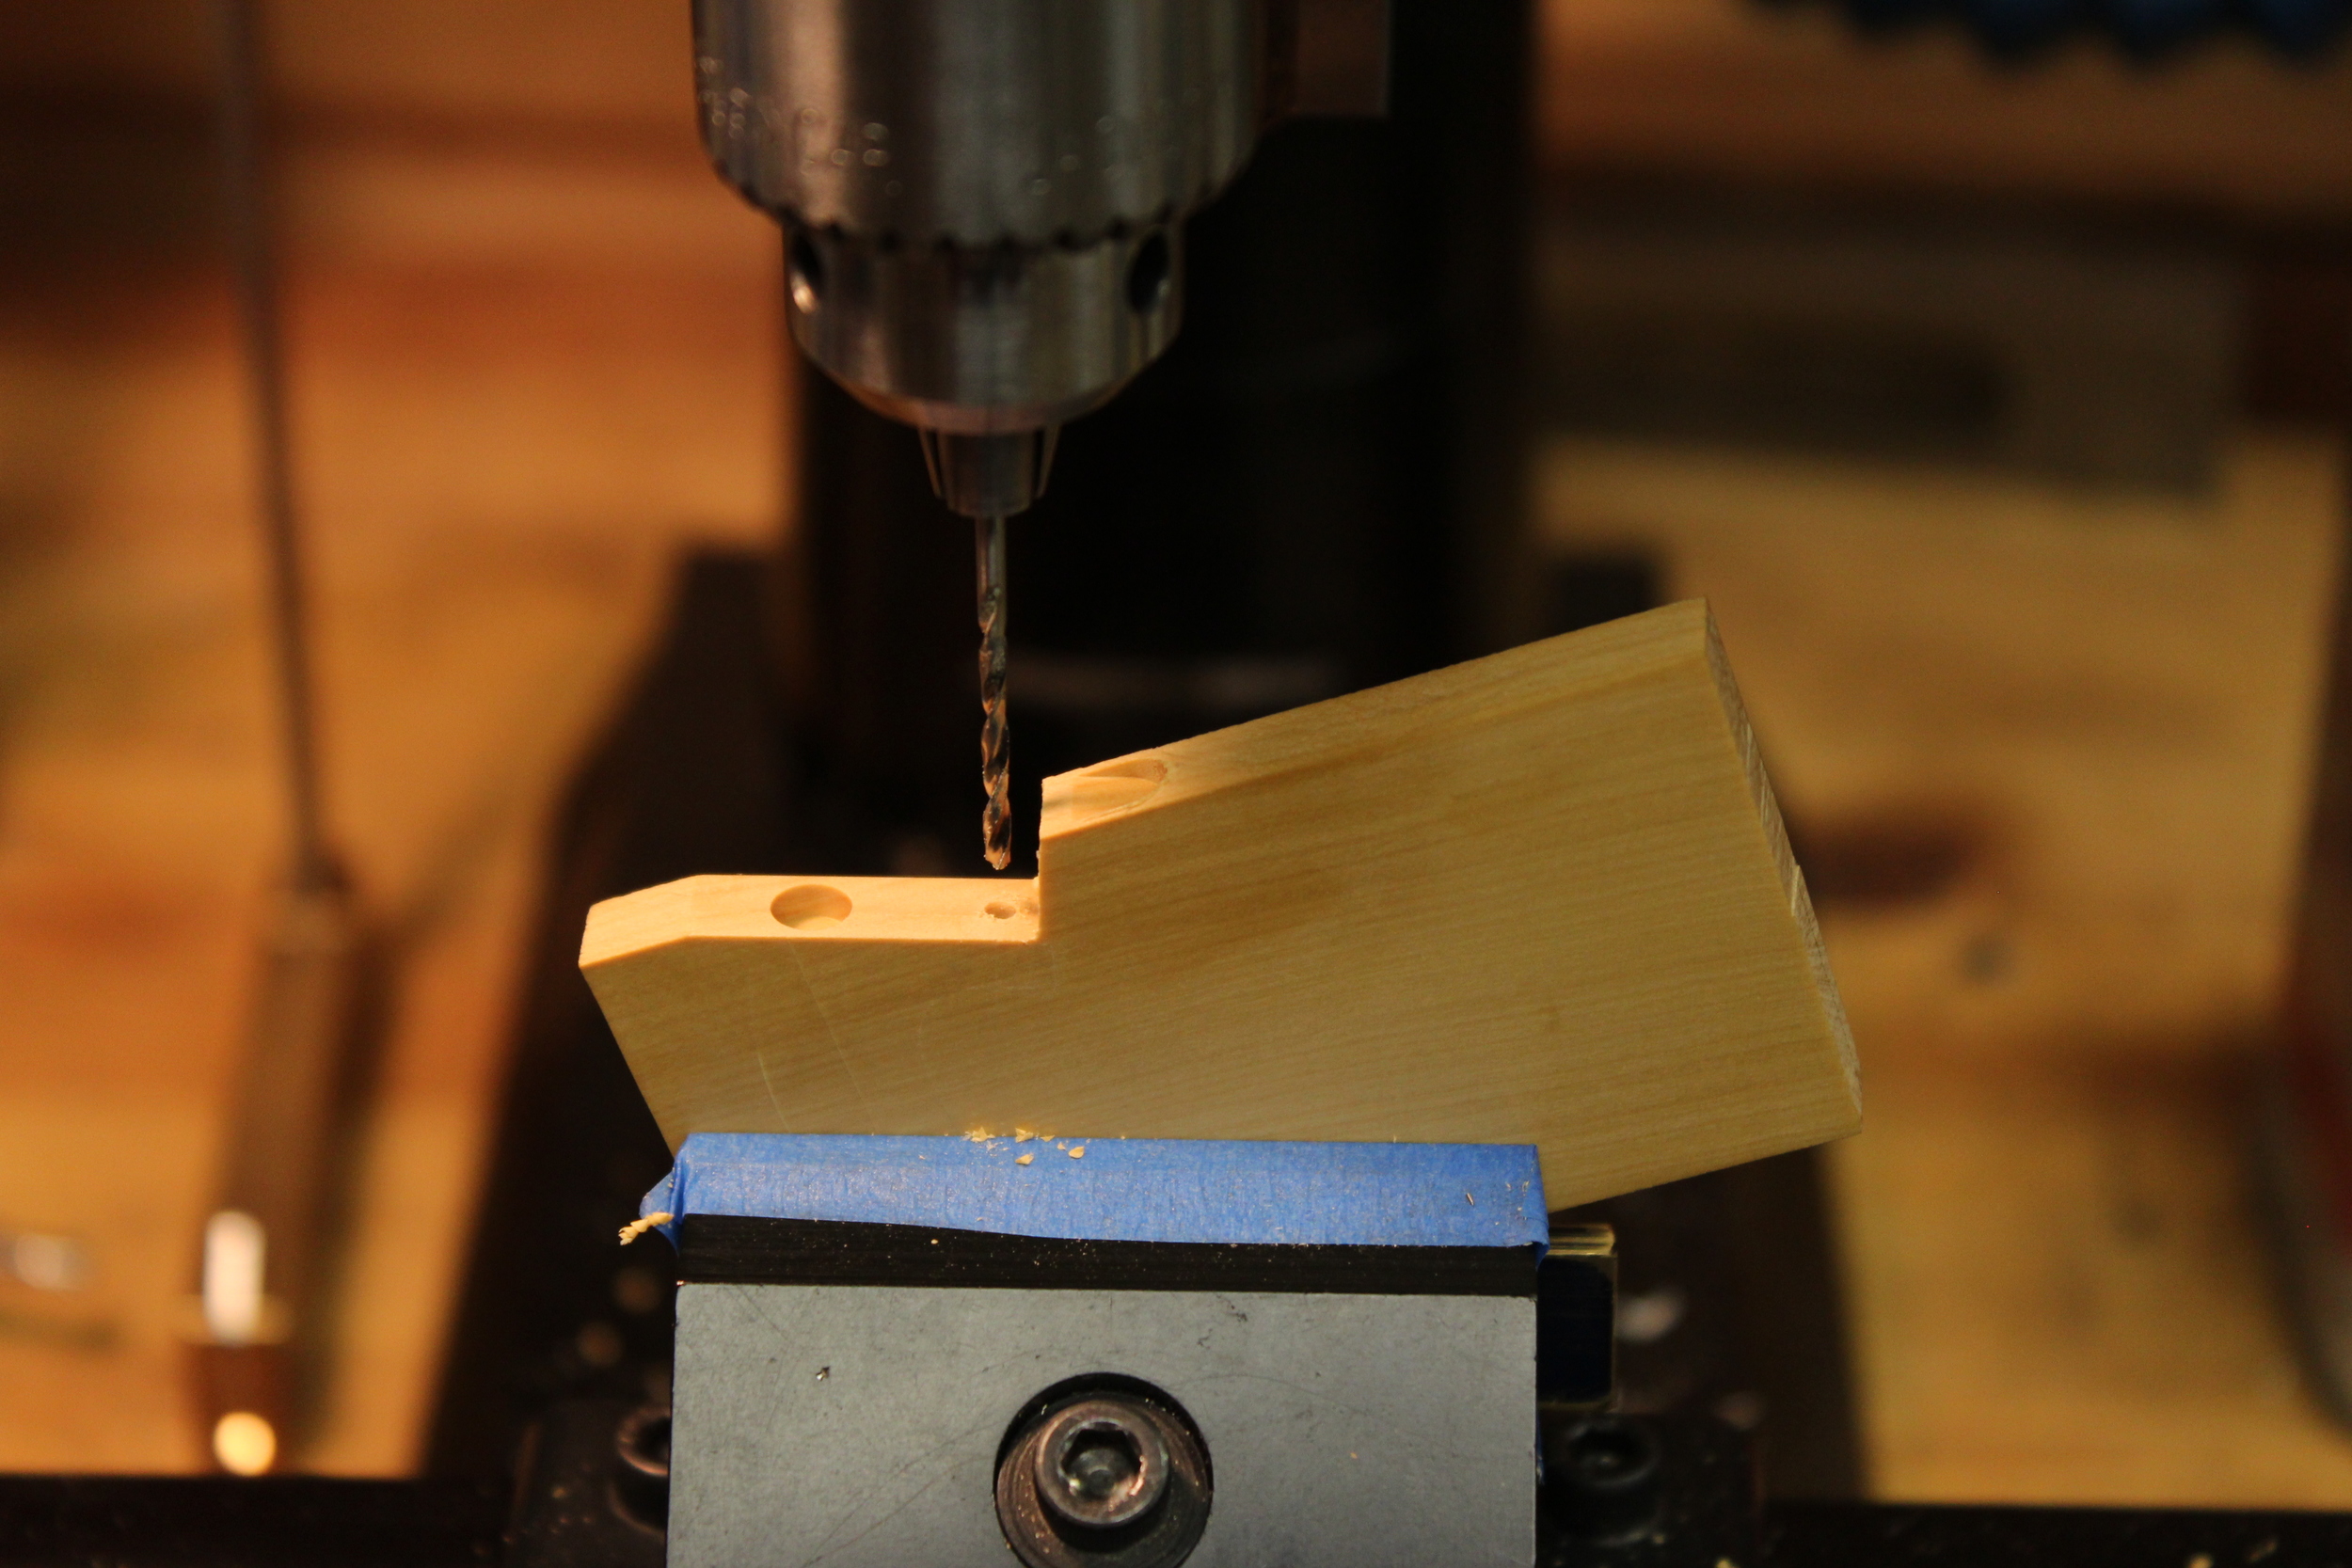
With out moving off center, the piece was moved over to drill the front mounting hole. Before I drilled, I used a square to carry over the template line to the edge.
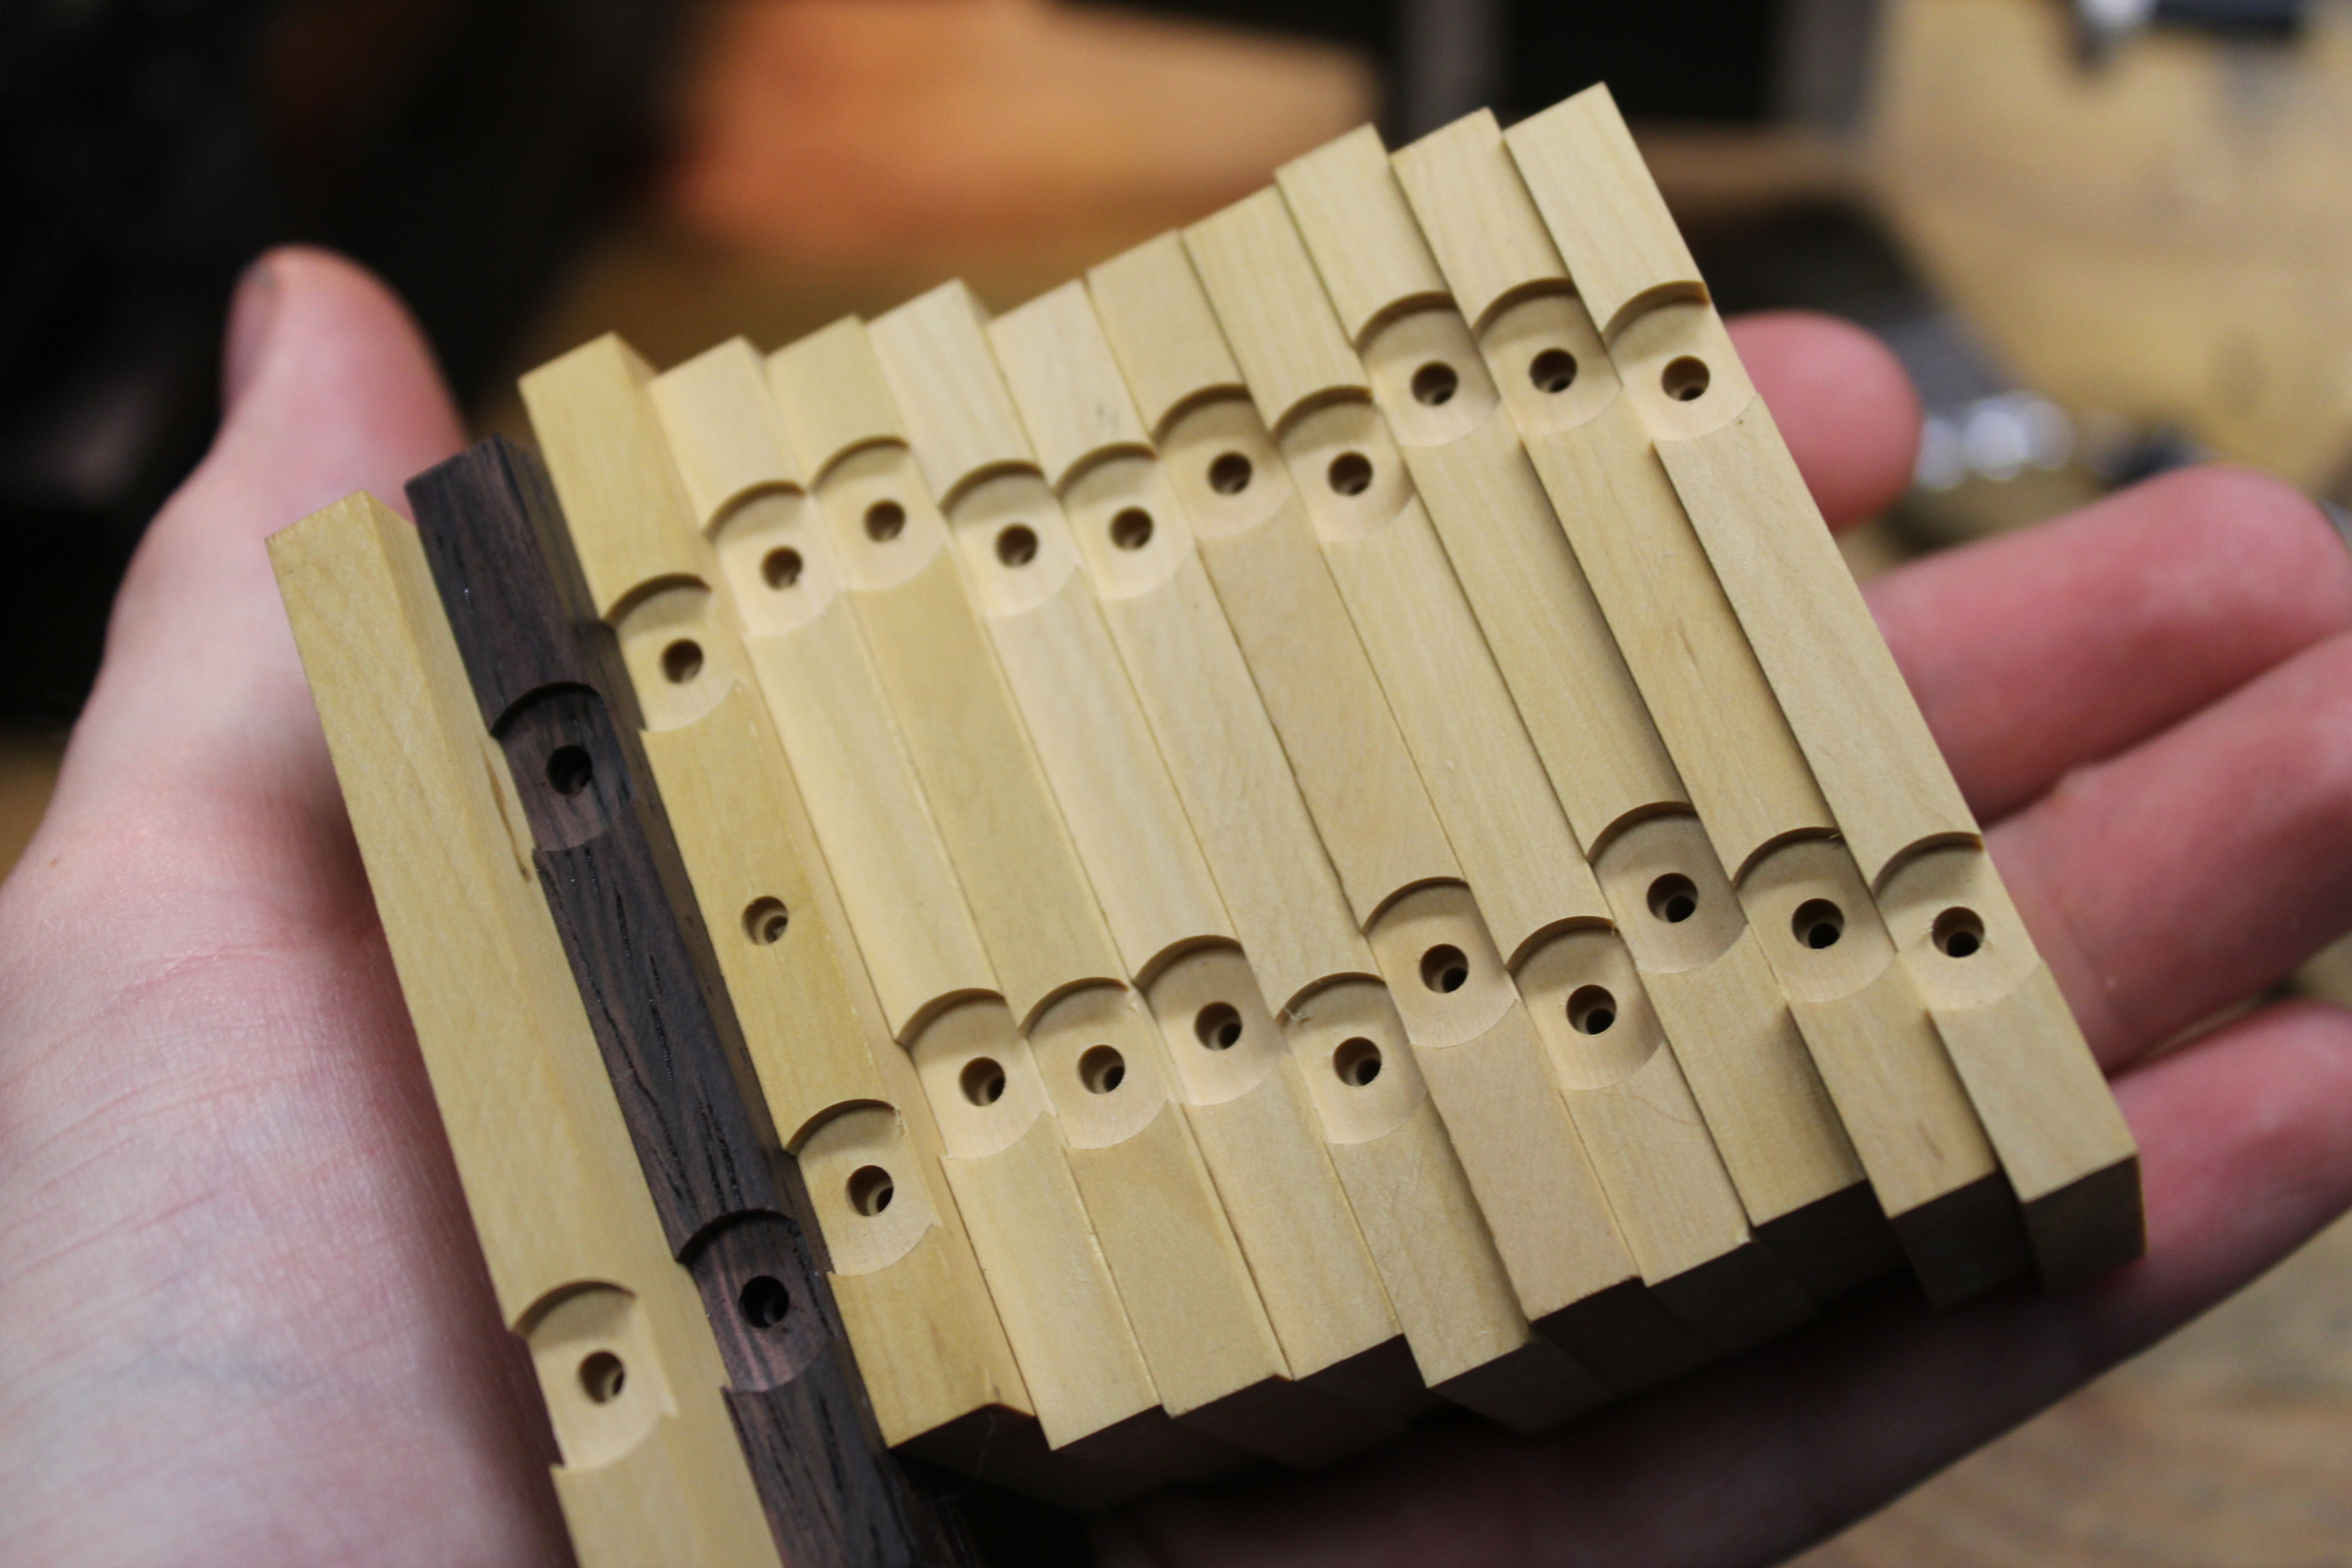
The full set ready to be cut out
The Fun Part
With the drilling done, the totes were cut out using a jewelers saw. I left extra material around the template line in case the saw tore out any grain in the wrong place. It is easy to remove wood, but difficult to put back on so I stayed pretty far off the line to play it safe.
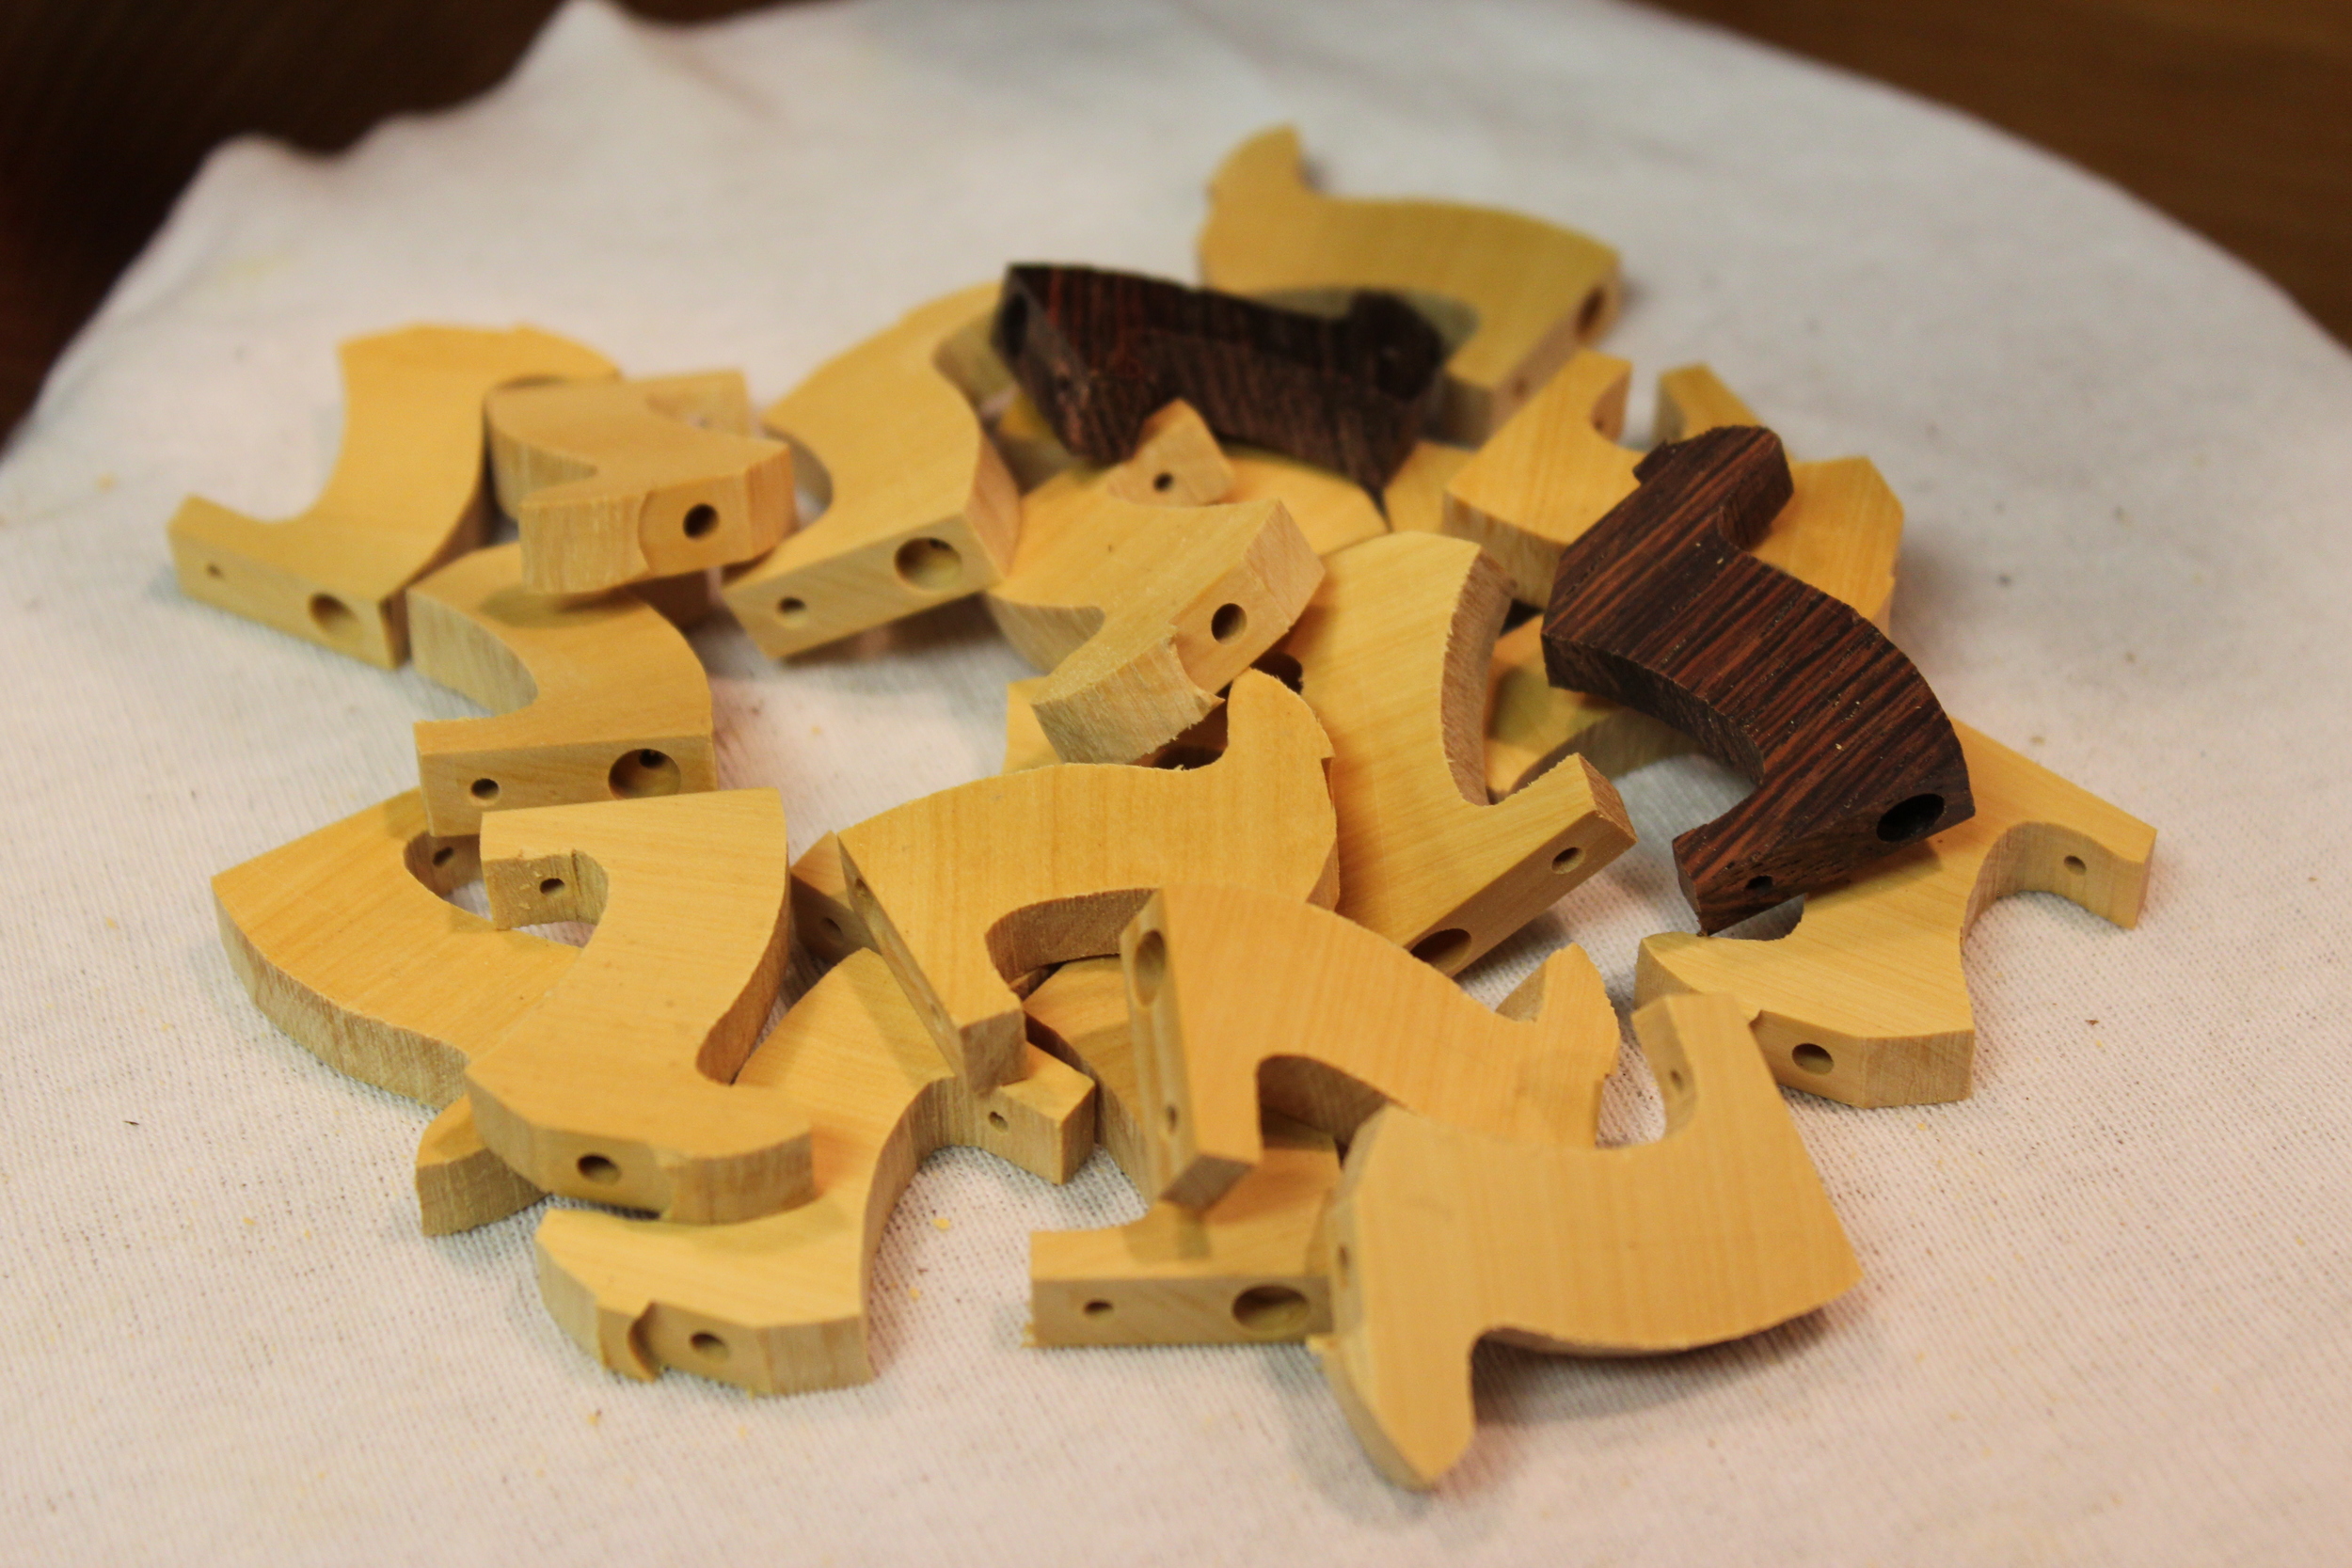
Fresh cut totes
Once the totes were rough cut, I worked down the edges to the template line. I made a 3" sanding disc for my lathe which allowed me to sand the top curve and some of the back fairly quickly and square. The rest I worked down with files. No round shaping was done until the profile was filed to my template line all the way around, because my line would be lost if I rounded over the edge.
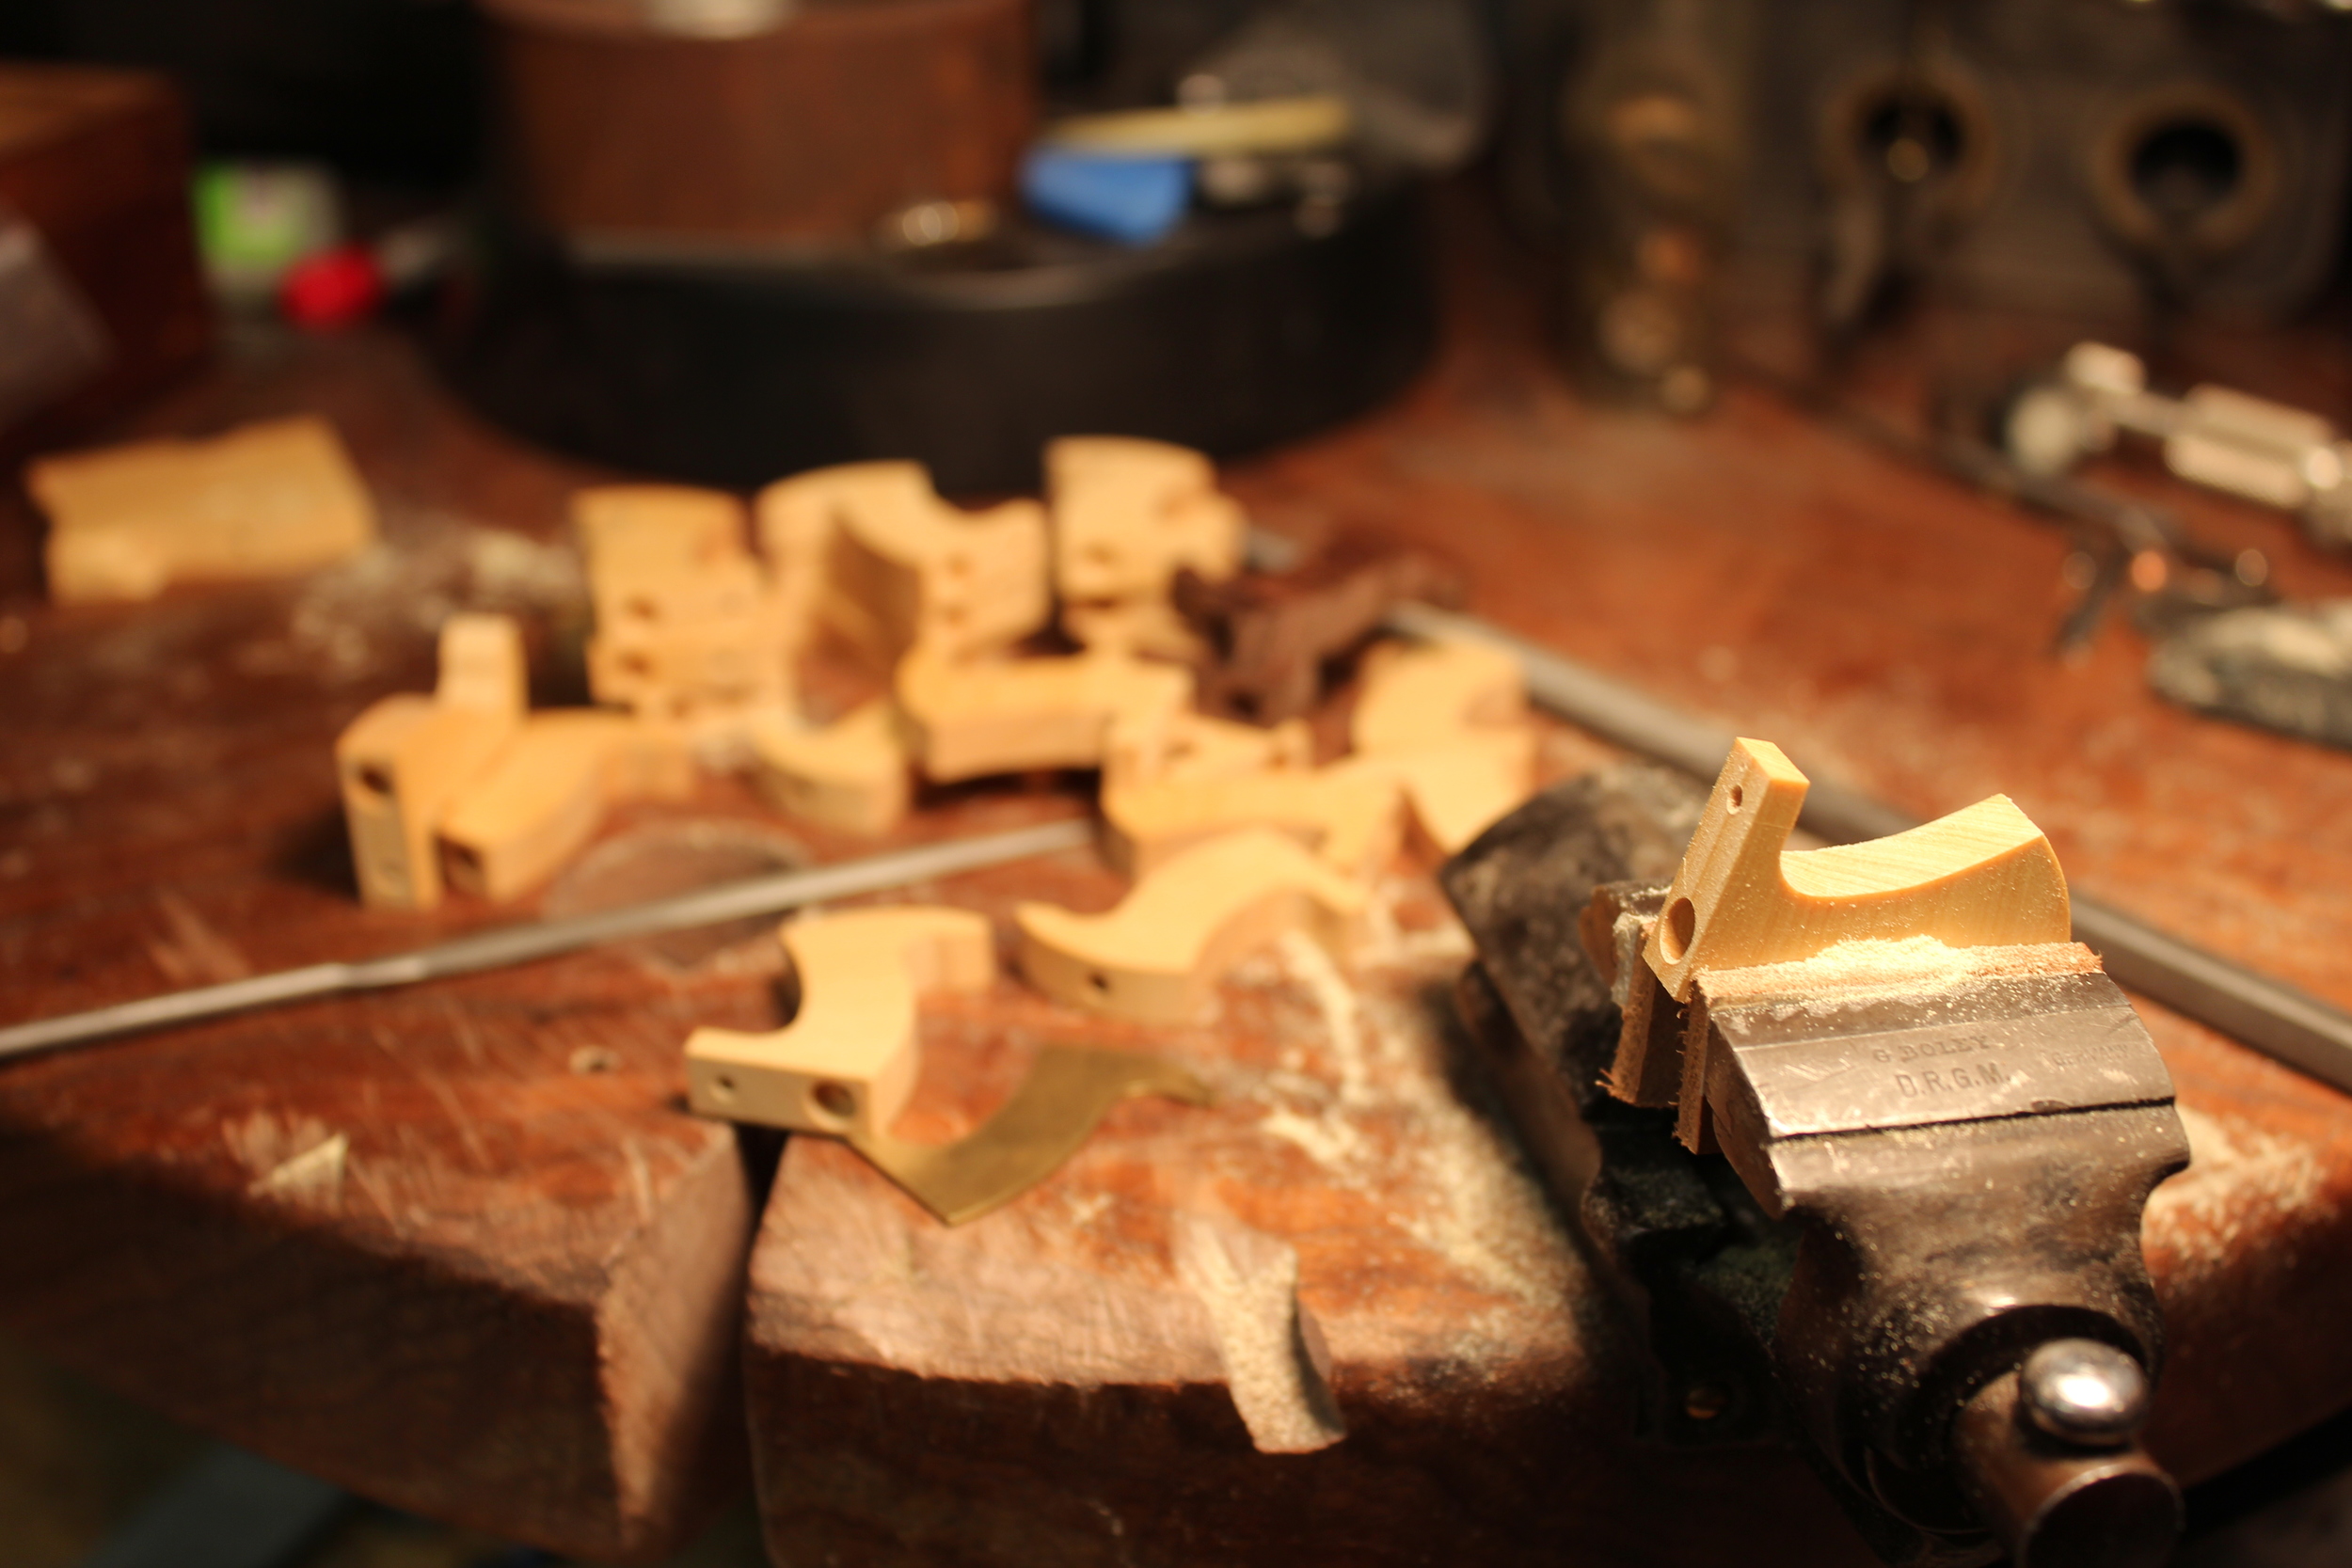


Totes ready to be shaped.
Once the profile was worked to the template line, I used calipers and lightly marked a center line down the entire edge. I also marked lines where the radii start on the face. I worked the curves down to the center lines using a progression of files. I had the full size tote within view to make sure the curves looked just right. Most of the shaping is done by eye, it helps to use good lighting and shadows to see the curves and lumps. I used a block of cork with different nooks cut into it to help hold it during shaping.
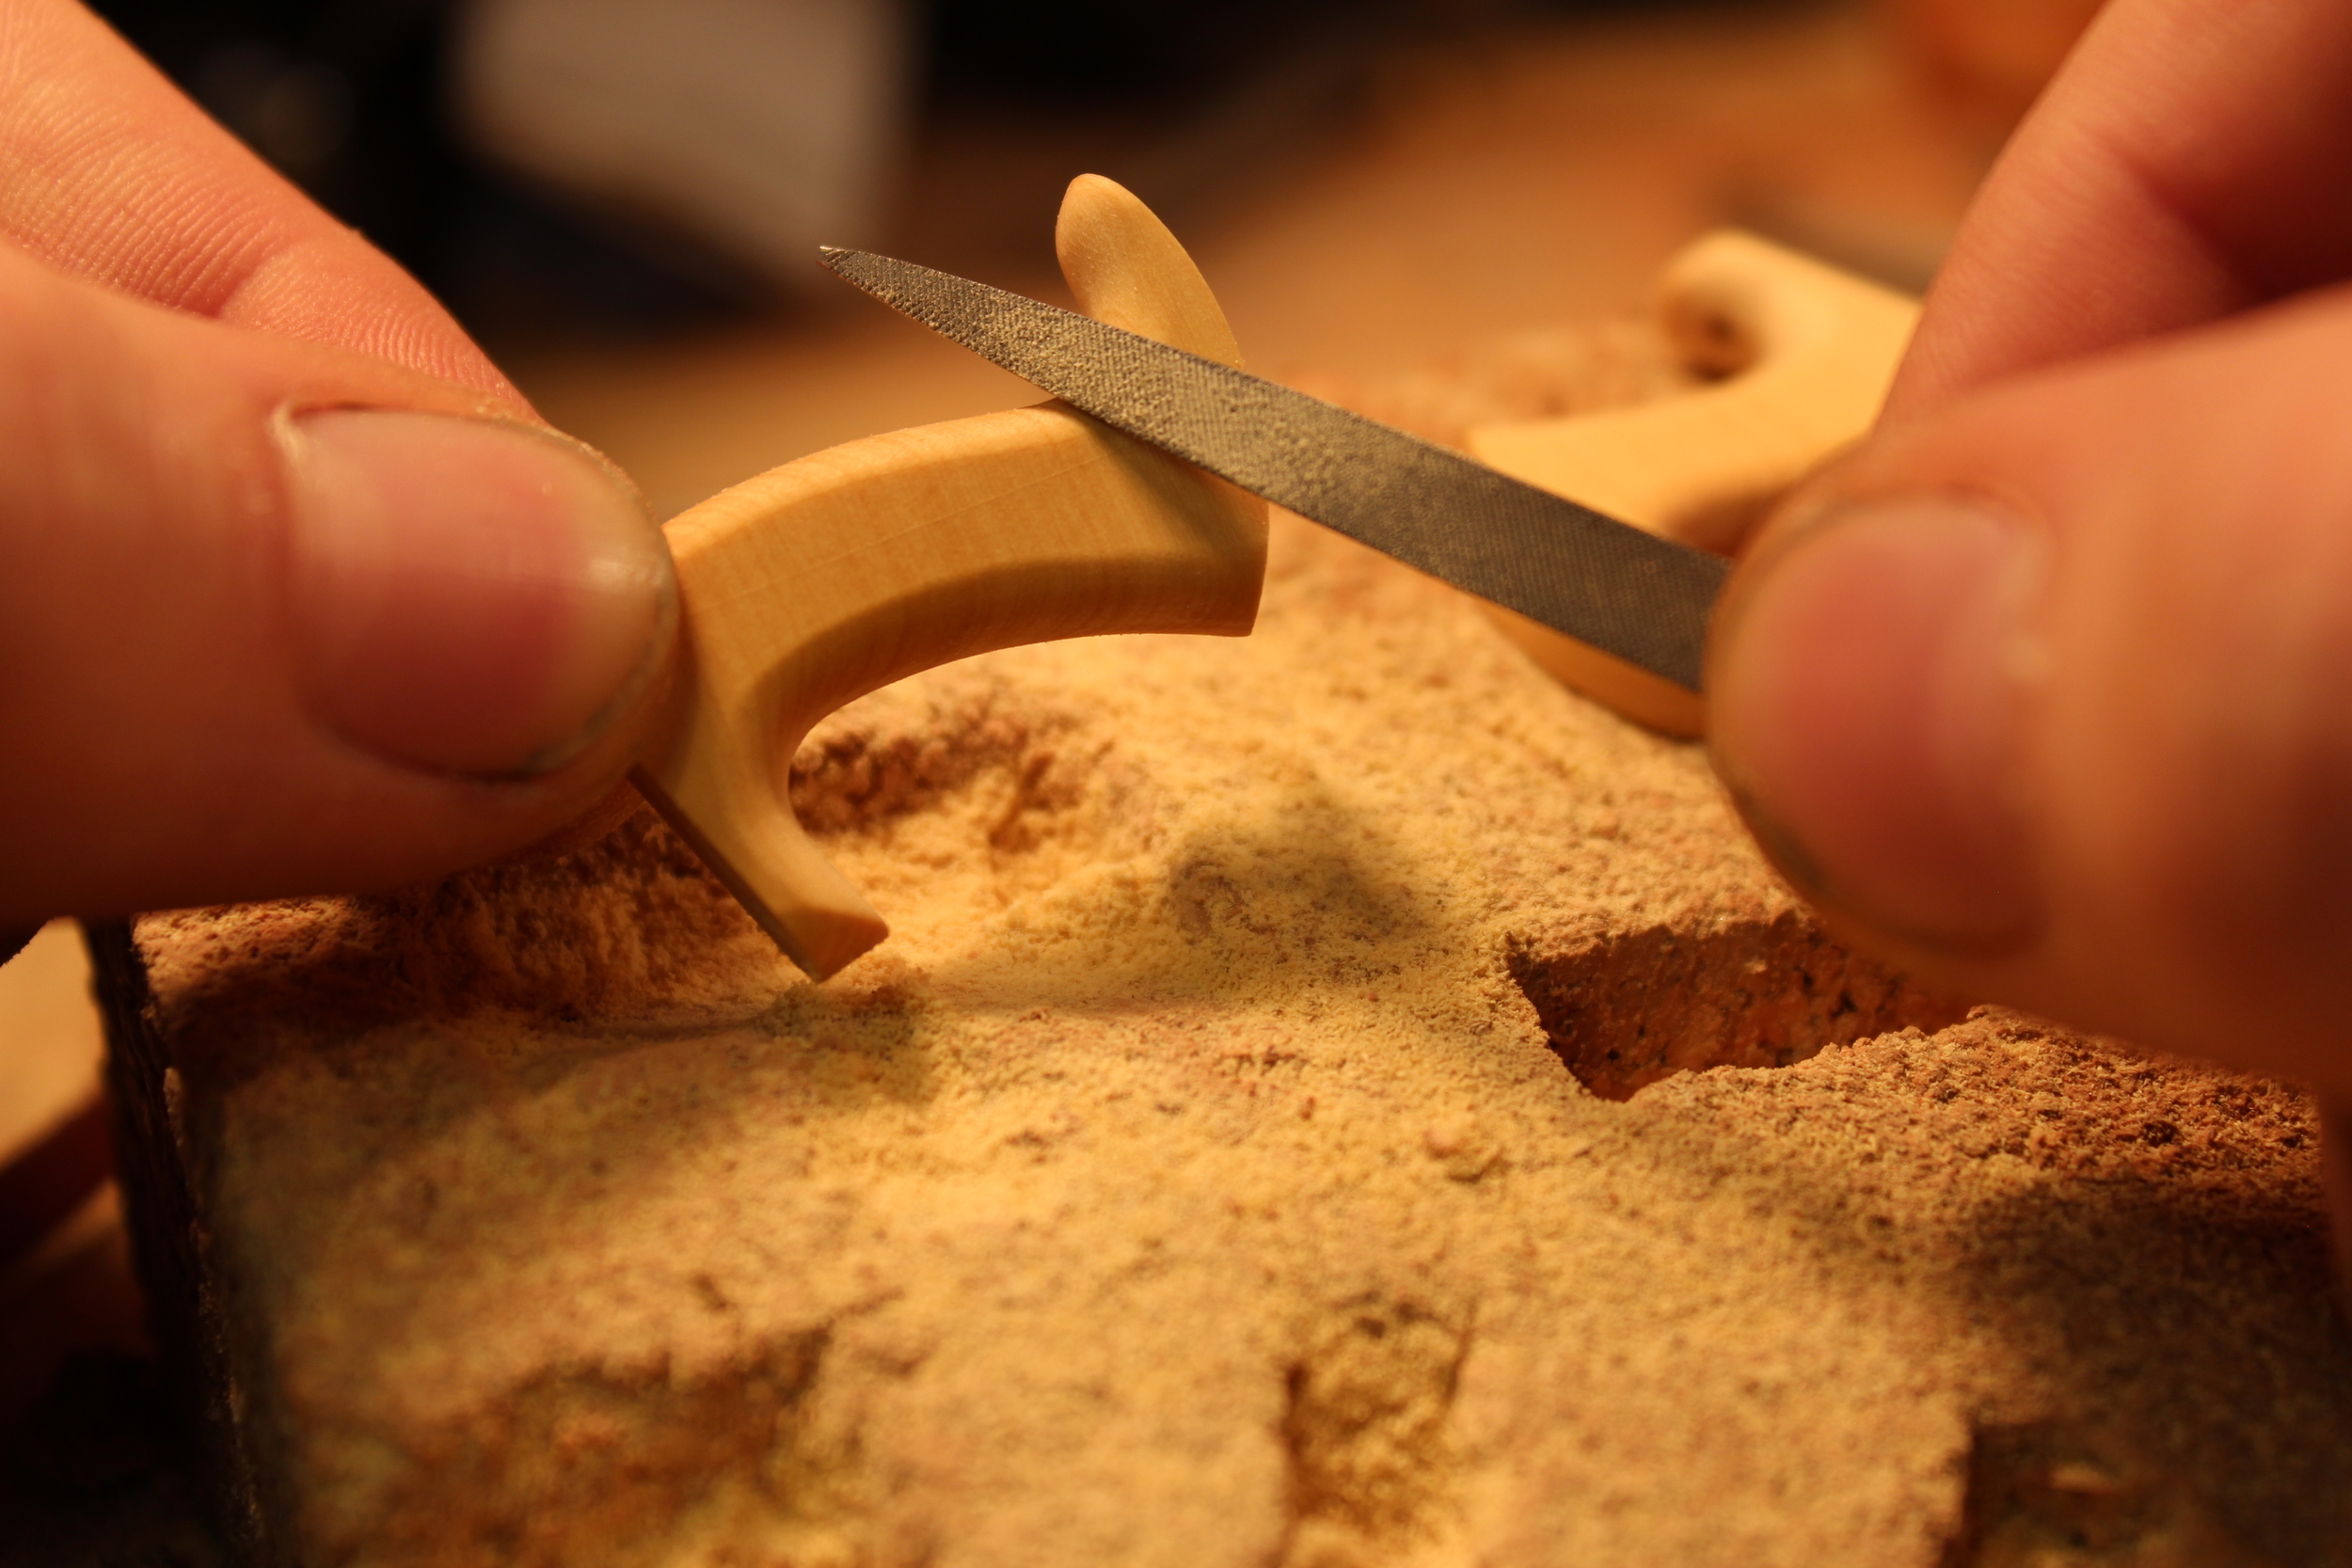
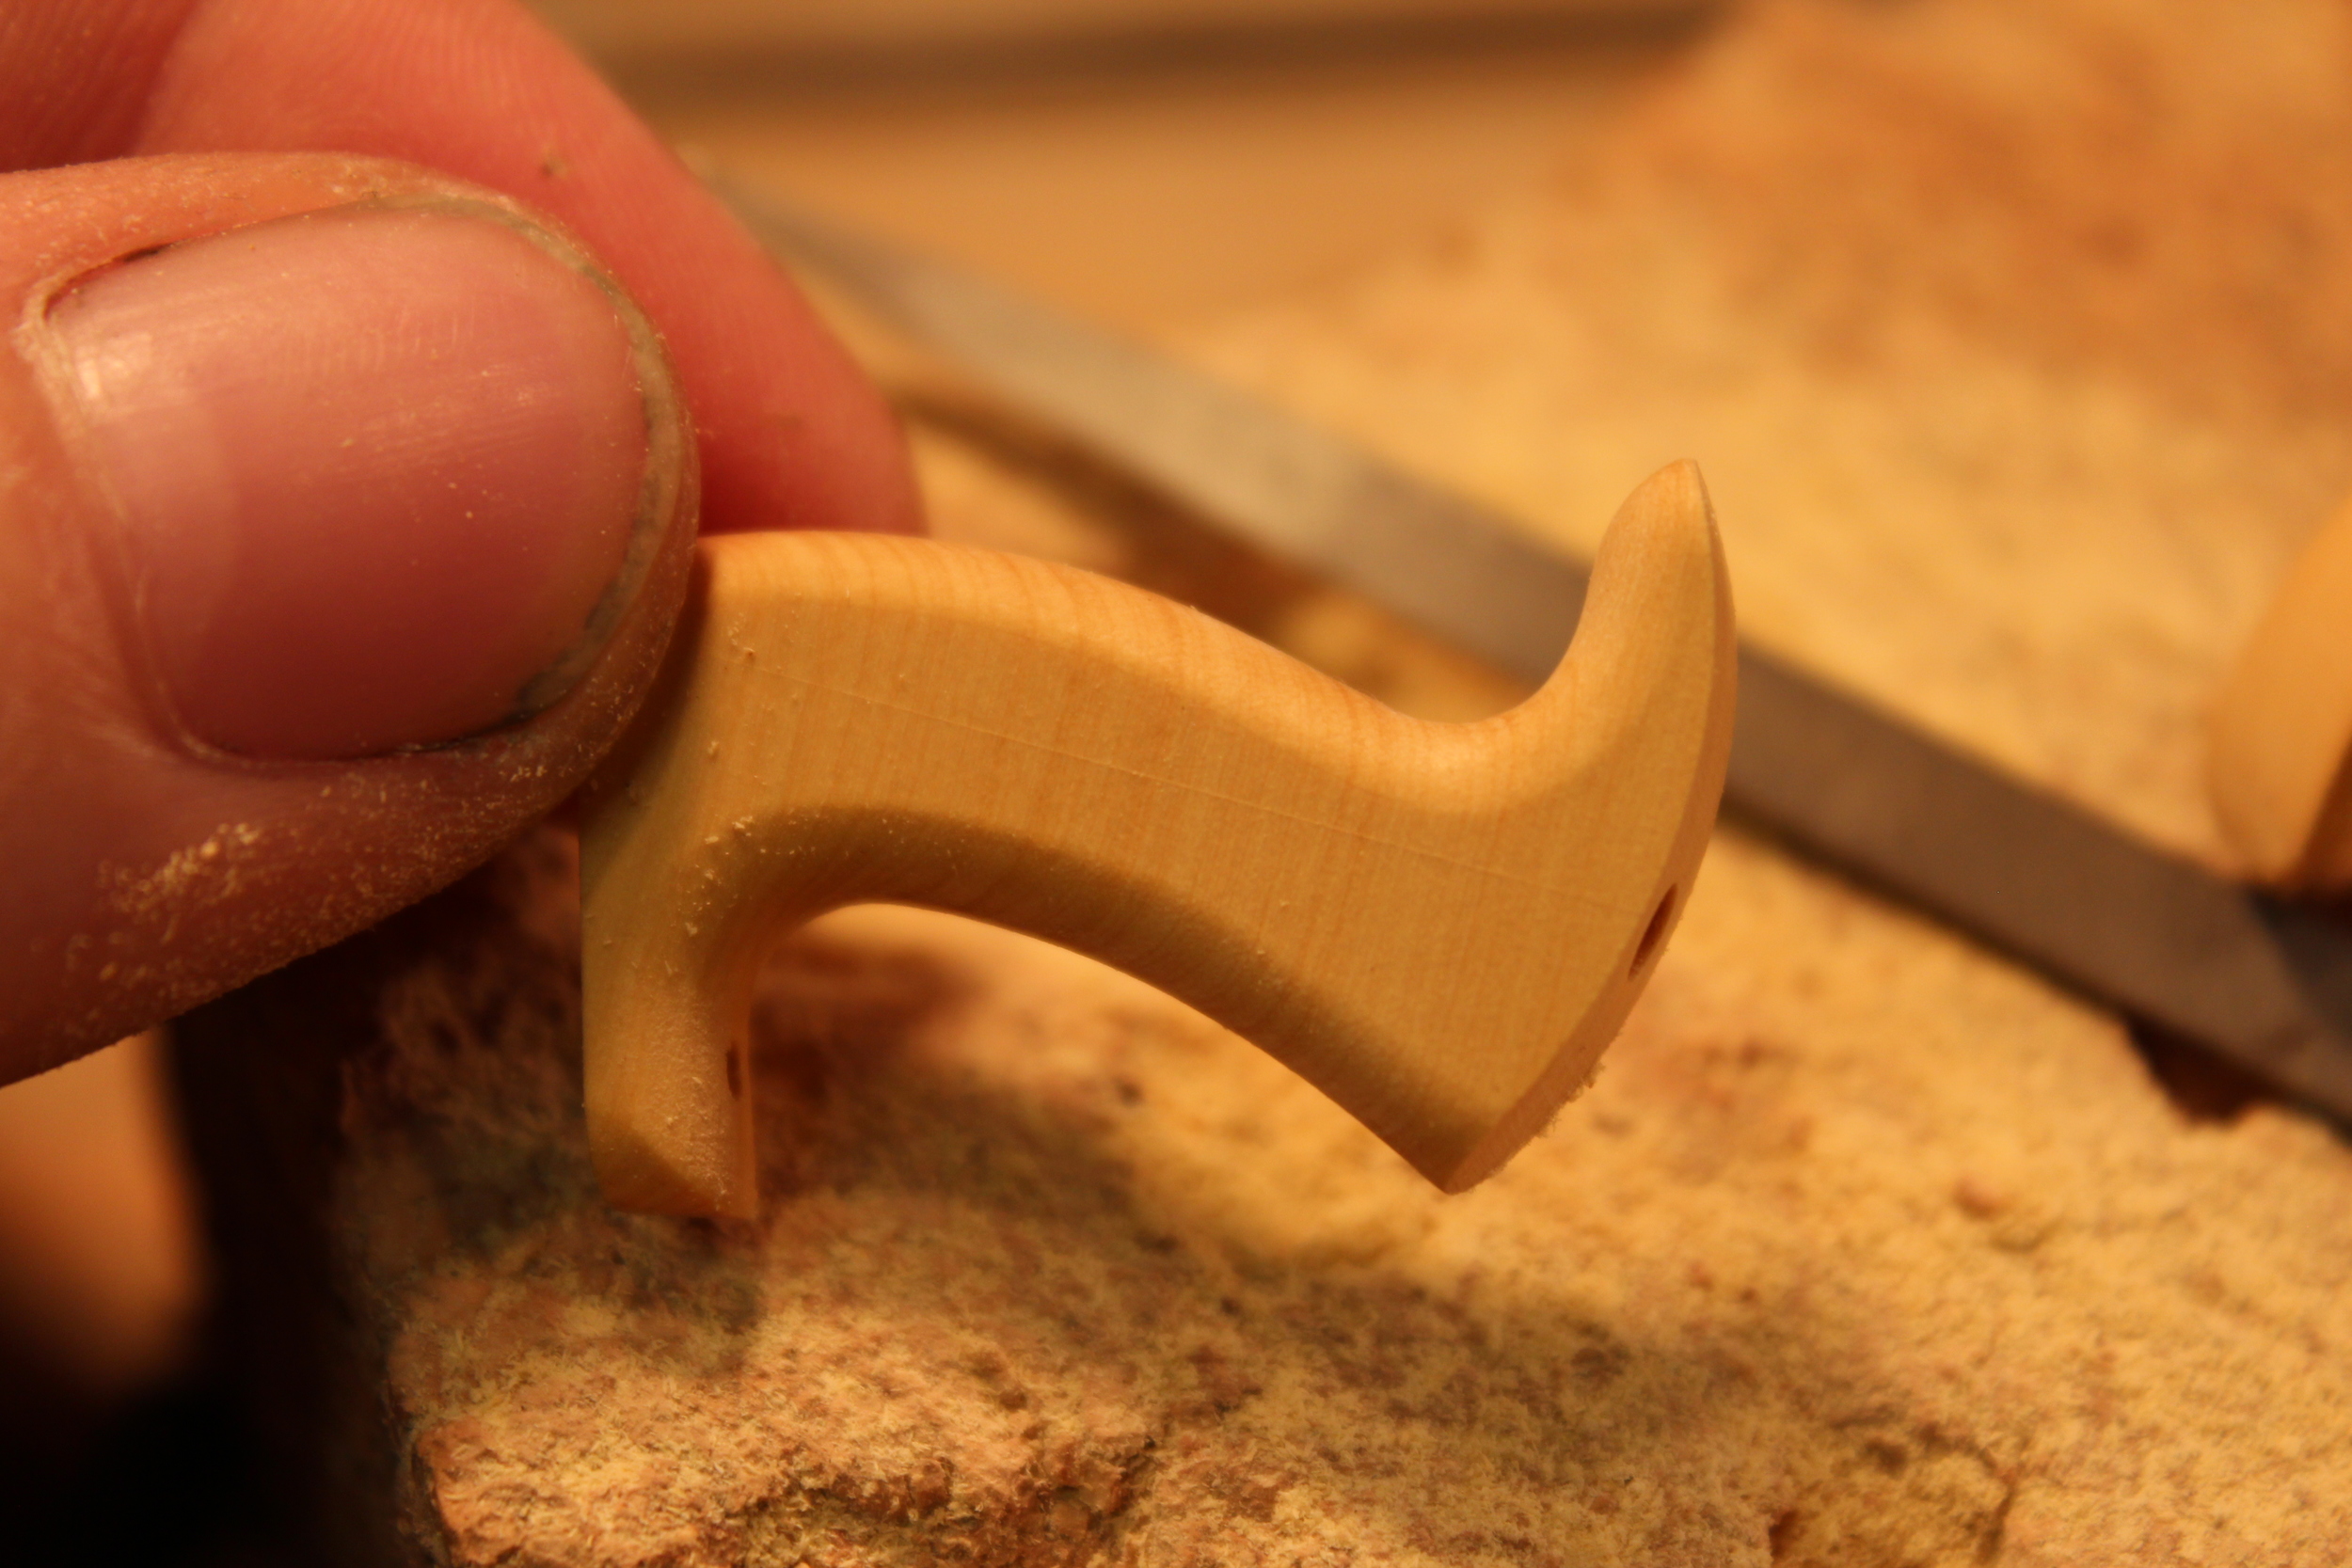
Filed & ready for sanding. You can see the center line still needs to be removed.
There will be a second post about these, as I finish them up. As I type this most of them are filed to shape, but awaiting final shaping and sanding. This post represents about a weeks worth of work. I had to switch my attention to other parts of the plane for a while.